What Is A Ring Seam?
A ring seam is the small joint where the two ends of the ring blank meet before soldering. In jewelry fabrication, creating a clean seam is one of the most important steps for making a strong and professional-looking ring.
A properly soldered seam should appear nearly invisible after cleanup, sanding and polishing.
Preparing The Ring Blank Before Soldering
Before soldering, the ring blank should be carefully formed so the two ends meet evenly without gaps.
Uneven seams are one of the most common beginner soldering problems. The cleaner the joint is before heating, the easier the solder will flow.
- File the seam flat and square.
- Check the seam under good lighting.
- Remove grease and dirt from the metal.
- Make sure both ends touch evenly.
- Round the ring carefully before soldering.
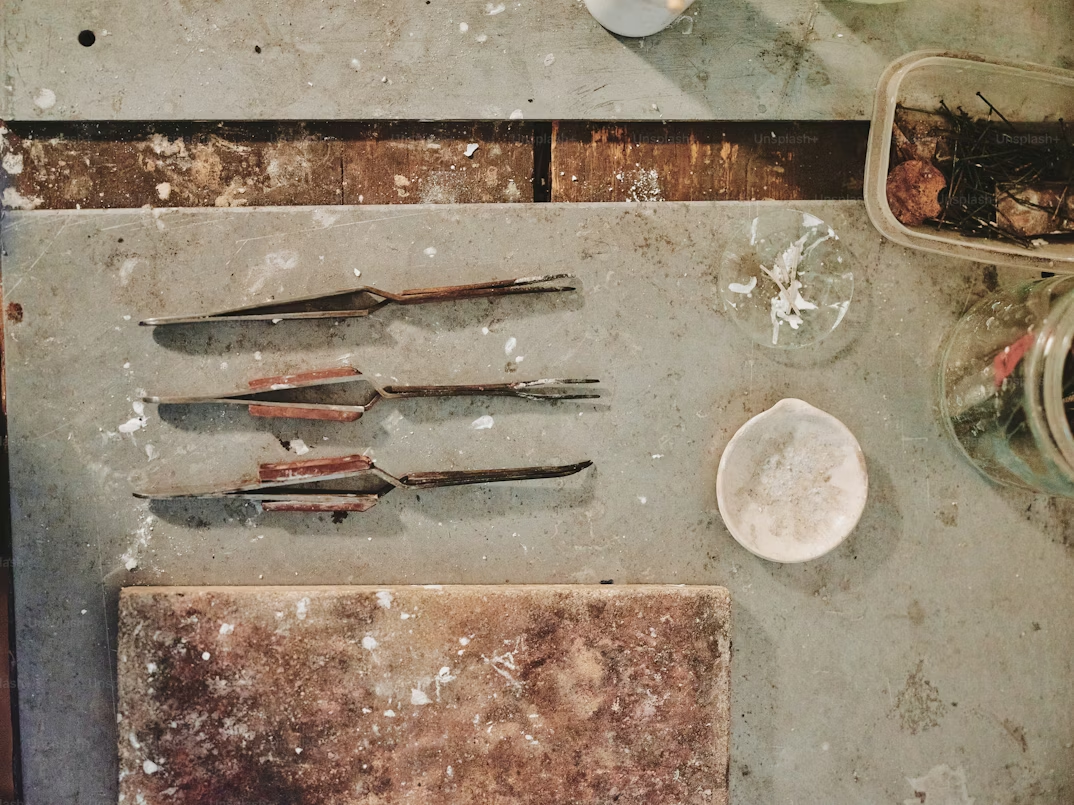
Tools Used For Soldering Silver Rings
Jewelry soldering requires several specialized tools that help control heat, hold the metal and position the solder accurately.
| Tool | Main Use | Why It Matters |
|---|---|---|
| Torch | Heating the metal | Provides even soldering heat. |
| Soldering plate | Heat-safe work surface | Protects the bench during soldering. |
| Tweezers | Holding hot parts | Improves precision and safety. |
| Solder pick | Moving solder | Helps position solder accurately. |
| Flux | Preventing oxidation | Improves solder flow. |
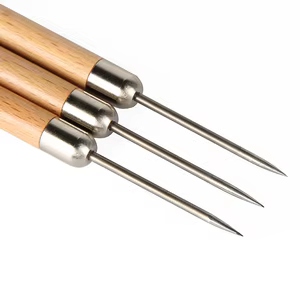
Using A Soldering Pick
A soldering pick is commonly used to move solder pieces, adjust ring alignment and guide solder flow during heating.
Titanium soldering picks are popular because solder does not easily stick to them, making them easier to use during precision jewelry work.
Applying Flux Before Heating
Flux helps protect silver from oxidation while improving solder flow across the seam. Most jewelers apply flux directly to the seam area before heating begins.
Without flux, silver can oxidize heavily and solder may not flow properly.
- Apply flux directly to the seam.
- Use enough flux to coat the area evenly.
- Avoid touching the seam after fluxing.
- Keep the ring clean before soldering.
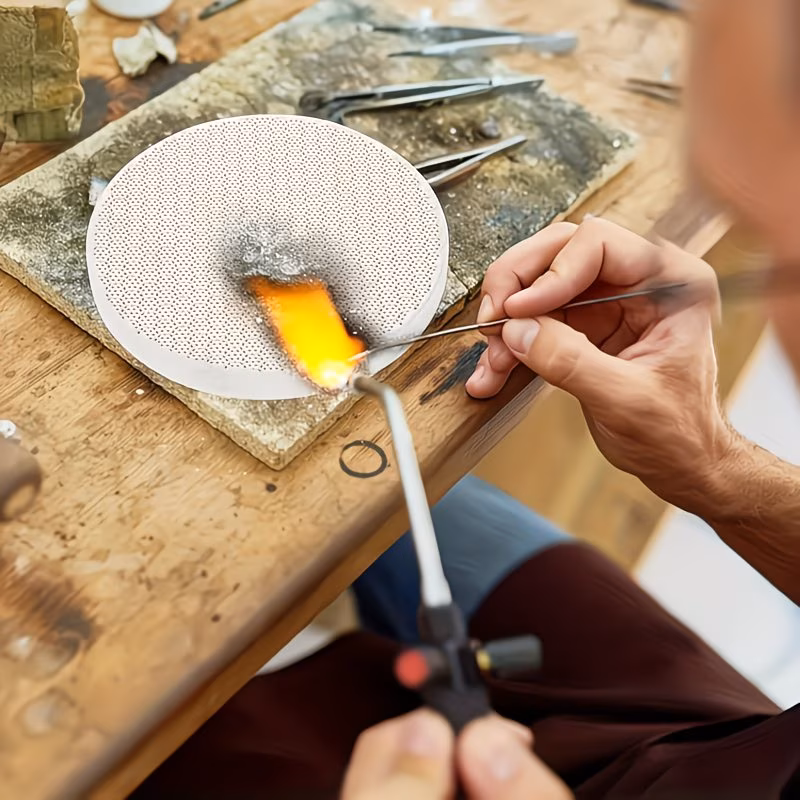
Heating The Ring Evenly
One of the most important soldering skills is learning how to heat the entire ring evenly. Beginners often focus the flame directly on the solder instead of heating the metal itself.
Solder flows toward heat. The ring must reach soldering temperature before the solder melts correctly.
How Solder Flows Across The Seam
When the silver reaches the correct temperature, the solder flows into the seam through capillary action.
A properly prepared seam allows the solder to travel smoothly between both sides of the joint.
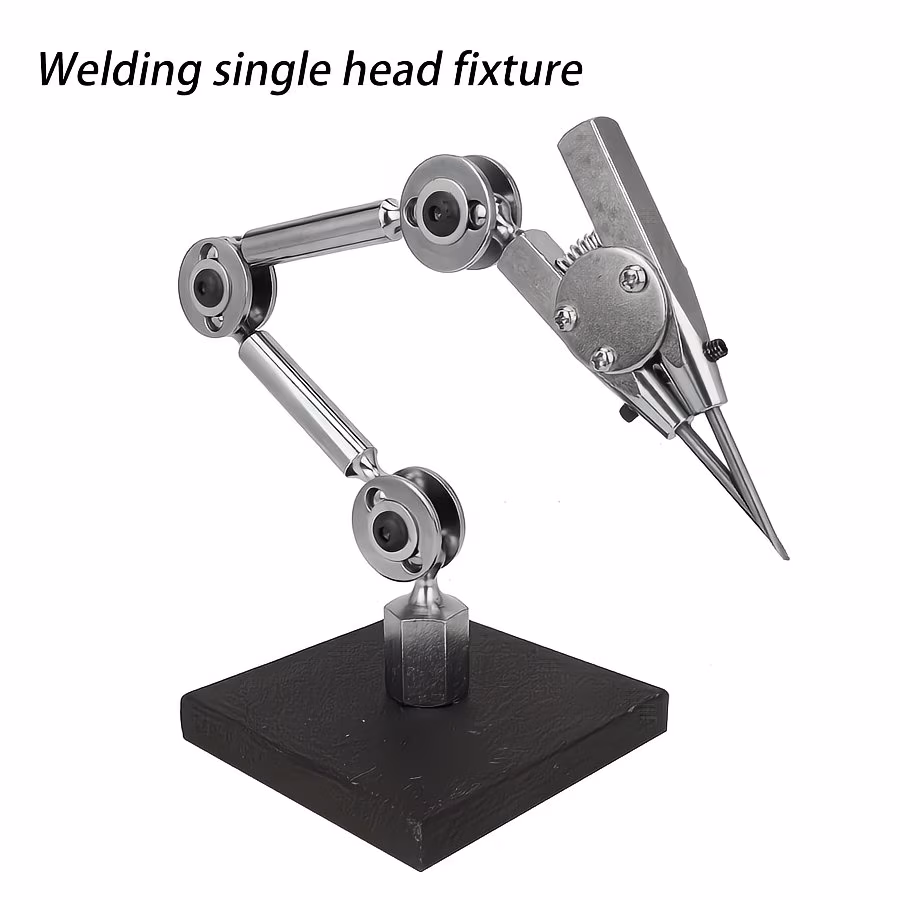
Holding The Ring During Soldering
Stable positioning makes soldering easier and safer. Many jewelers use clamps, cross-lock tweezers or soldering supports to hold rings during heating.
Secure positioning helps maintain seam alignment while allowing better torch control.
Cleaning The Seam After Soldering
After soldering, the ring is usually placed in pickle solution to remove oxidation and flux residue.
Once cleaned, the seam can be inspected and refined with files, sandpaper and polishing tools.
- Check the seam for gaps.
- Remove excess solder carefully.
- File the seam flush with the ring surface.
- Sand progressively before polishing.
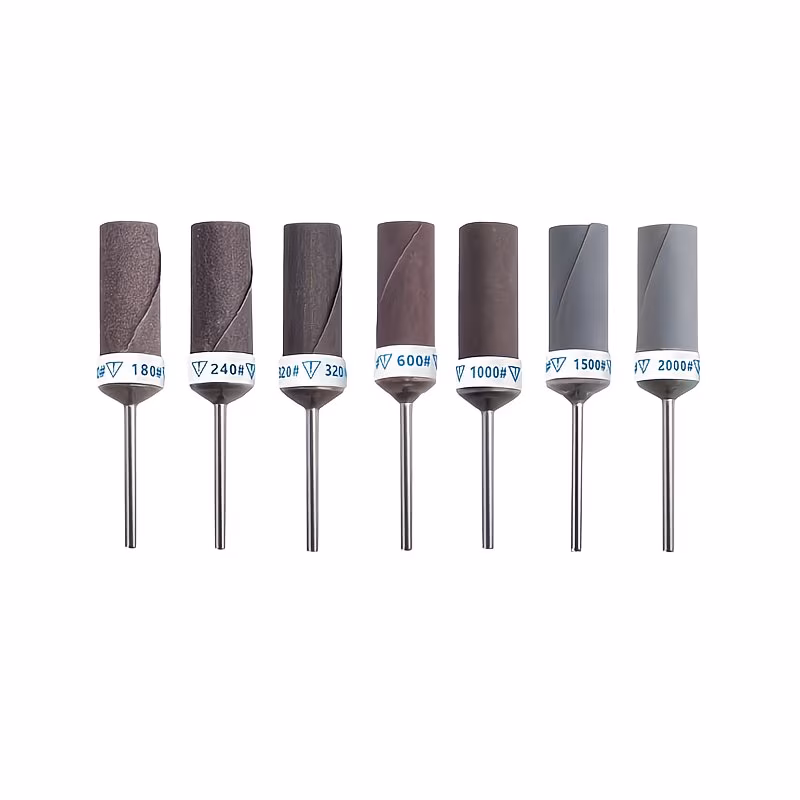
Filing And Sanding The Soldered Seam
Filing removes excess solder and helps blend the seam into the ring surface. Sanding then removes file marks and prepares the ring for polishing.
Smooth cleanup is one of the details that makes handmade jewelry look refined and professional.
| Stage | Purpose | Typical Tool |
|---|---|---|
| Seam cleanup | Remove excess solder | Jeweler’s file |
| Surface refinement | Remove scratches | Sandpaper |
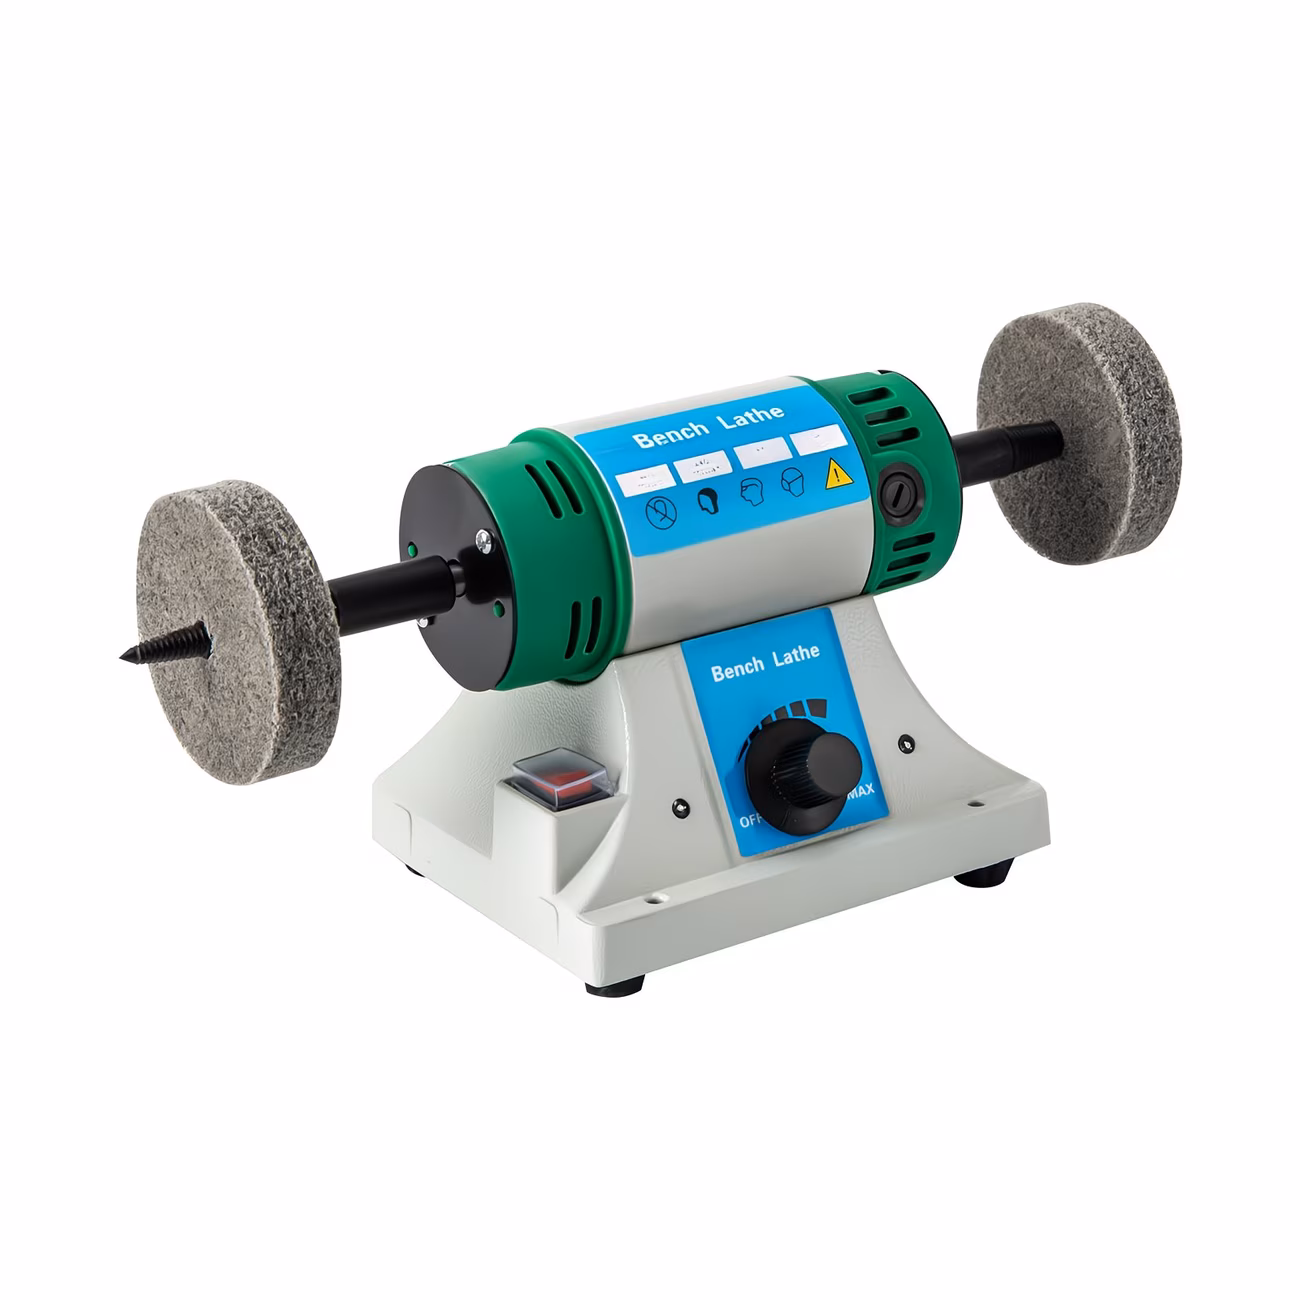
| Final smoothing | Prepare for polishing | Fine abrasives |
| Polishing | Create final finish | Polishing machine |
Common Ring Soldering Mistakes
- Poor seam fit: gaps make soldering difficult.
- Overheating the ring: may melt fine details or distort the ring.
- Too much solder: creates difficult cleanup work.
- Heating only the solder: prevents proper flow.
- Dirty metal: reduces solder flow and increases oxidation.
Why Clean Solder Seams Matter
A clean solder seam improves both appearance and durability. Strong seams are essential for rings that will be worn daily.
In professional jewelry fabrication, the best solder seams are often nearly invisible after finishing.