Why Jump Rings Are Difficult To Solder
Jump rings are small and heat extremely quickly during soldering.
Tiny alignment problems or excessive solder become highly visible once the ring is polished and connected into jewelry assemblies.
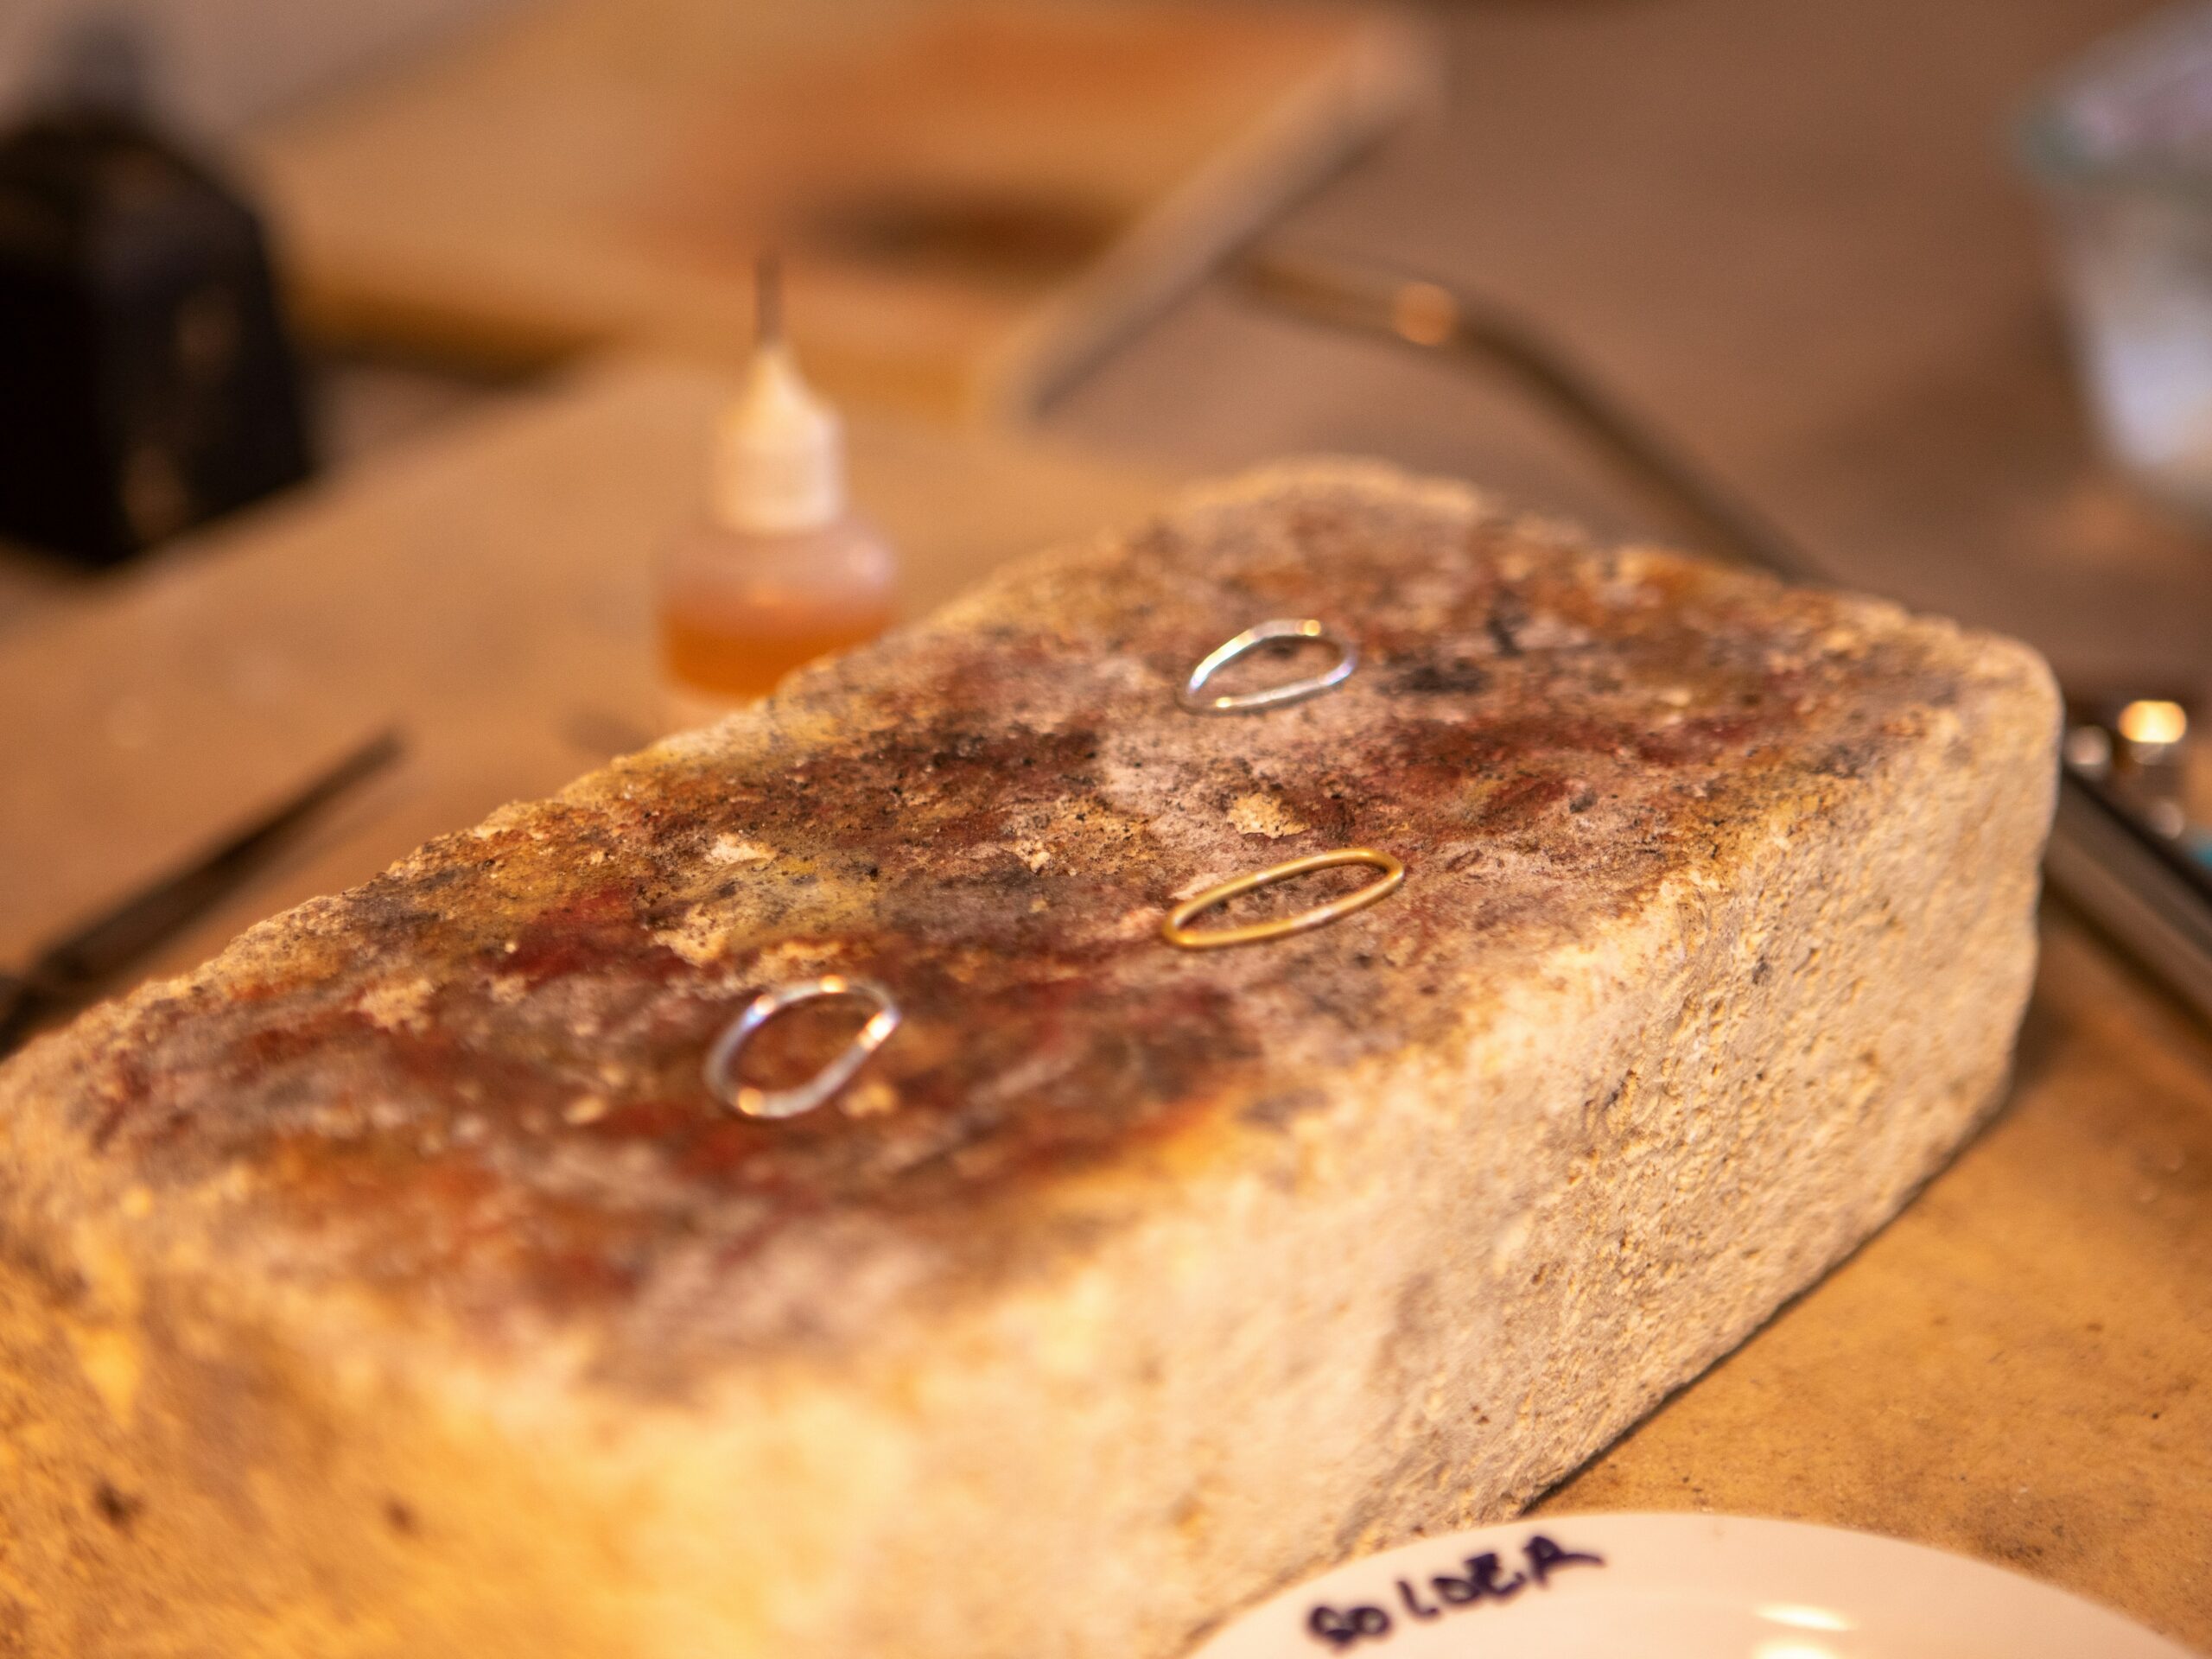
Perfect Seam Alignment Matters
The two ends of the jump ring should meet tightly before soldering begins.
Poor seam contact often creates:
- visible solder lines
- weak joints
- uneven ring shape
- excess cleanup work
Use Minimal Solder
Jump rings require surprisingly little solder for strong bonding.
Excess solder often creates:
- solder blobs
- visible seam buildup
- uneven reflections
- heavy filing afterward
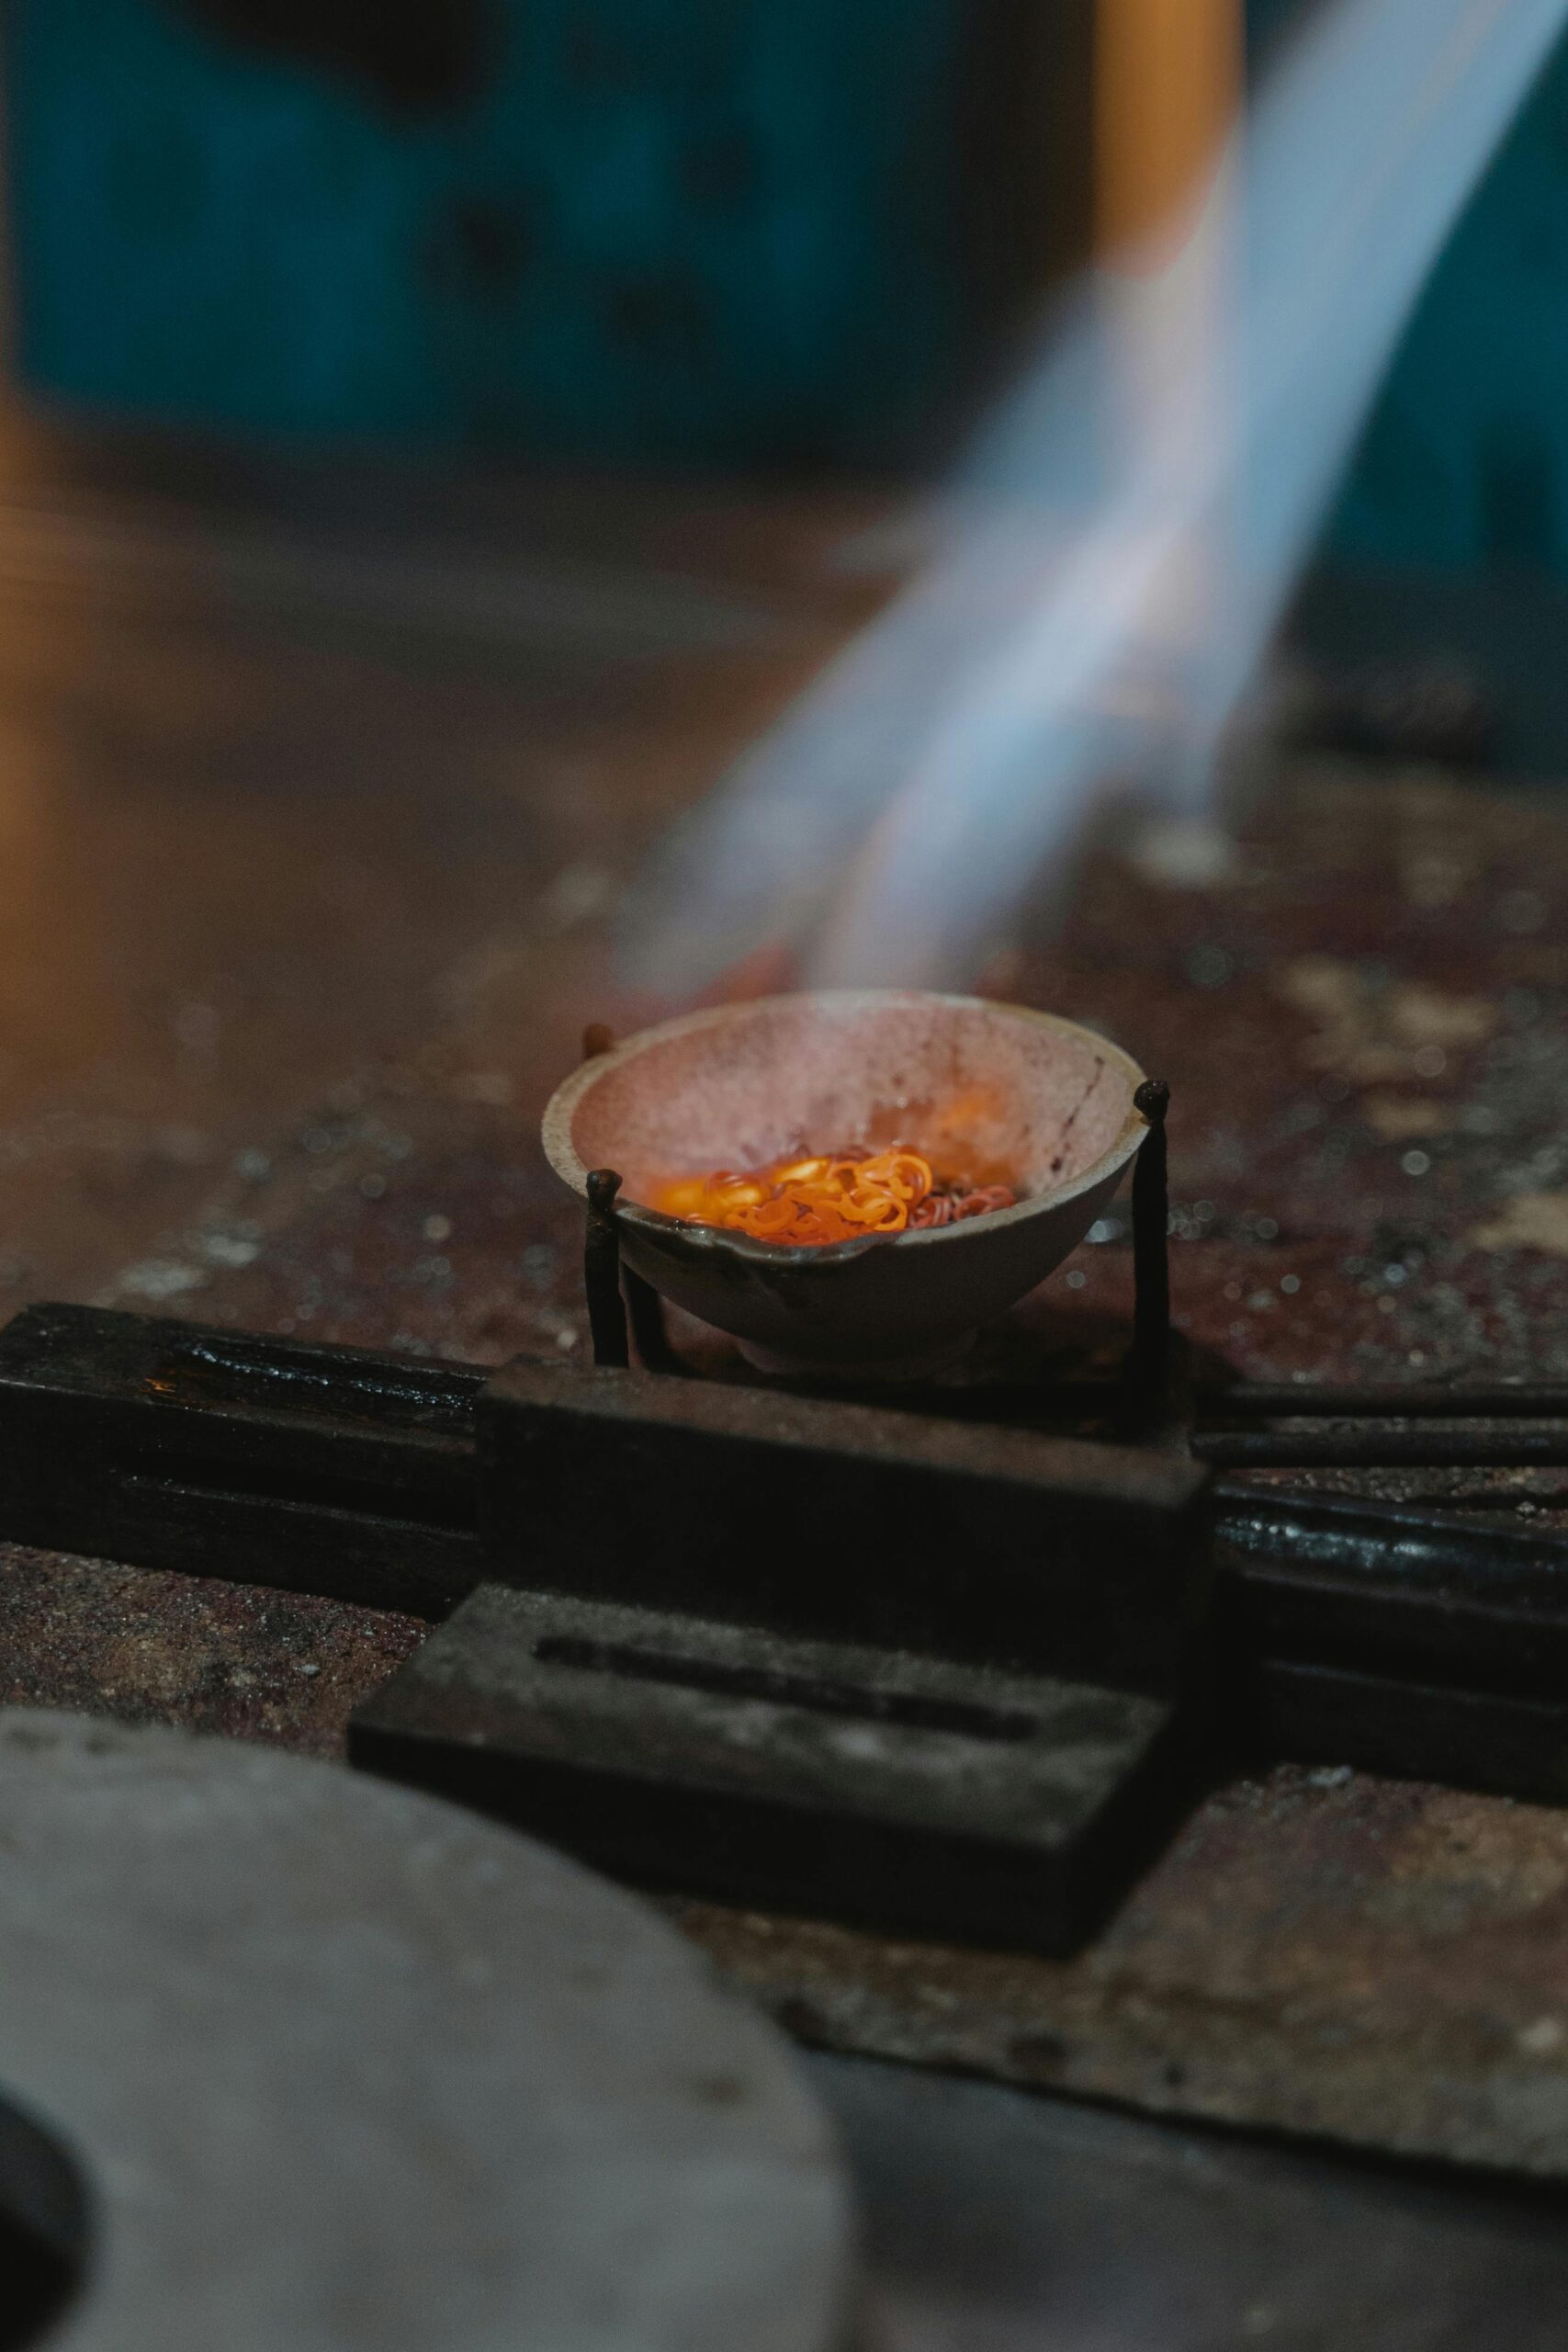
Heat The Ring Evenly
Jump rings heat rapidly and unevenly if the torch stays fixed in one position.
Uneven heating may cause:
- solder movement
- partial seam flow
- ring distortion
- surface overheating

Direct Flame On Solder Creates Problems
Heating the solder directly often causes it to ball up or jump away from the seam.
Professional soldering usually heats the ring itself rather than the solder.
- heat surrounding metal first
- maintain balanced torch movement
- watch seam temperature carefully
- avoid overheating tiny areas
Ring Shape Must Stay Round
Excessive force or uneven heating may distort jump rings during soldering.
Distorted rings become difficult to:
- connect cleanly
- close properly
- polish evenly
- integrate into chain work
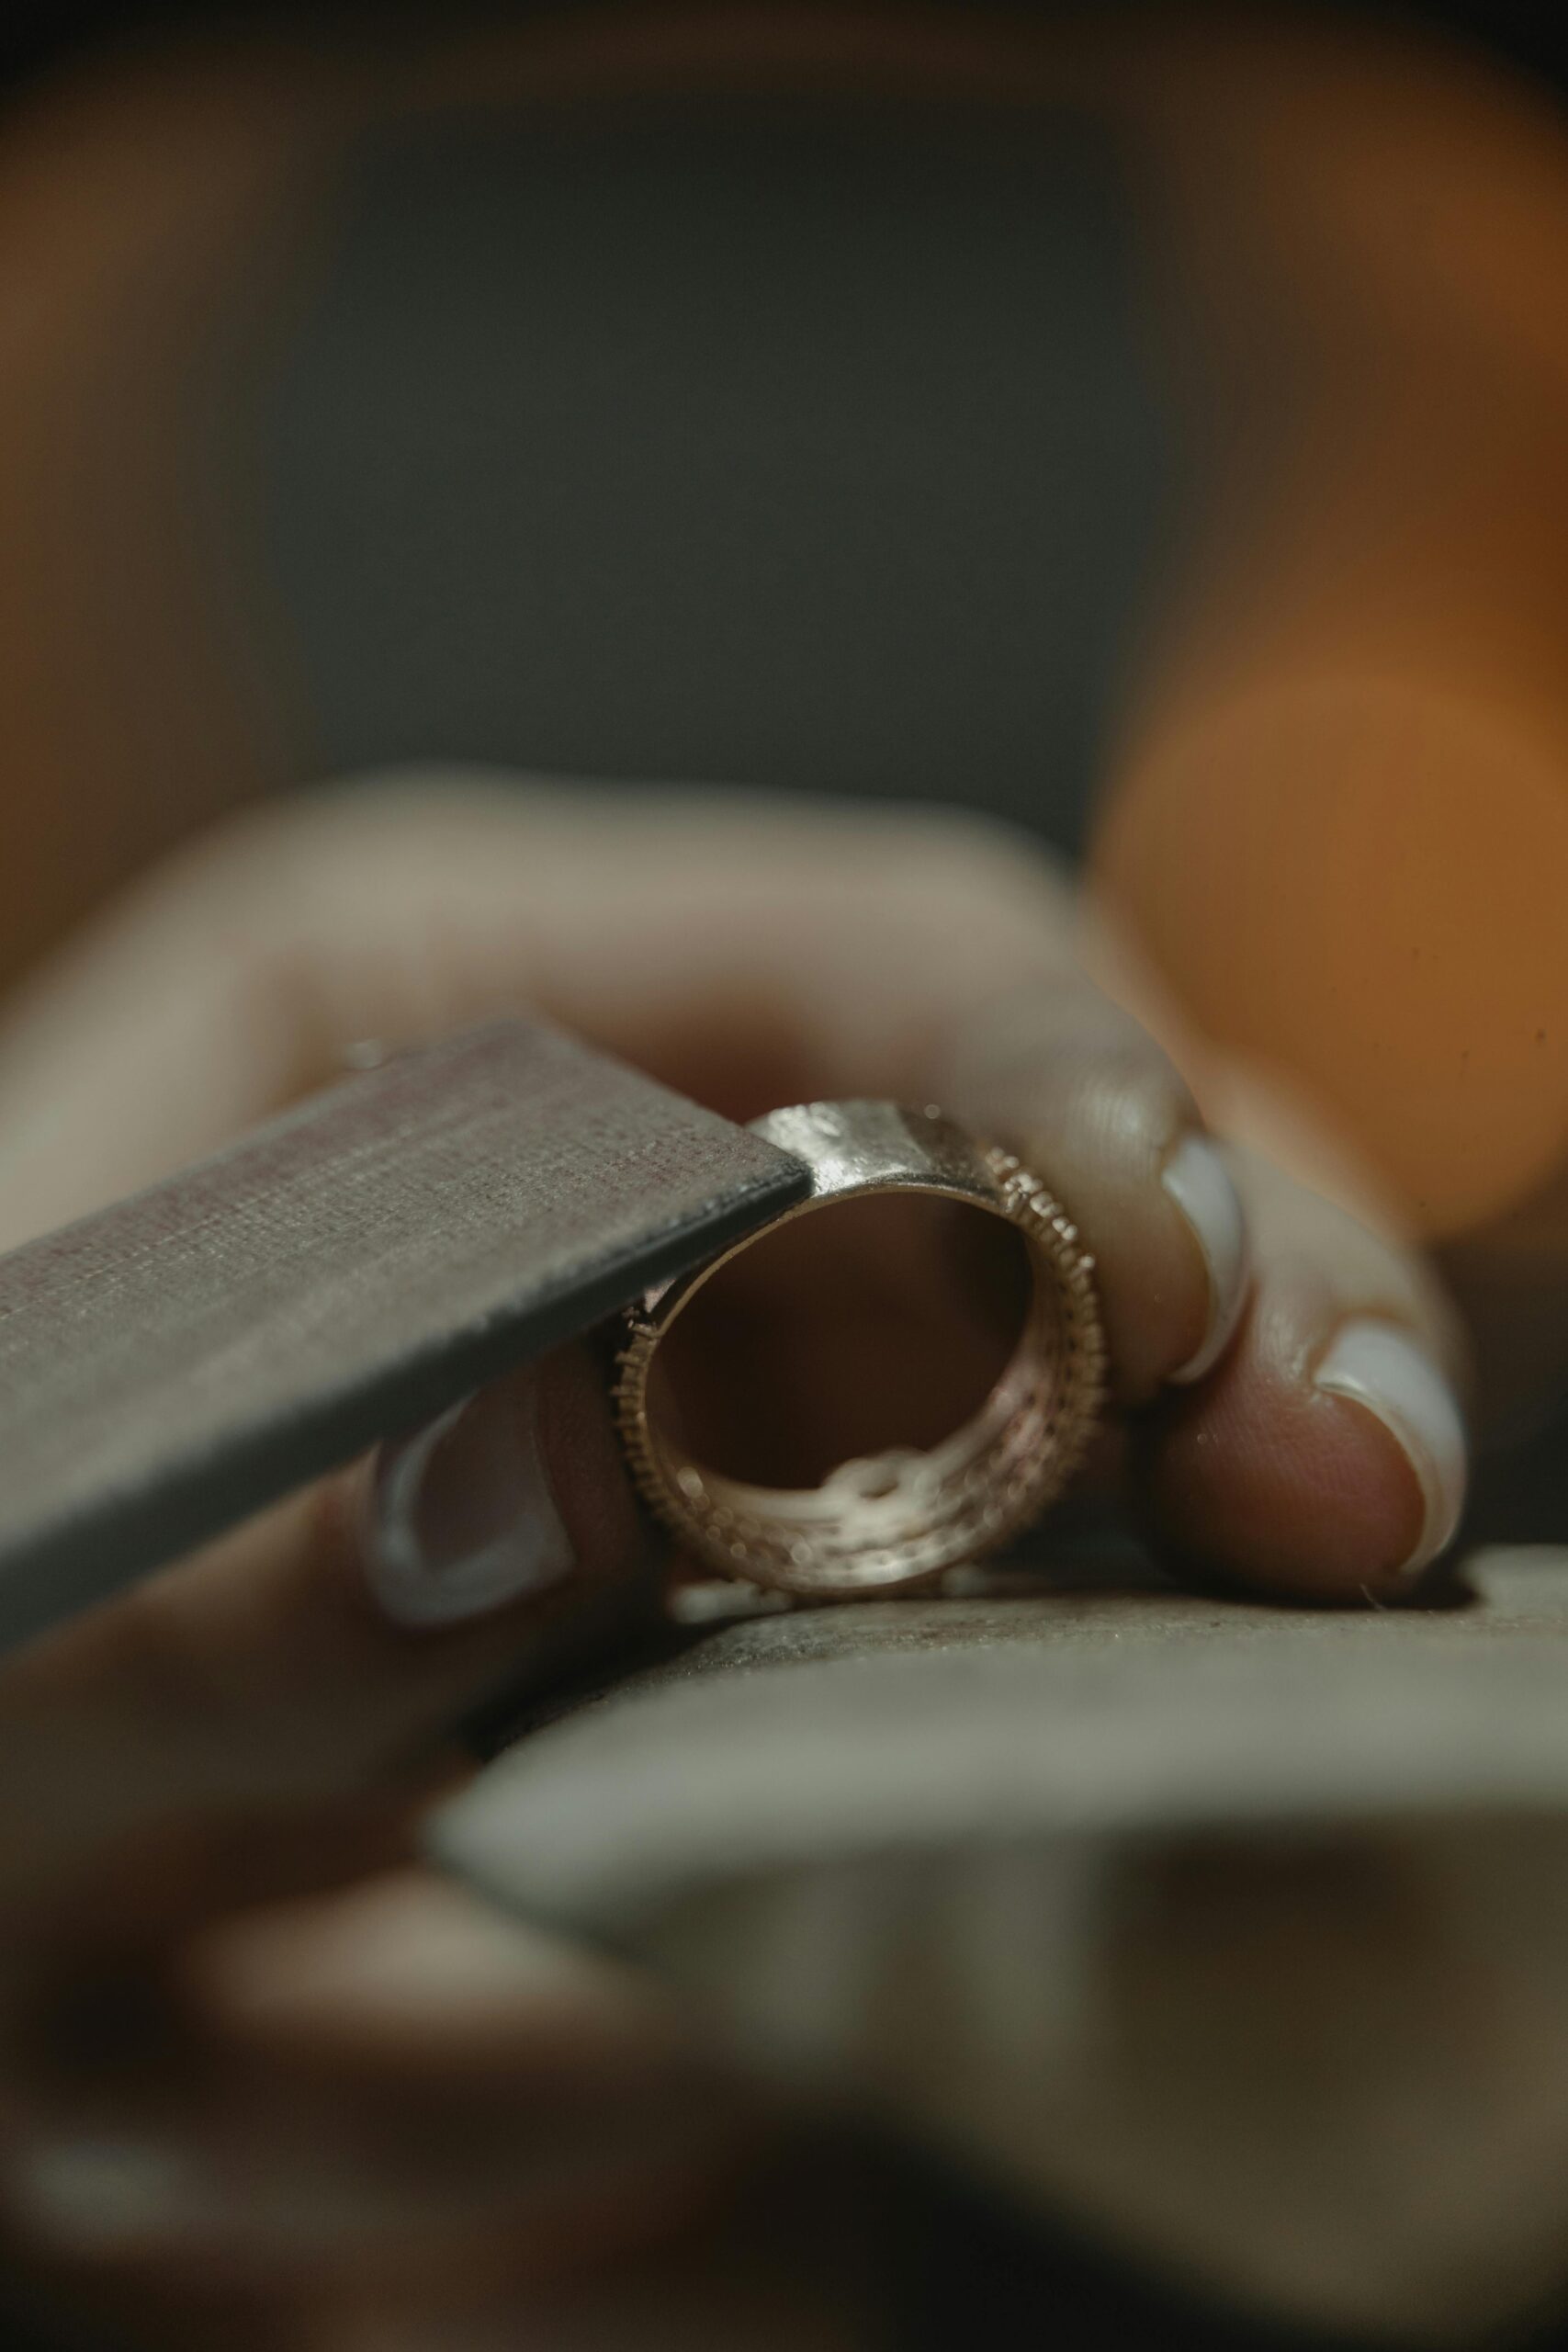
Clean Finishing Makes A Huge Difference
Filing and polishing determine whether the seam disappears visually after soldering.
Inspect carefully for:
- raised seam lines
- flat filing spots
- reflection distortion
- surface scratches
Quick Diagnosis Table
| Problem | Likely Cause |
|---|---|
| Visible seam after polishing | Too much solder or poor filing |
| Solder jumps away | Direct flame on solder |
| Weak seam | Poor seam fit |
| Distorted ring shape | Uneven heating |
| Solder blob forms | Excess solder usage |
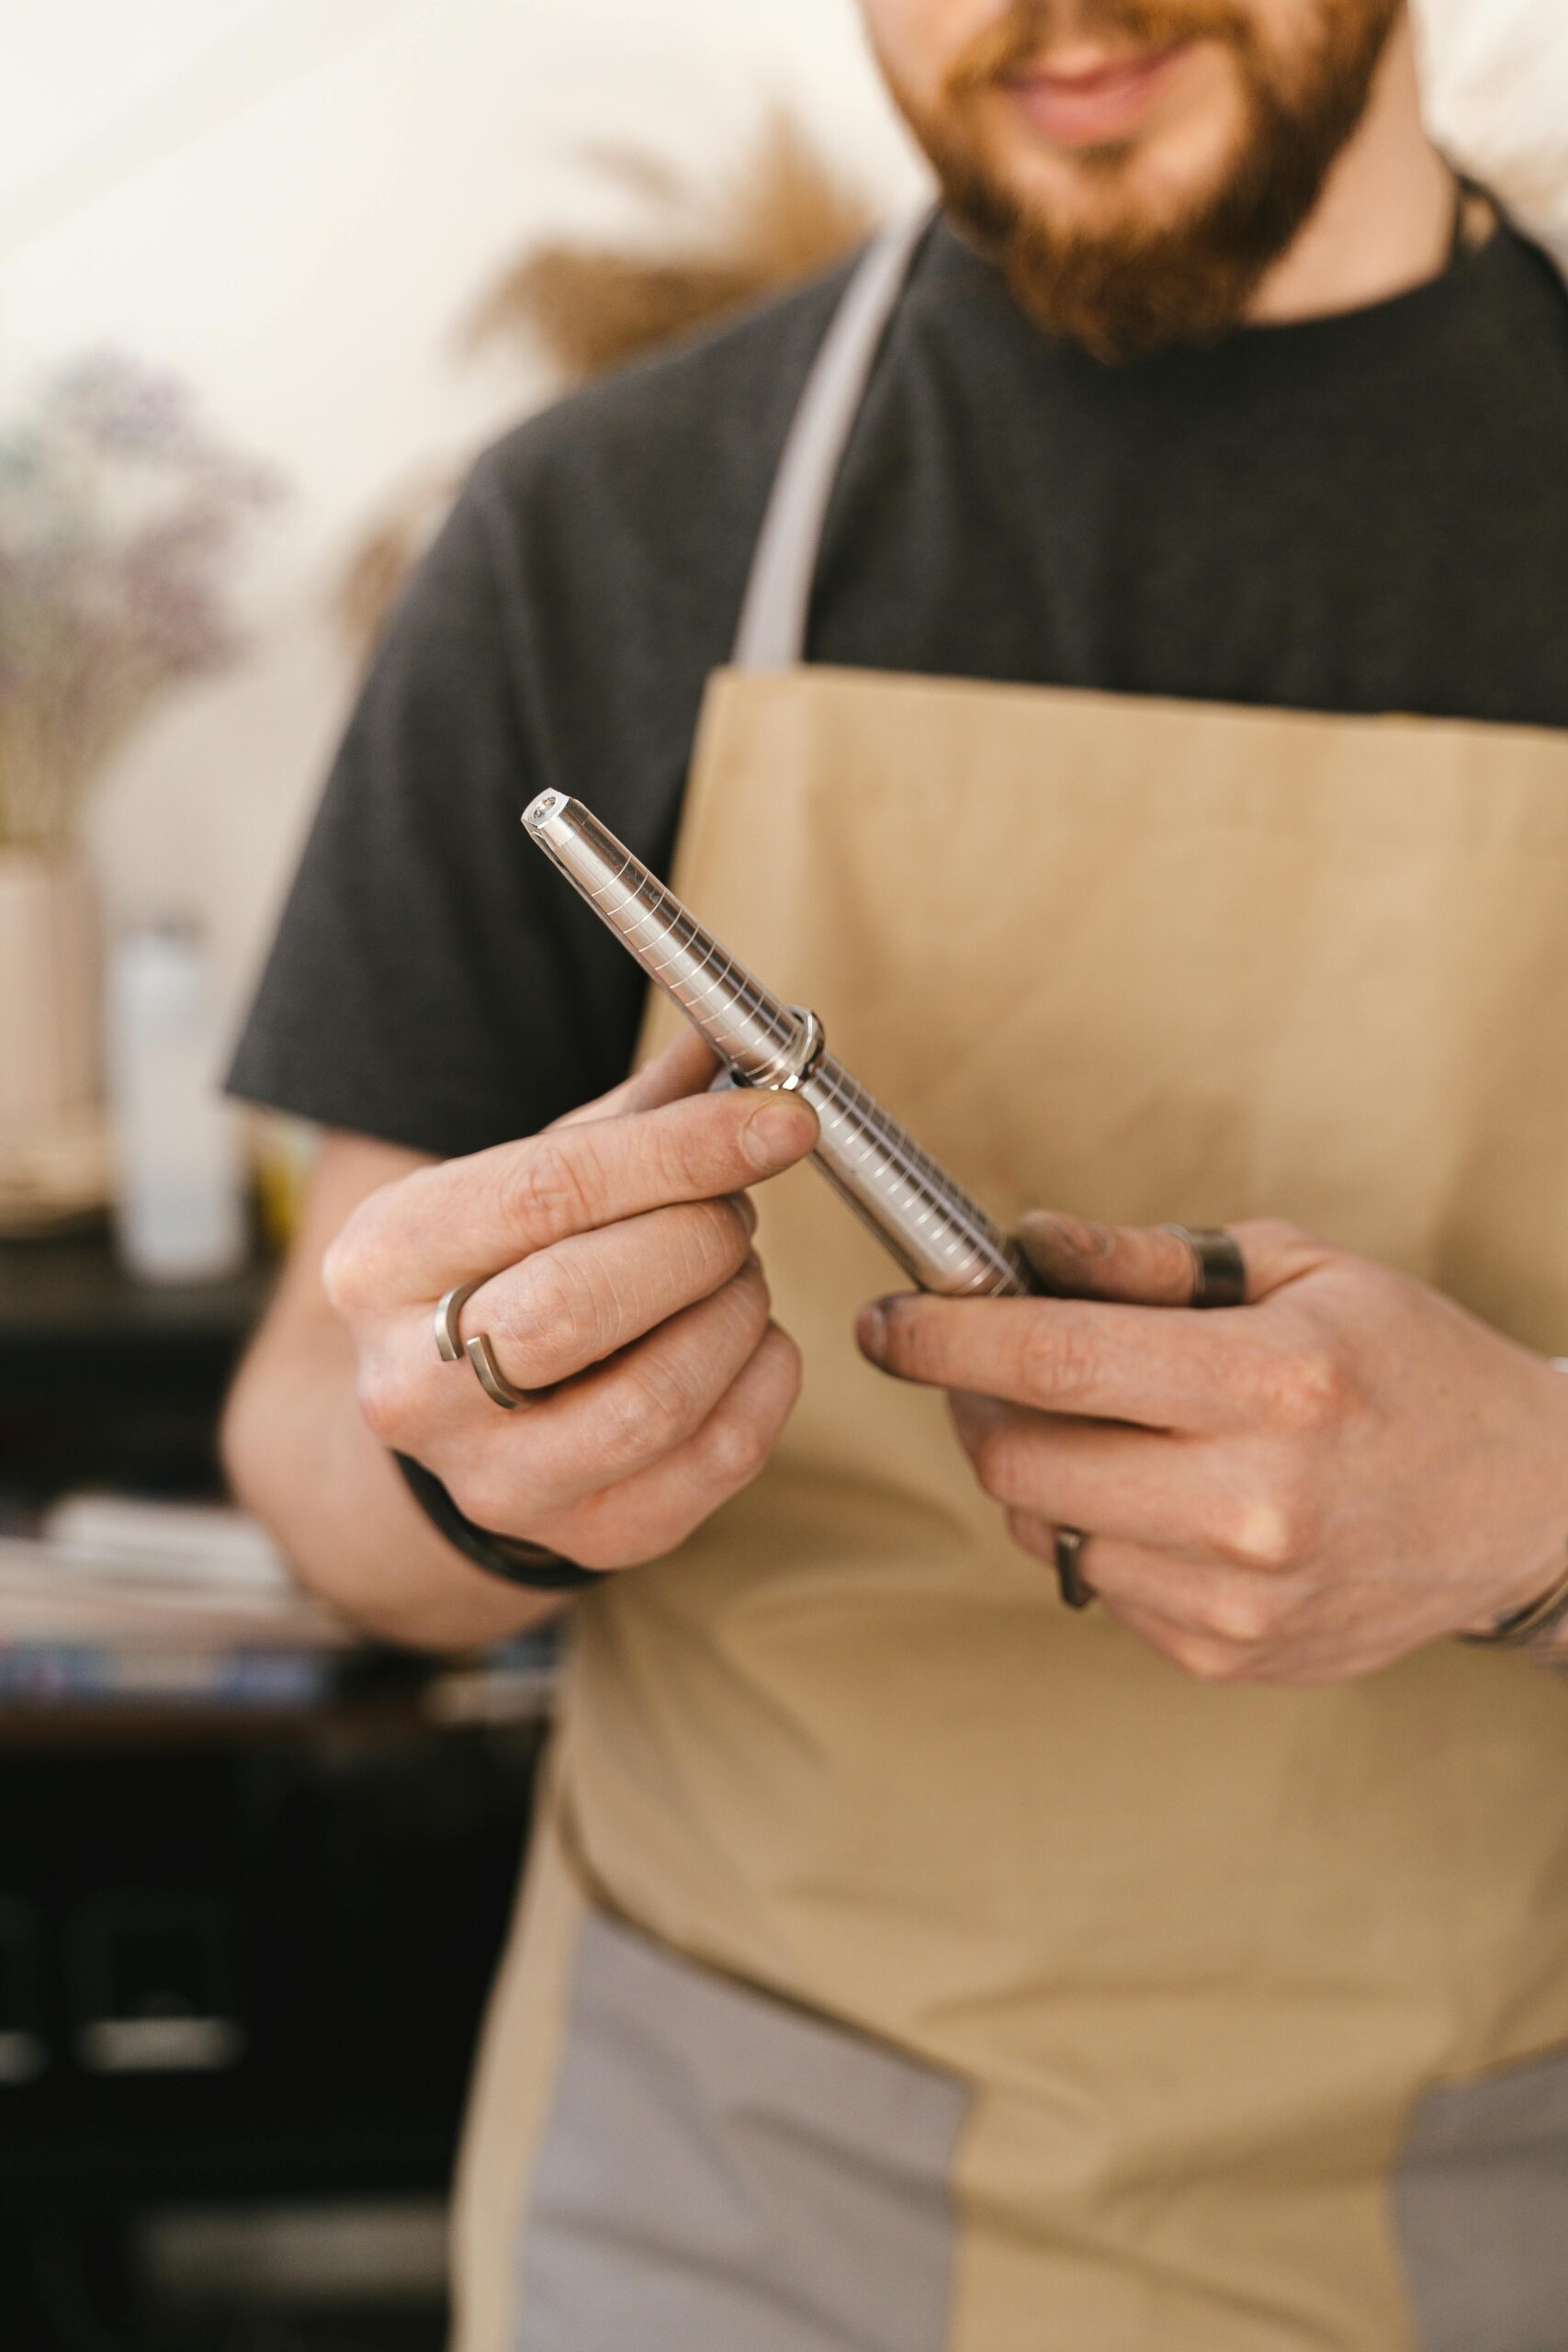
How Professionals Solder Jump Rings
Professional jewelers usually prioritize seam preparation and controlled heat rather than aggressive torch intensity.
- tight seam alignment
- minimal solder quantity
- balanced heating
- careful surface cleanup
- constant seam inspection
Related Jewelry Guides
Final Thoughts
Clean jump ring soldering depends mostly on precision, seam preparation and careful heat balance.
Tight seams, minimal solder and controlled finishing usually create the cleanest professional jump ring results.