
What Is Sweat Soldering?
Sweat soldering is a technique where solder is first melted onto one metal surface, then reheated later to join a second component.
The method is commonly used for:
- large silver backplates
- bezel assemblies
- layered sheet designs
- overlay work
- complex solder positioning
Why Jewelers Use Sweat Soldering
The technique allows better control over solder quantity and seam placement.
Sweat soldering is especially useful when:
- surfaces are broad and flat
- solder placement is difficult
- minimal cleanup is important
- symmetry must remain clean
- visible solder seams must be reduced
Prepare The Metal Surfaces Carefully
Clean metal surfaces are critical for successful sweat soldering.
Poor preparation may cause:
- weak seams
- uneven solder flow
- trapped gaps
- visible seam lines
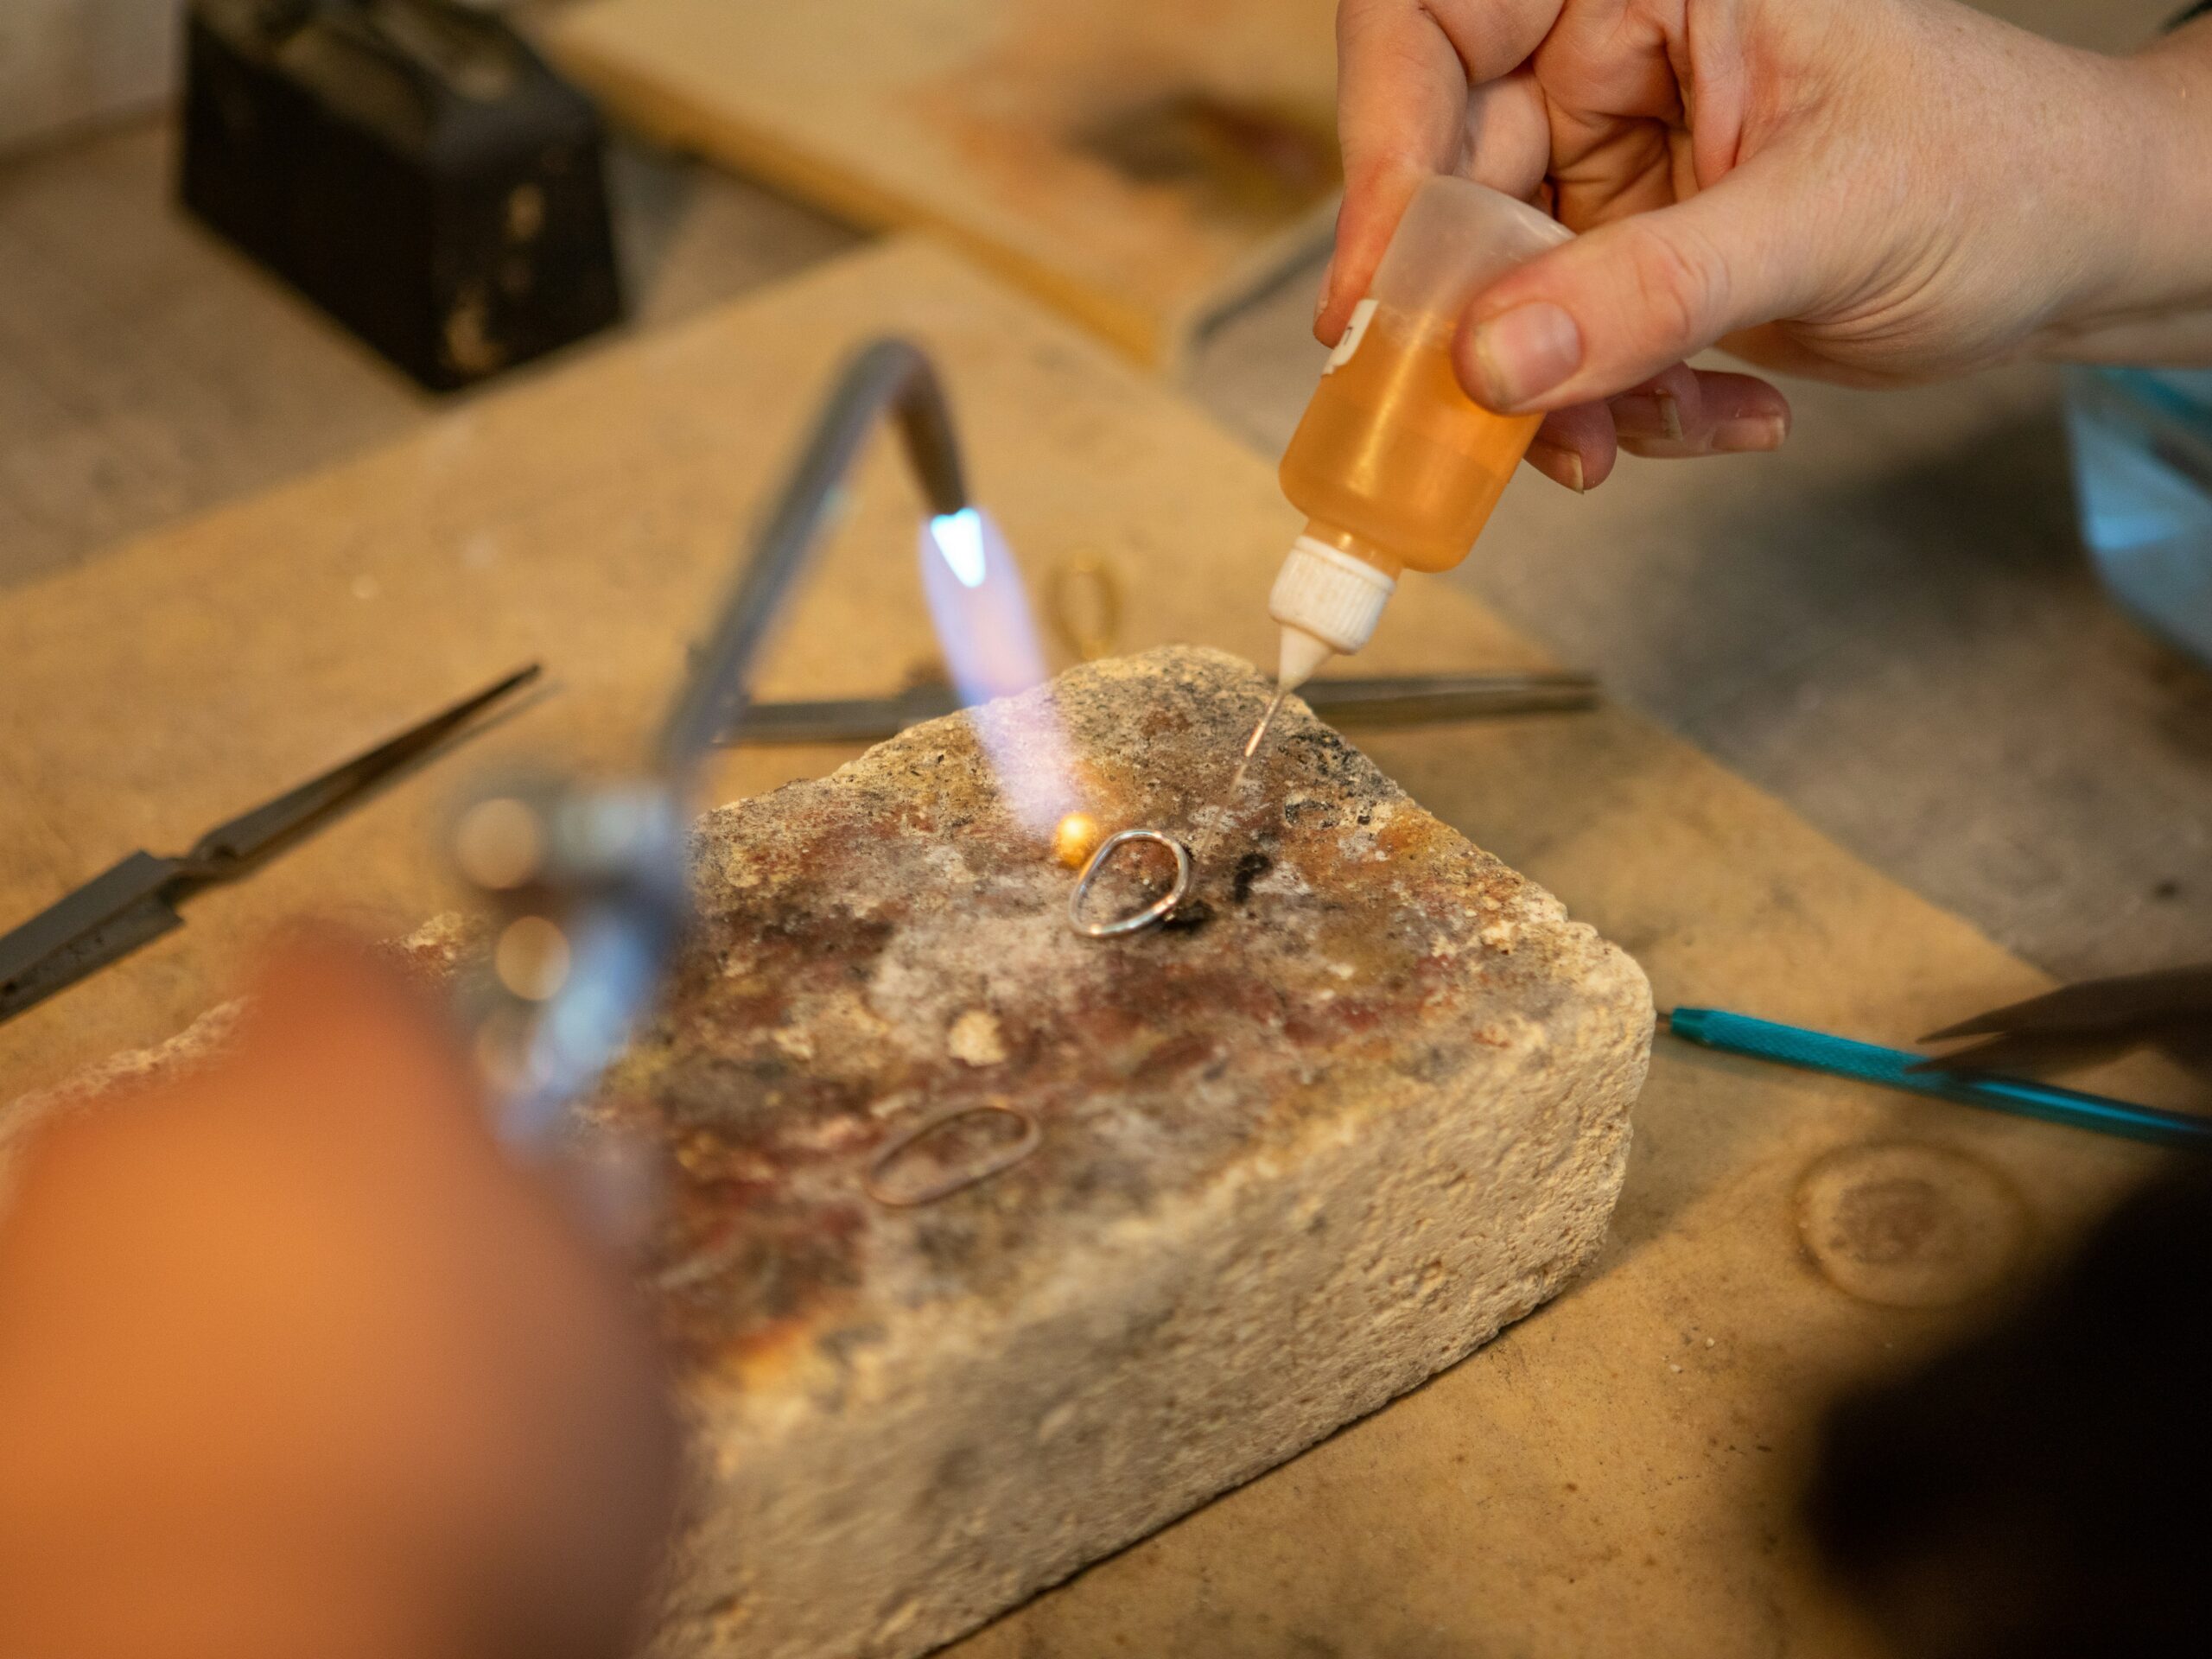
Apply Solder Evenly
Small solder pallions are usually melted onto one surface first before assembly.
The goal is to create a thin even solder layer instead of heavy solder buildup.
- use minimal solder
- spread solder evenly
- avoid large solder blobs
- inspect surface reflections
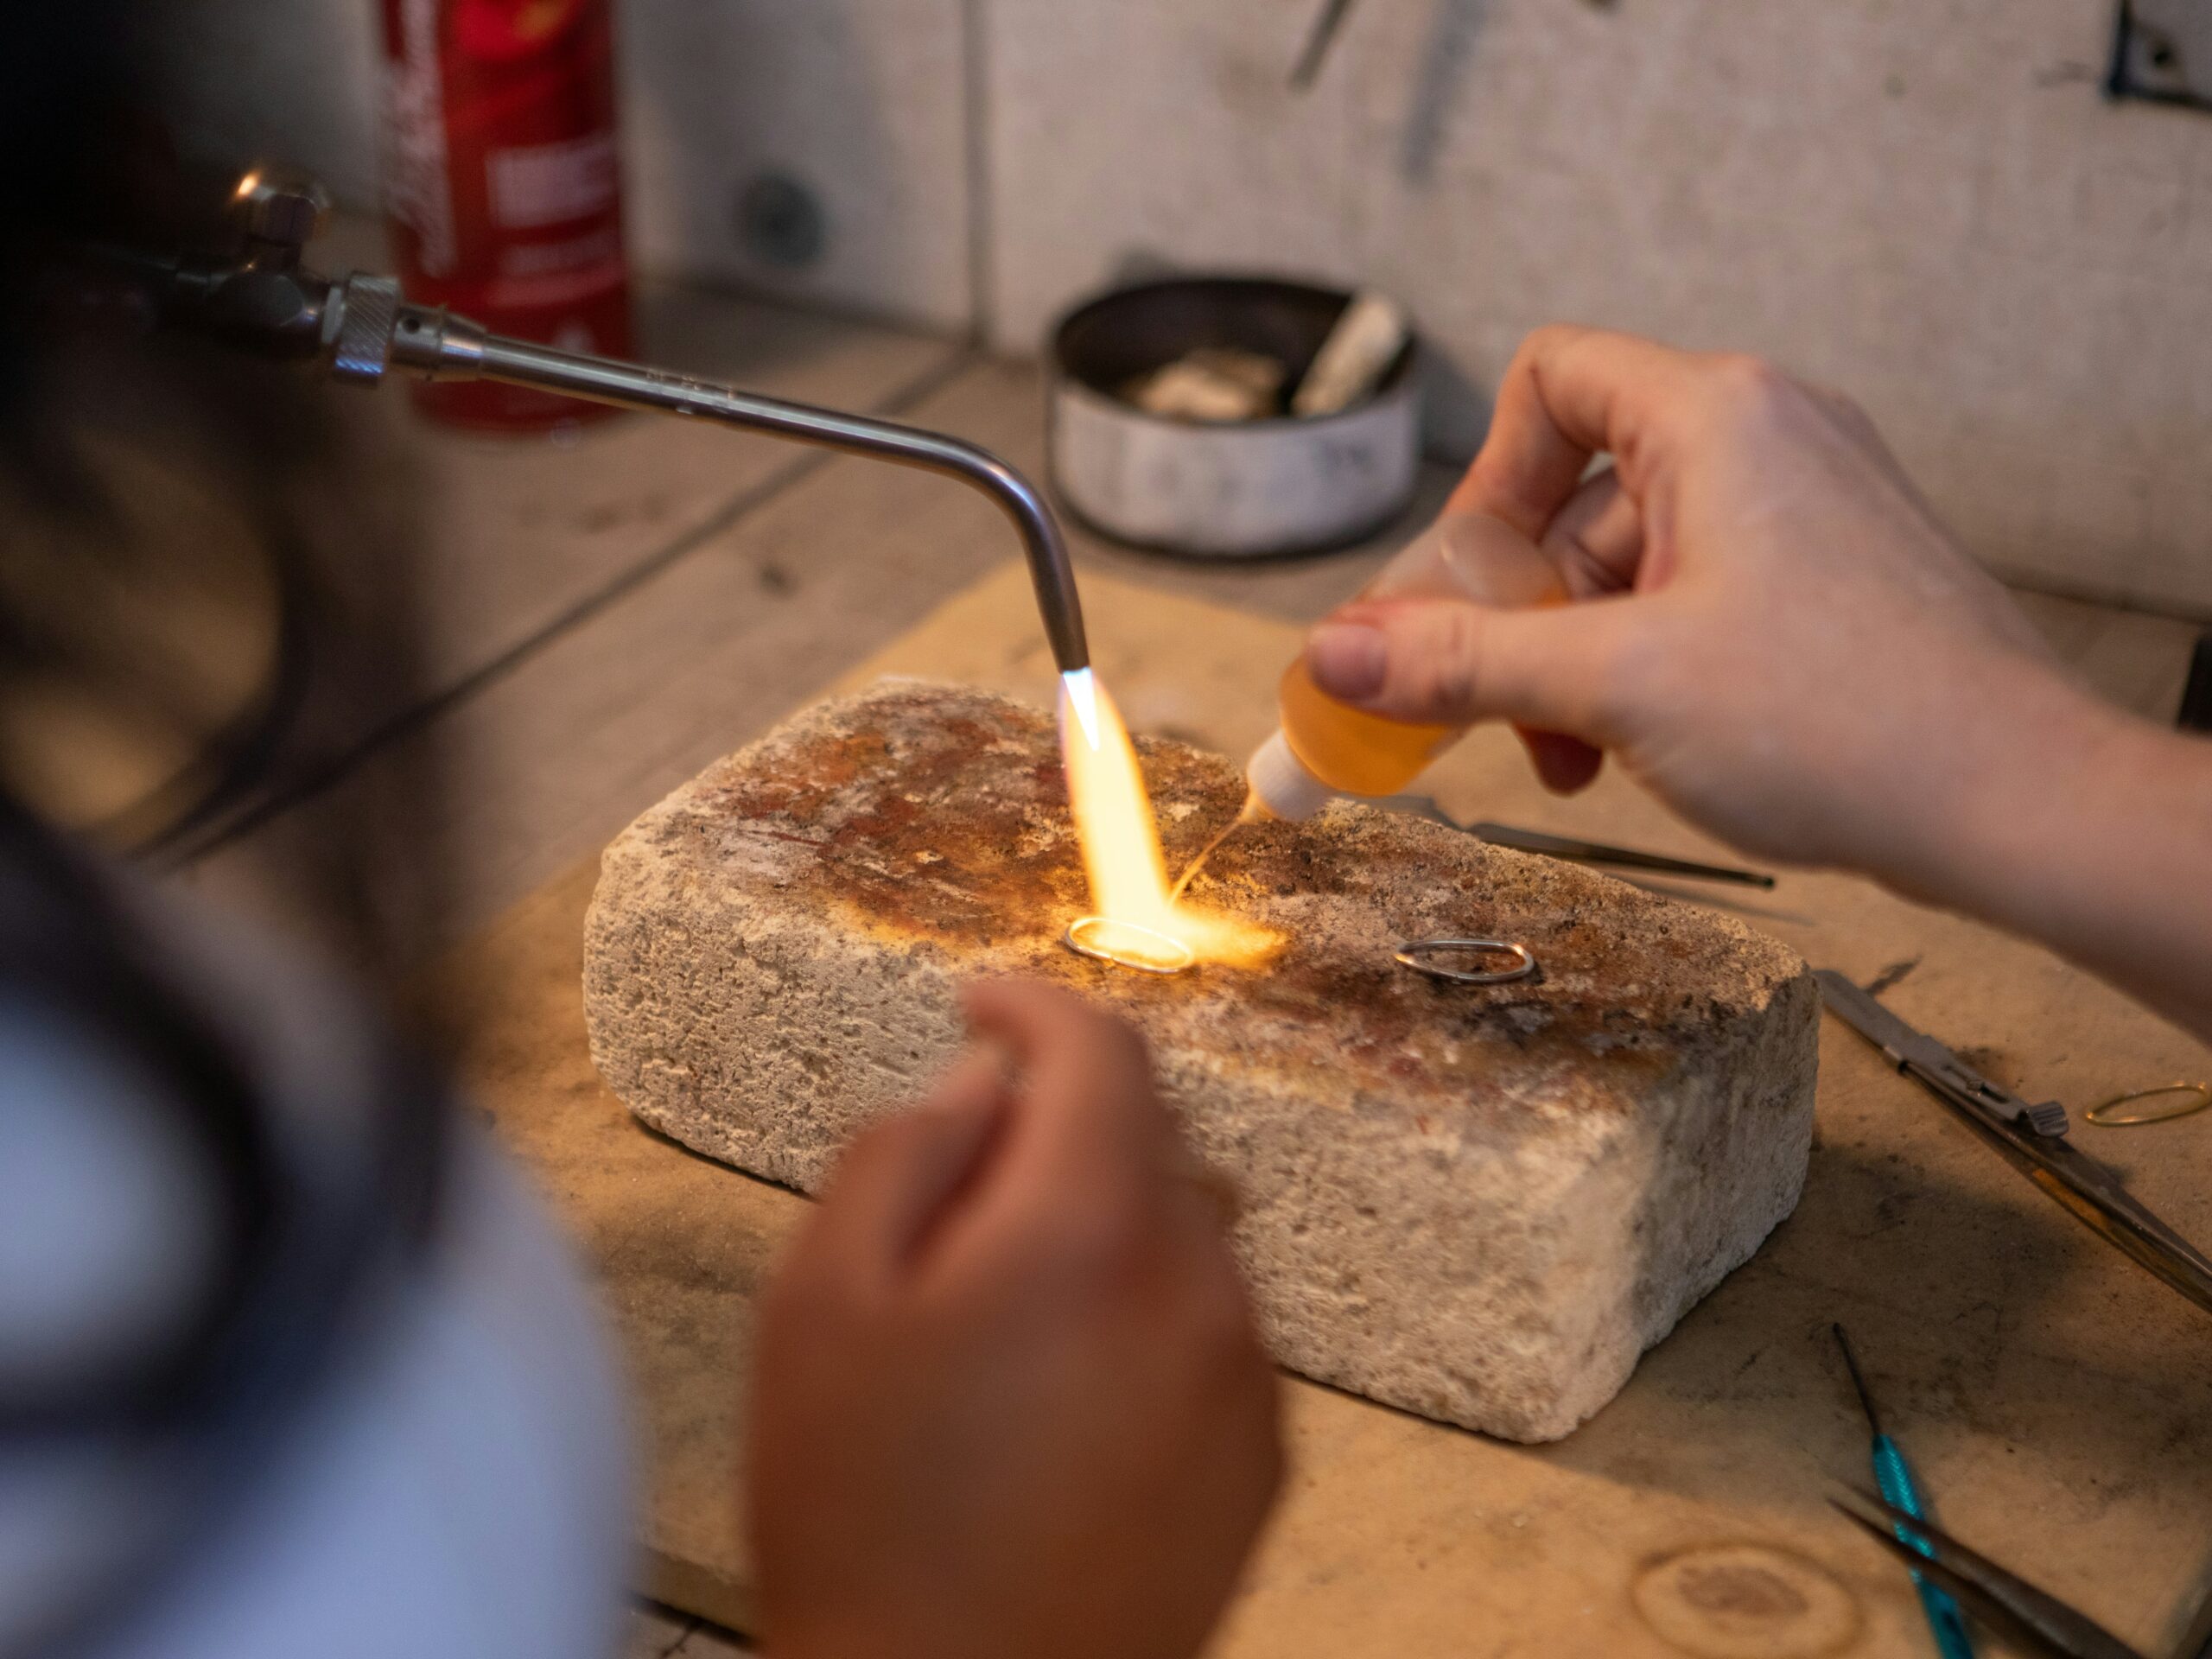
Heat Distribution Matters
Sweat soldering depends heavily on balanced heating across both components.
Uneven heating often creates:
- partial solder flow
- trapped air gaps
- warping
- visible seam areas
Watch For Trapped Air
Flat silver surfaces can trap air pockets during assembly.
Trapped gaps may prevent complete solder flow across the joint.
- press surfaces evenly
- avoid warped sheet metal
- inspect alignment before heating
- maintain stable positioning
Too Much Solder Creates Problems
Excess solder often spreads unpredictably and becomes visible after polishing.
Heavy solder buildup may create:
- visible seam shadows
- surface distortion
- cleanup difficulties
- uneven reflections
Quick Diagnosis Table
| Problem | Likely Cause |
|---|---|
| Partial seam bonding | Uneven heat distribution |
| Visible solder line | Excess solder volume |
| Warped sheet metal | Overheating during flow |
| Weak seam areas | Poor surface contact |
| Patchy solder flow | Dirty metal surfaces |
How Professionals Sweat Solder Cleanly
Professional sweat soldering usually focuses on preparation and control rather than aggressive heating.
- thin solder layers
- tight metal contact
- controlled flame movement
- minimal overheating
- careful surface refinement afterward
Related Soldering Guides
Final Thoughts
Sweat soldering is one of the most valuable techniques for creating clean layered silver assemblies with controlled solder seams.
Careful preparation, balanced heat and minimal solder usage usually produce the cleanest and most professional sweat soldered jewelry results.