JEWELRY SOLDERING REFERENCE

Types Of Silver Solder Explained

Learn the differences between hard, medium and easy silver solder for jewelry making, including solder flow order, seam planning, fabrication workflow and practical silversmithing techniques.

Silver solder material prepared for cutting and controlled jewelry soldering
Solder Basics

What Is Silver Solder?

Silver solder is a metal alloy used to join silver components during jewelry fabrication. It melts at a lower temperature than sterling silver itself, allowing jewelers to create strong seams without melting the entire piece.

Different types of silver solder flow at different temperatures. This allows multiple soldering operations to happen on the same piece when the soldering order is planned carefully.

It joins metal Silver solder bonds clean silver components through a properly heated seam.
It flows below silver’s melting point The solder melts before the main sterling silver piece melts.
It needs clean contact Solder does not glue dirty, open or poorly fitted seams together.
It allows staged fabrication Different flow temperatures let jewelers plan several soldering steps.
Silver solder material prepared for cutting and controlled jewelry soldering
Silver solder grade matters because later soldering steps can accidentally reflow earlier seams if the order is not planned.
Main Grades

The Main Types Of Silver Solder

Jewelry makers typically use three main silver solder grades: hard solder, medium solder and easy solder. Each grade flows at a different temperature and is chosen based on where you are in the fabrication sequence.

The usual idea is simple: use the highest-flow solder first, then move to lower-flow solder for later steps.

Hard solder Used first for early structural seams that may be heated again later.
Medium solder Used for secondary soldering steps after the main structure is complete.
Easy solder Used last for final attachments, repairs or delicate late-stage operations.
Wrong order risk Using low-flow solder too early can make earlier seams reflow later.
Fabrication Planning

Why Different Solder Types Matter

Multiple solder grades allow jewelers to solder complex pieces in stages without re-melting earlier seams. This matters when a project has more than one joint.

For example, a ring shank may first be soldered with hard solder. Later decorative elements, bezels or small attachments can then be joined with medium or easy solder so the original seam is less likely to open again.

Ring seams followed by attachments The first seam needs to survive later torch work.
Bezel assemblies Several soldering stages may need different grades.
Layered silver fabrication Planning helps protect earlier joins while adding new layers.
Repairs and old seams Previous solder joints can reflow if later heat is not controlled.
Silver solder material prepared for cutting and controlled jewelry soldering
Sheet, wire and paste solder all still depend on clean metal, tight contact and controlled heat.
Solder Forms

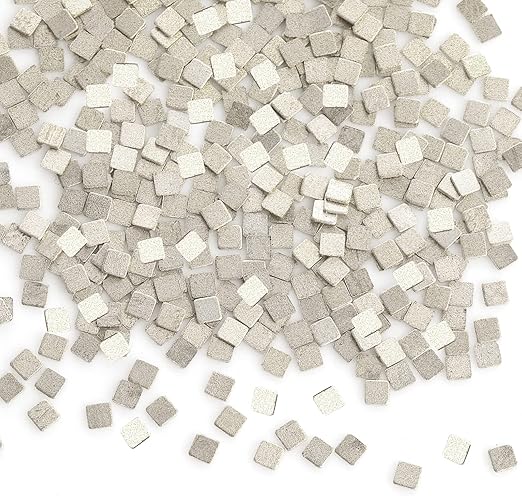
Silver Solder Sheet, Wire And Paste

Silver solder is commonly sold as sheet, wire or paste. Many jewelers prefer sheet solder because it can be cut into small, consistent chips for controlled placement.

Wire solder is convenient for some applications, while paste solder combines solder and flux and is often used for production work or difficult-to-reach joints.

Sheet solder Useful for cutting precise, repeatable solder chips.
Wire solder Fast and convenient for some seam and repair situations.
Paste solder Combines solder and flux for specific production or hard-to-reach jobs.
Same preparation rules The form of solder never replaces seam preparation.
First Operations

Hard Silver Solder

Hard solder has the highest flow temperature of the common silver solder grades. It is usually used for the first structural seams during fabrication.

Because hard solder flows at a higher temperature, later soldering operations can often happen with medium or easy solder without disturbing the original hard-soldered seam.

First ring seams A structural seam often needs to survive later soldering operations.
Early structural joins Hard solder is useful where strength and future heat exposure matter.
Base assemblies Use higher-flow solder first when the assembly will be built in stages.
Heated again later Hard solder gives later operations more temperature room.
Middle Operations

Medium Silver Solder

Medium solder flows at a slightly lower temperature than hard solder. It is commonly used during middle fabrication stages after initial seams are completed.

Many jewelers use medium solder when attaching bezels, decorative elements or secondary structural parts. It gives a useful balance between strength, control and lower reflow risk.

Main seam already complete Medium solder is useful after the first structural join is finished.
Secondary components Bezels, decorations and additions often fit this stage.
Reliable strength and control Medium solder balances usability with staged solder planning.
Less reflow risk Earlier hard-soldered seams are less likely to move if heat is controlled.
Jewelry soldering workbench setup with torch, tools and heat-safe surface
Medium solder is often used after the main structure is complete, but earlier seams can still move if later heat is careless.
Final Operations

Easy Silver Solder

Easy solder has the lowest flow temperature of the standard solder grades. It is commonly used for final soldering operations, repairs and delicate attachments.

Because it melts more easily, it can help reduce the risk of disturbing previous seams. But easy solder should not automatically be treated as better or more beginner-friendly.

Final attachments Useful late in the build when previous seams need protection.
Small repairs Can reduce heat needed near old solder joints.
Late-stage operations Often used near completed or delicate areas.
Not a shortcut Easy solder still needs proper fit, clean metal and good heat control.
Silver solder material prepared for cutting and controlled jewelry soldering
Small solder chips usually create cleaner seams and easier cleanup than oversized pieces.
Solder Preparation

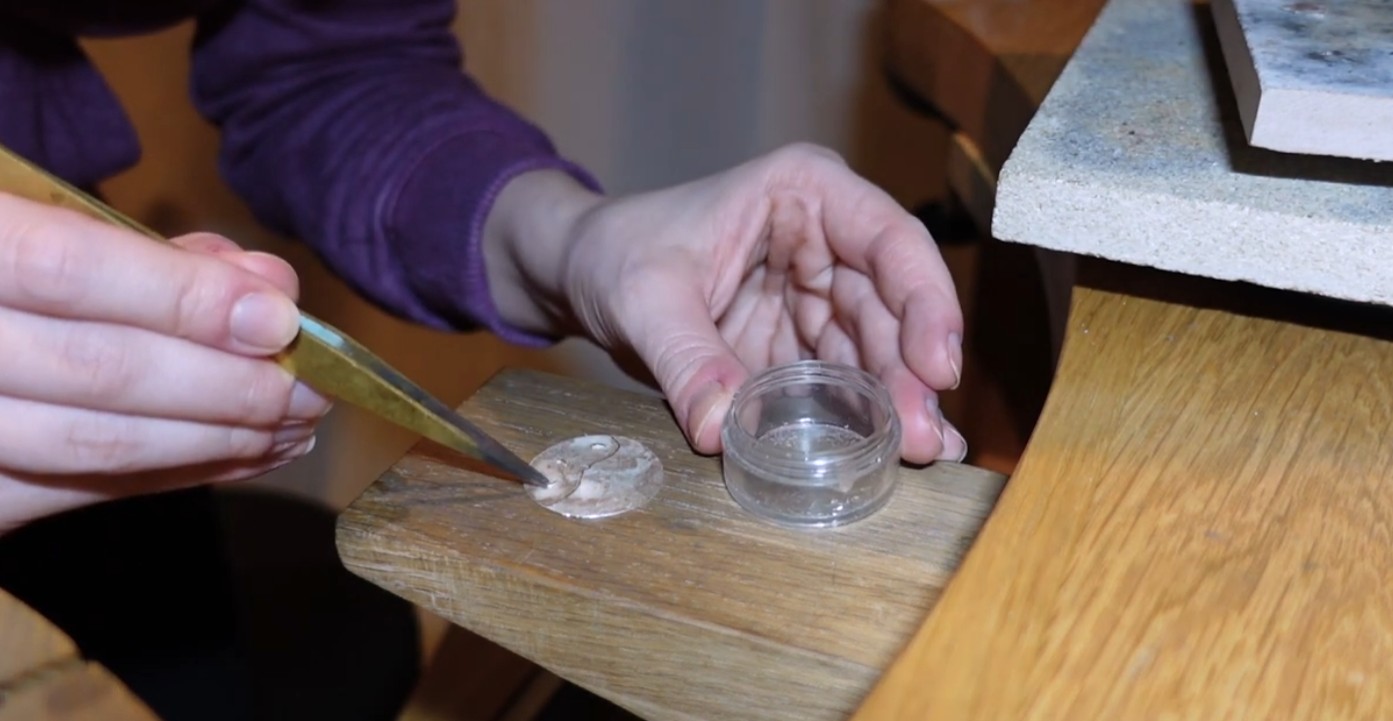
Cutting Solder Chips

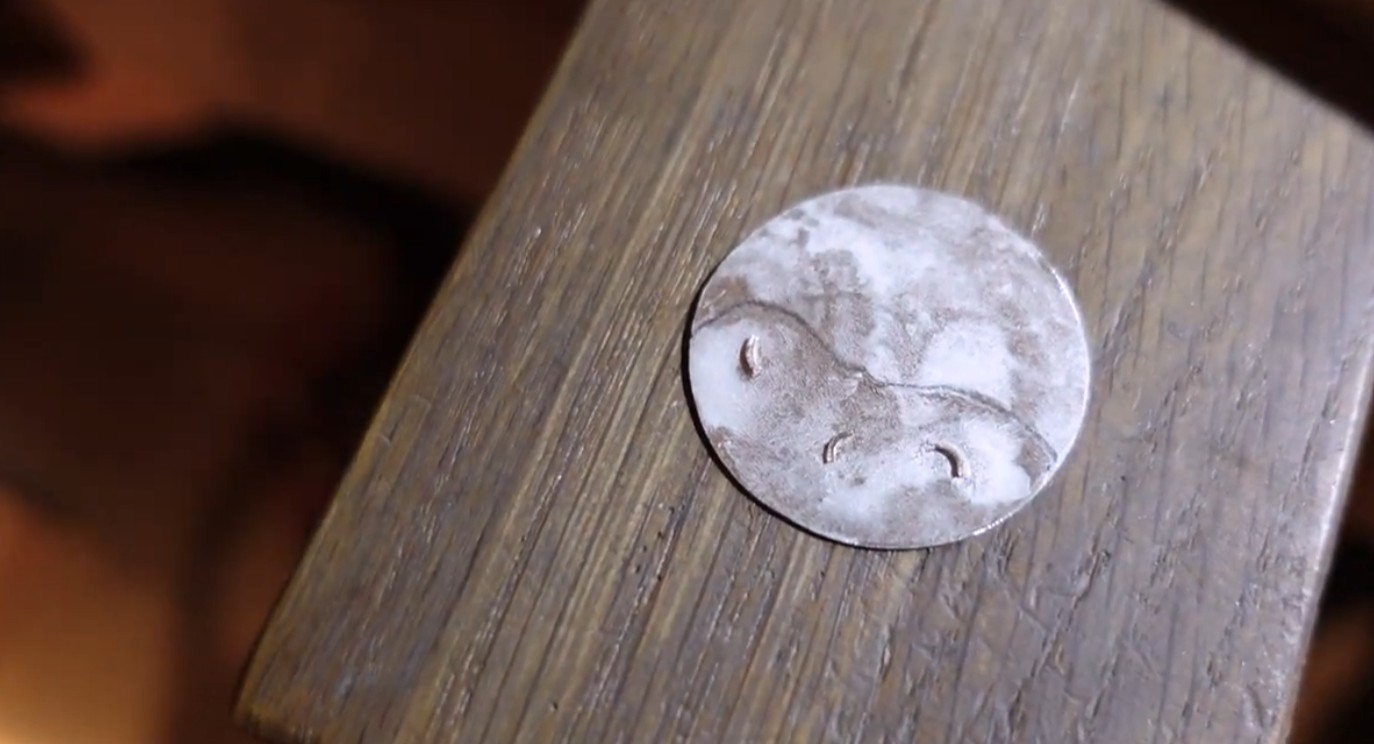
Many jewelers cut small solder chips from sheet solder before soldering. Small solder pieces provide better control and cleaner seams than large pieces.

Using too much solder often creates unnecessary cleanup work, visible excess metal and uneven reflections.

Cut small chips Small pieces are easier to place and easier to control during heating.
Keep grades separate Hard, medium and easy solder should not be mixed accidentally.
Use only what the seam needs Extra solder usually means extra filing and sanding later.
Avoid flooding Oversized solder pieces can spread across the surface and create cleanup problems.
Flux And Flow

Why Flux Matters In Silver Soldering

Flux helps protect silver from oxidation while improving solder flow during heating. Without flux, solder may not flow properly across the seam.

Proper flux application is one of the most important parts of clean jewelry soldering. Flux should be applied before heating begins and should cover the seam area well.
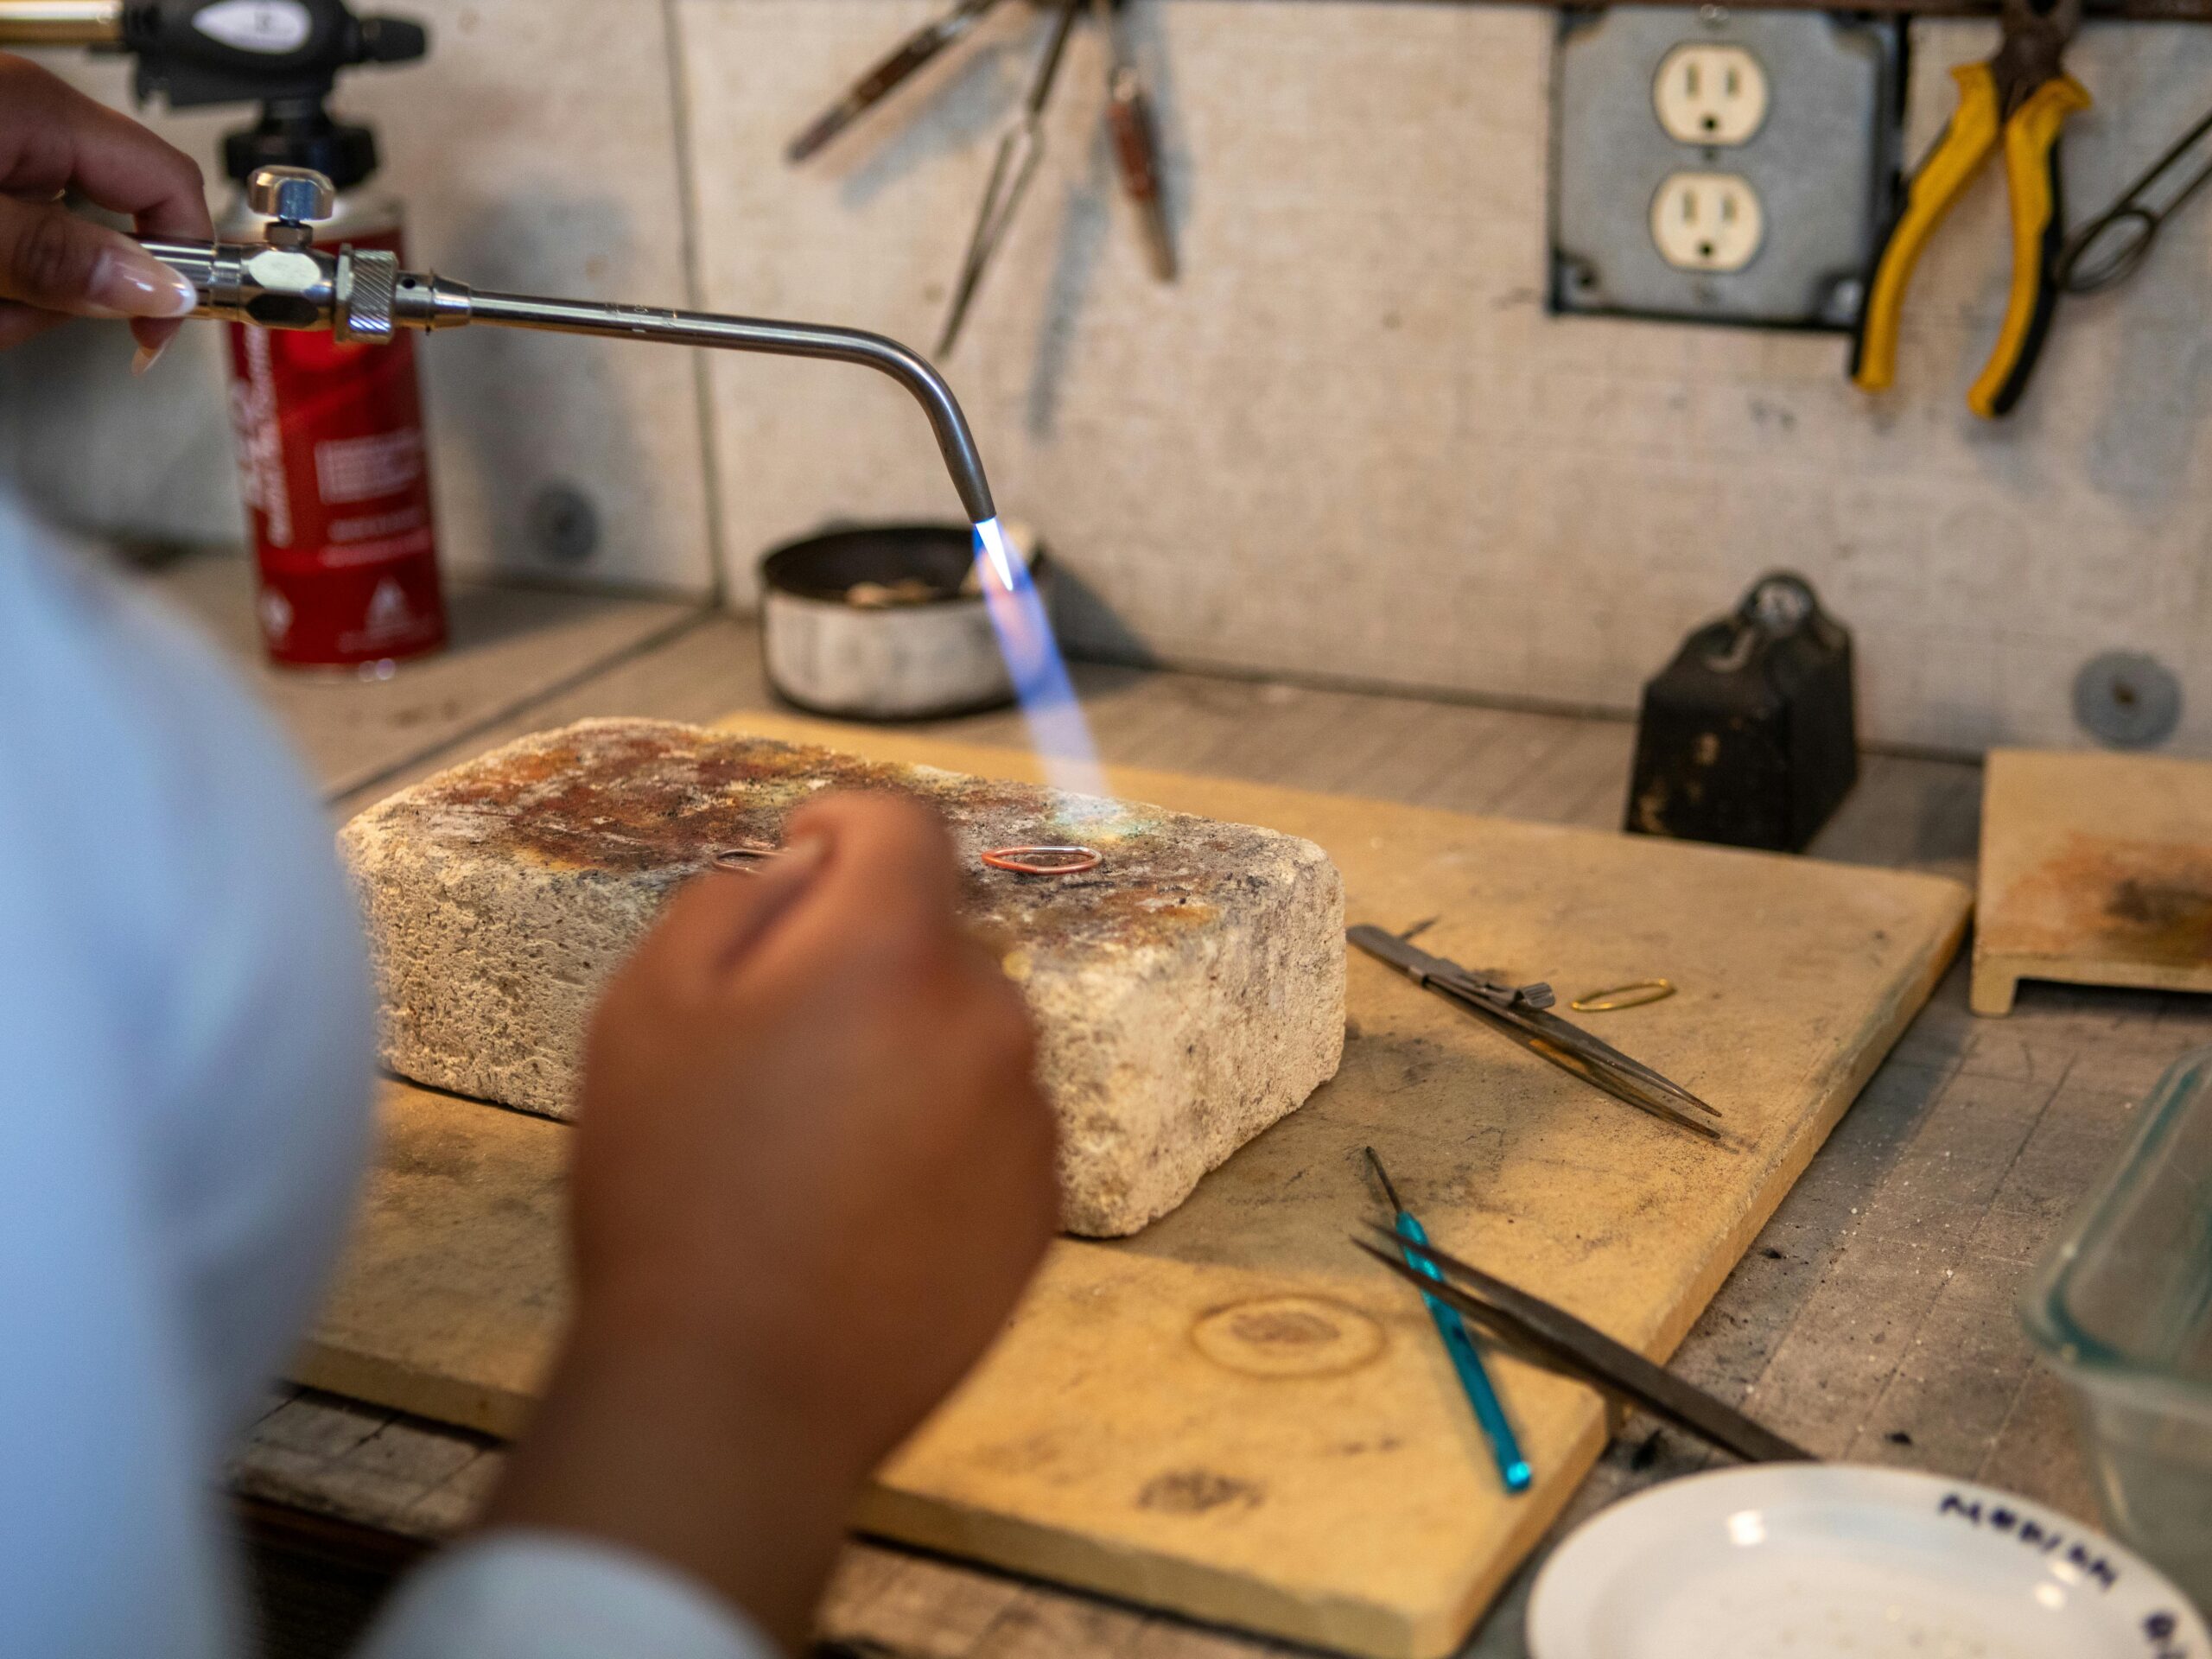
Clean metal Flux helps, but it cannot fix dirty or greasy silver.
Proper flux Protect the seam area before oxidation starts.
Tight seam contact Solder flows best through close, clean contact.
Small solder pieces Controlled solder quantity makes flow easier to manage.
Even heating The metal around the joint must reach soldering temperature together.
Solder Flow

How Solder Flows

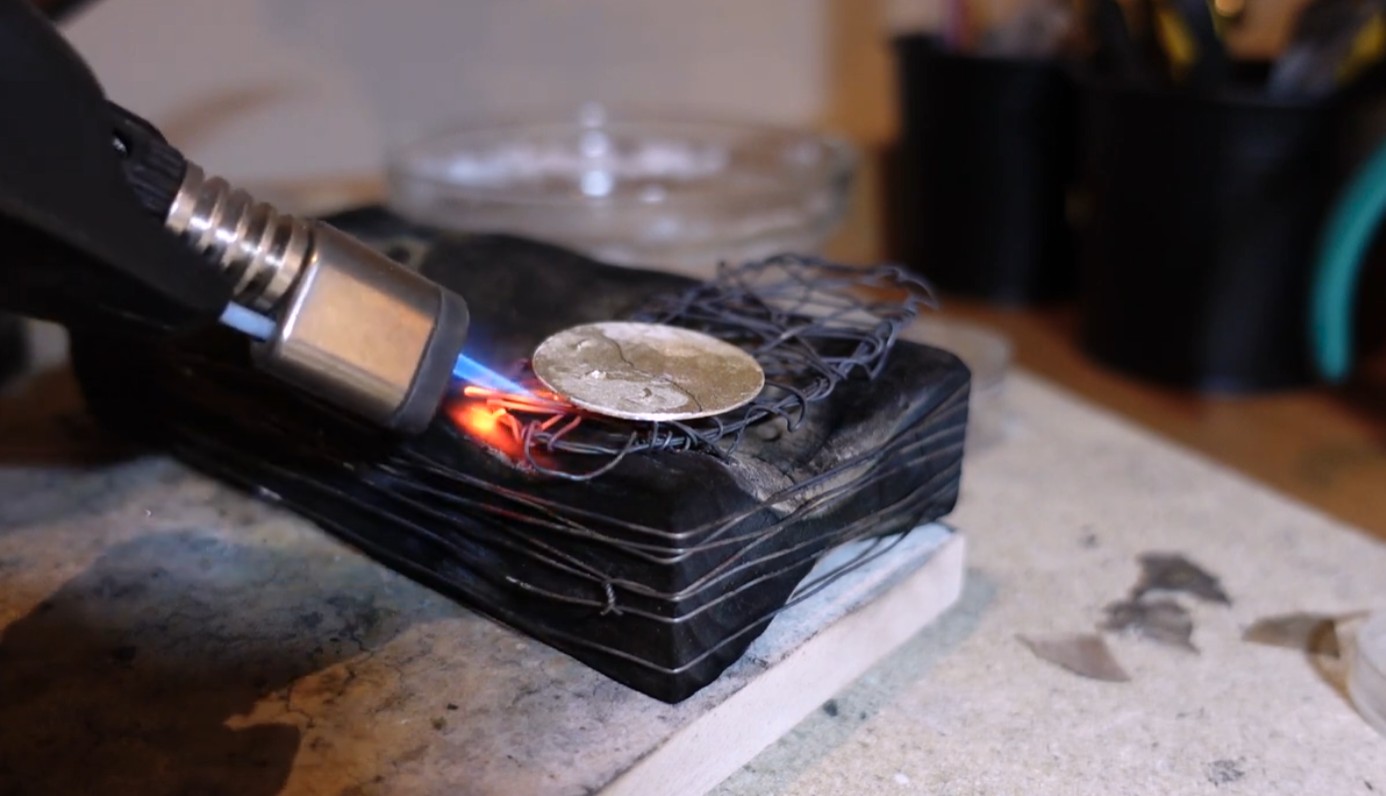
Solder flows toward heat. During jewelry fabrication, the goal is to heat the metal evenly until the solder flows through the seam.

Beginners often focus too much heat directly on the solder itself instead of heating the surrounding metal. That can cause solder to ball up, jump away or sit on the surface.

Heat the metal The seam should be hot enough to draw solder through.
Keep the torch moving A moving flame helps avoid hot spots and partial flow.
Use enough flux Protected metal gives solder a cleaner path.
Place solder close to the seam Short, clean flow paths are easier to control.
Stop once solder flows Extra heat increases oxidation, reflow and cleanup problems.
Small torch heating a silver ring on a soldering block during jewelry soldering
Solder should flow because the metal is ready, not because the flame is focused directly on the solder chip.
Troubleshooting

Common Silver Soldering Mistakes

Most silver soldering problems are caused by preparation, solder quantity, solder order or heat control. Before changing solder type, check whether the seam itself is clean and tight.

Too much solder Large chips rarely solve poor preparation and usually create messy cleanup.
Poor fit The seam must close properly before soldering.
Dirty metal Oil, oxide and residue can stop solder from wetting the surface.
Wrong order Earlier seams may reflow if solder grades are not planned carefully.
Multi-Step Fabrication

Planning Multiple Soldering Operations

Complex jewelry fabrication often requires several separate soldering operations. Using solder grades in the correct sequence helps protect earlier seams from re-melting.

This planning process becomes especially important in stone setting, layered fabrication and complex ring construction.

Identify every joint first Know which seams happen early and which happen late.
Use hard solder for early seams Start with the joints most likely to be heated again.
Use medium for secondary operations Add components after the main structure is complete.
Use easy solder for final attachments Reserve lower-flow solder for late-stage operations when appropriate.
Pickle and inspect between stages Clean surfaces make the next soldering step more predictable.

Choose The Solder Grade Before You Light The Torch

Understanding solder grades improves seam quality, fabrication planning and overall control. Even simple silver rings become easier to fabricate when hard, medium and easy solder are used in the right order.