SOLDERING GUIDE

Why Solder Will Not Flow Properly

Poor solder flow is one of the most common problems in jewelry fabrication. Most soldering failures are caused by heat imbalance, poor joint preparation, oxidation or incorrect torch control rather than defective solder itself.

Jewelry soldering setup with torch and silver work prepared at the bench
Core Principle

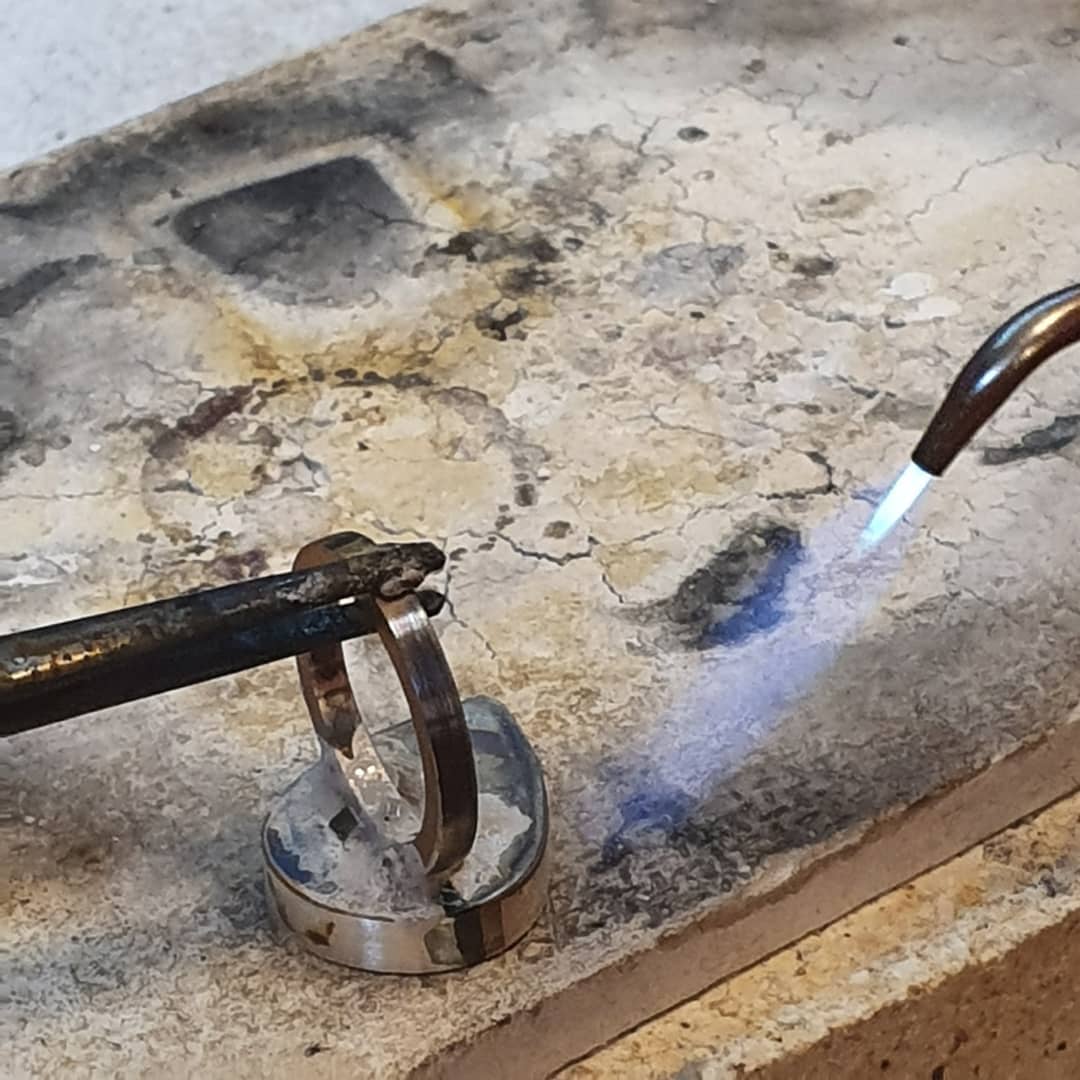
Solder Flows Toward Heat

One of the most important soldering principles is that solder flows toward the hottest clean area of the joint. If the seam is not hot enough, solder may ball up, sit on the surface or move toward a different part of the piece.

Many beginners heat the solder itself instead of heating the metal properly. The solder may melt, but it will not flow through the seam unless the surrounding silver is ready to accept it.

Heat the metal first Solder should melt because the silver is hot enough, not because the flame is aimed at the chip.
Make the seam the target The joint should become the hottest clean path available.
Avoid chasing solder Moving the flame after a loose pallion usually makes heat balance worse.
Watch the full joint The solder chip alone does not tell you whether both sides of the seam are ready.
Silver jewelry soldering bench setup showing torch work and heat-safe surface
Solder flow problems usually begin before the torch is lit. Seam fit, cleanliness, flux coverage and heat balance all decide whether solder will move cleanly.
Joint Fit

Poor Joint Fit Prevents Flow

Solder cannot bridge large gaps effectively. Poorly fitted joints often create weak seams, incomplete solder flow or visible solder buildup after cleanup.

A clean seam gives solder a narrow path to follow. A wide or uneven gap gives solder somewhere to puddle, ball up or fail.

Tight seam contact The joint should close before fluxing, solder placement or heating begins.
Clean metal surfaces Oil, oxide and polishing residue can all interrupt flow.
Stable positioning The parts should not shift while flux dries or solder flows.
Even heat distribution Both sides of the seam need to approach temperature together.
Minimal movement Solder joints are weakest if disturbed before they solidify.
Silver ring seam prepared for soldering with close joint contact
A narrow, well-fitted seam gives solder a predictable path. Wide gaps make solder ball, puddle or stop before the joint is complete.
Surface Condition

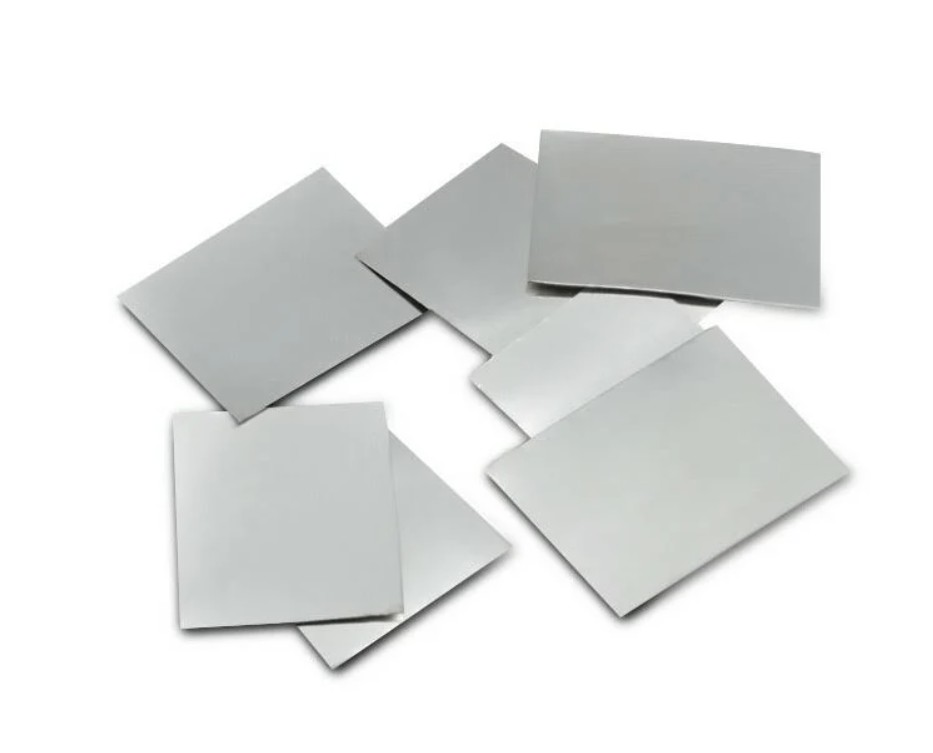
Oxidation Blocks Solder Flow

Oxidized silver surfaces resist solder flow and often create patchy, incomplete seams. Even if the solder melts, it may not wet the metal if the surface is dirty or oxidized.

This is why clean preparation and flux matter so much. Silver can oxidize quickly under heat, and solder will avoid areas where the surface condition is poor.

Finger oils and dirt Handling cleaned seams can add contamination before soldering starts.
Old oxidation Oxide on the metal can prevent solder from wetting the seam.
Dirty solder scraps Contaminated solder can behave unpredictably under heat.
Fire scale buildup Heat damage and oxidation can make both flow and finishing worse.
Flux Coverage

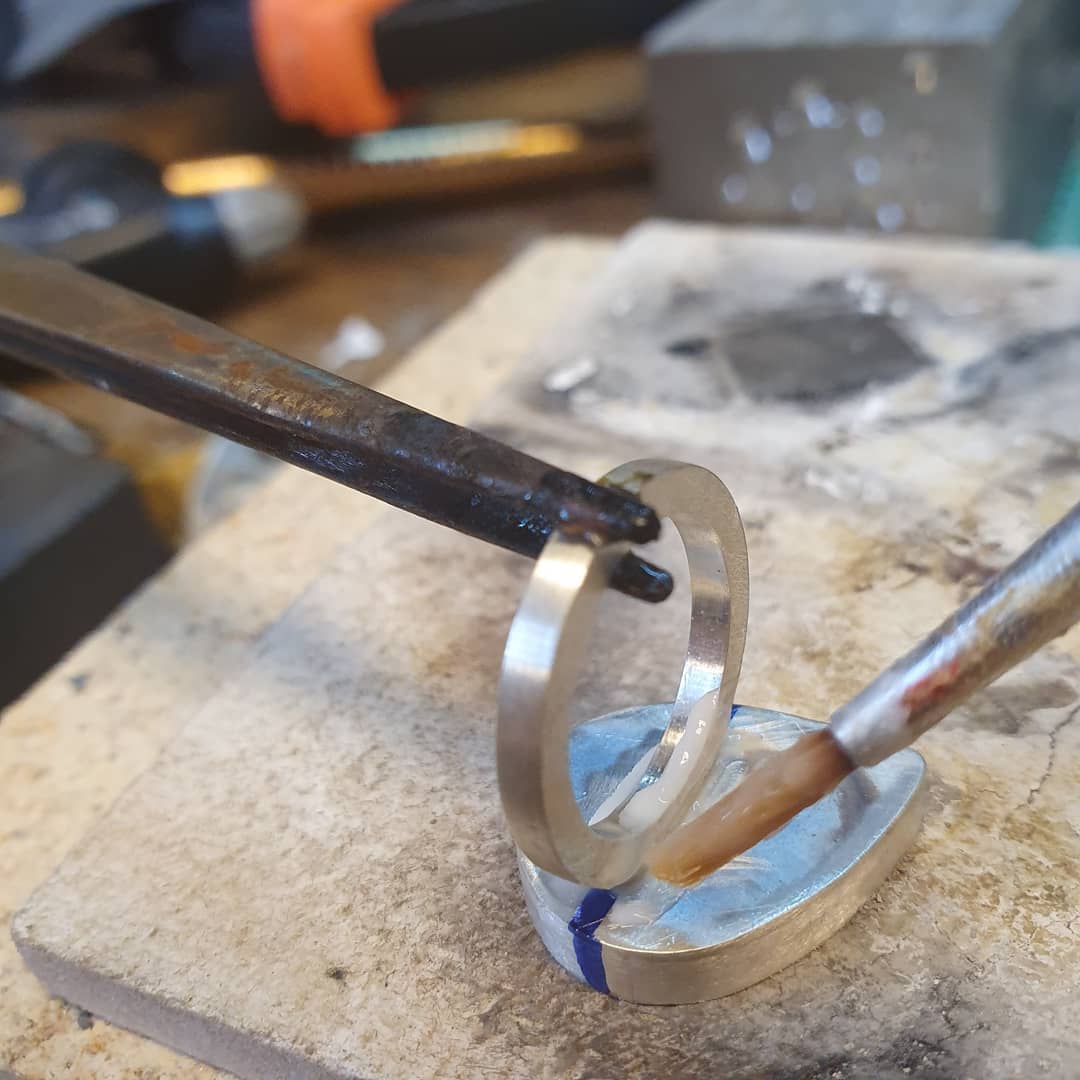
Flux Helps Protect The Joint

Flux reduces oxidation during heating and improves solder flow across the joint. Incomplete flux coverage can leave parts of the seam exposed to oxygen, which makes solder flow less predictable.

Flux should cover the seam and nearby metal before heating begins. The surrounding area matters because solder follows both heat and surface condition.

Apply flux evenly Cover the full seam area before the metal begins to oxidize.
Protect nearby silver Solder may travel across adjacent heated surfaces.
Watch flux behavior Dry, glassy or burned flux gives clues about heat level.
Do not rely on flux alone Flux helps, but it cannot fix dirt, gaps or poor heat balance.
Heat Balance

Uneven Heating Creates Problems

Heating one area too aggressively often prevents the rest of the joint from reaching solder flow temperature. The solder may melt on one side while the actual seam remains too cool.

Uneven heating commonly causes solder balls, partial seam flow, cold joints, uneven seam strength and localized overheating.

Move the torch continuously A moving flame reduces hot spots and gives the whole joint a chance to heat evenly.
Heat the metal around the seam The seam should become hot enough to pull solder through.
Warm thicker parts gradually Heavy sections often need a head start before thin parts overheat.
Avoid direct flame on the solder Melting the chip alone does not mean the joint is ready.
Stop once solder flows Extra heat after flow creates oxidation, distortion and cleanup work.
Controlled torch flame used for silver soldering heat balance
Uneven heat is one of the most common reasons solder melts but refuses to move through the seam.
Torch Control

The Torch Flame Matters

Flame adjustment strongly affects soldering behavior. A poorly adjusted flame can oxidize the metal excessively, heat the joint unevenly or overheat small areas before the seam is ready.

A stable neutral flame usually gives the best control for silver soldering. The flame should help guide heat into the metal, not blast the solder chip directly.

Better Controlled neutral flame with steady movement.
Riskier Aggressive localized flame aimed at the solder chip.
Good control The torch guides heat into the metal evenly.
Common failure Overheating one spot pulls solder away from the seam.
Small solder pieces prepared for controlled jewelry solder flow
More solder rarely fixes dirty metal, poor fit or weak heat balance. Smaller pieces are easier to control.
Solder Quantity

Too Much Solder Creates Messy Seams

Beginners often assume more solder creates stronger joints. In reality, excess solder usually creates large blobs, visible seam lines and extra filing and sanding work.

If the seam is clean and tight, the joint usually needs less solder than you think. Adding more solder rarely fixes dirty metal, poor fit or uneven heat.

Use less solder when the seam fits tightly Good fit needs only enough solder to bond the joint.
Use less solder on small areas Small joints can flood quickly if the pallion is too large.
Use less solder when cleanup access is limited Hidden or tight areas are harder to file cleanly later.
Use less solder on polished surfaces Excess solder becomes visible after final finishing.
Stability

Movement During Soldering Breaks Flow

Small movement while the solder is flowing can instantly weaken the seam. Jewelry pieces should remain stable until the solder fully solidifies.

Movement can happen when parts are balanced poorly, clamped under tension or touched too soon after solder flows.

Secure pieces properly The joint should not shift when flux dries or solder flows.
Avoid touching hot joints Movement before solidification can weaken the seam.
Let solder cool naturally Give the joint time to solidify before moving the piece.
Avoid strained clamping Held tension can release suddenly while the metal is hot.
Support Setup

Keep The Joint Stable While Solder Flows

If the joint moves during solder flow, the seam can become weak, grainy or incomplete. Stable support is especially important on small pieces, awkward joins and parts that do not sit flat.

Support should hold the work in alignment without forcing the pieces into a stressed position.

Better support Holds the seam steady without blocking heat or view.
Riskier support Clamps the work under tension and releases as the metal heats.
Watch alignment Check the seam again after flux dries and before solder flows.
Let it cool Do not move the joint while solder is still solidifying.
Third hand support holding jewelry components for stable soldering
Stable support helps prevent joint movement while solder flows and cools.
Diagnosis

Quick Solder Flow Diagnosis

Poor solder flow usually points to heat imbalance, oxidation, poor seam fit or movement. The visible behavior of the solder gives useful clues.

Solder forms balls The solder melted before the silver around the seam reached flow temperature.
Patchy seam flow One area may be hot and clean while another part of the seam resists flow.
Solder refuses to move The seam may not provide a clean path for solder to follow.
Weak seam after cooling The joint may have shifted before the solder fully solidified.
Solder runs away The hottest clean area may be somewhere other than the seam.
Dirty seam after pickle Oxide, residue or insufficient flux may have blocked flow.
Post soldering cleanup setup for inspecting solder flow and oxidation
Cleanup after soldering reveals whether the solder flowed through the seam or only melted on the surface.
Professional Workflow

How Professionals Improve Solder Flow

Professional soldering usually focuses on preparation and heat control rather than forcing solder into the joint. When the seam is clean, tight and evenly heated, solder flow becomes much more predictable.

A good soldering workflow makes the seam the place where solder naturally wants to go.

Clean metal thoroughly Remove oil, oxide and residue before fluxing.
Fit seams tightly Do not rely on solder to bridge large gaps.
Apply flux evenly Protect the seam and nearby metal before oxidation starts.
Use minimal solder Small solder pieces create cleaner flow and less cleanup.
Heat the metal Do not focus only on the solder chip.
Watch solder behavior Use solder movement as a diagnosis, not a reason to panic.
Quick Sequence

A Cleaner Solder-Flow Workflow

Most solder flow problems can be reduced by improving the seam before the torch is lit, then using heat to guide solder into a joint that is already clean and ready.

1. Fit the seam Close gaps before soldering starts.
2. Clean the metal Remove oil, oxide and residue.
3. Apply flux Protect the full seam area.
4. Heat evenly Warm the metal, not only the solder.
5. Keep it still Do not disturb the joint as solder flows.

Fix The Seam, Surface And Heat Before Adding More Solder

Most solder flow problems are caused by heat imbalance, oxidation or poor preparation rather than defective solder. Clean seams usually come from careful joint fitting, controlled heating and understanding how solder behaves during fabrication.