Why Uneven Ring Thickness Becomes Visible
Ring shanks reflect light continuously around the band. Even small thickness inconsistencies interrupt that reflection and make one side look heavier, flatter or less refined than the rest of the ring.
The problem often becomes more obvious after sanding and polishing. Polishing does not usually create the geometry problem by itself. It simply makes the uneven shape easier to see.
Common Causes Of Uneven Ring Thickness
Uneven thickness usually develops gradually during fabrication rather than from one single mistake. A little extra pressure in one area can become visible after several filing, sanding and polishing stages.
Aggressive filing
Filing harder on one side removes metal unevenly and changes the ring profile.
Uneven sanding pressure
Sanding one area longer can create dips, thin spots or softened edges.
Poor blank symmetry
A ring blank that starts uneven often becomes harder to correct later.
Localized polishing
Holding the wheel too long in one area can exaggerate imbalance.
Mandrel shaping errors
Heavy pressure on one side can distort the ring before finishing begins.
Seam correction
Over-cleaning the solder seam may leave a thinner zone near the joint.
Inspect Thickness Before Polishing
Polishing should not be used to correct major thickness problems. If one side of the ring is already visibly heavier or flatter, polishing will usually make that imbalance clearer rather than hiding it.
Before final surface finishing begins, check the ring from several angles. Rotate it under directional light and look for places where the reflection suddenly breaks, flattens or becomes wavy.
Before polishing, inspect:
- Ring wall consistency around the full shank.
- Edge symmetry on both sides of the band.
- Inside band shape and comfort surface.
- Reflection balance across the outer curve.
- Cross-section thickness near the seam and opposite side.
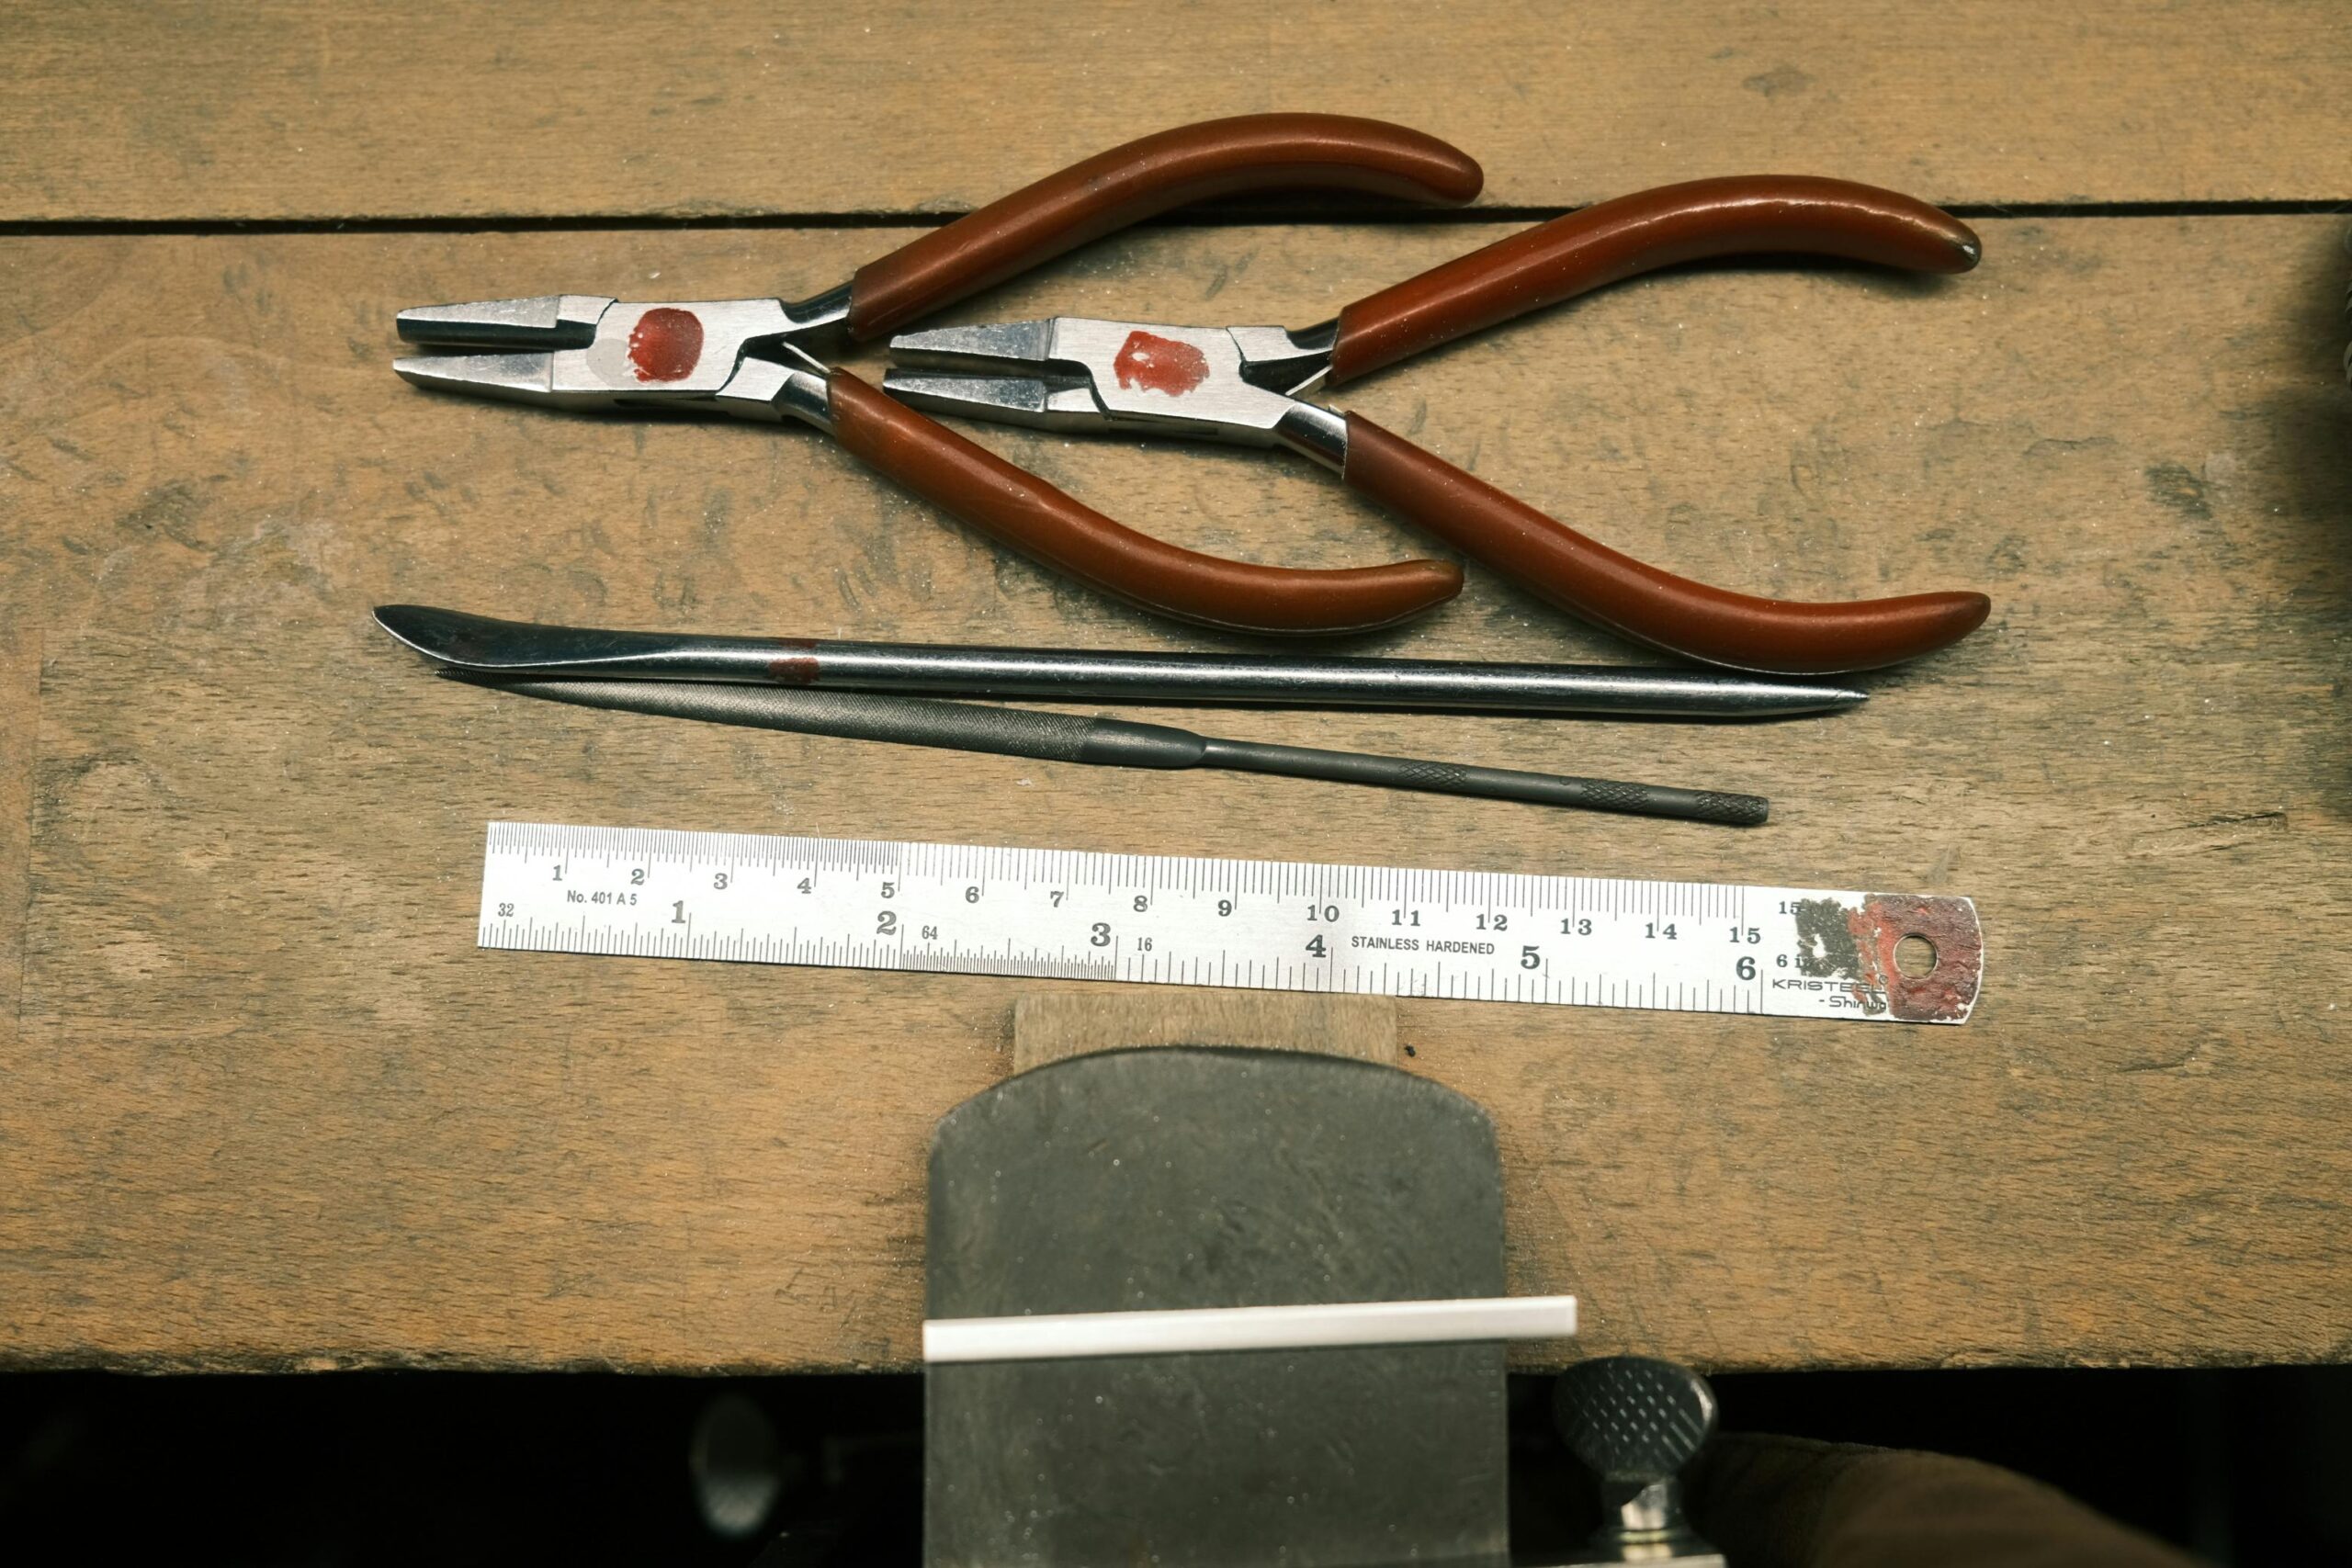
Use Measuring Tools For Accuracy
Digital calipers, dividers or a simple comparison gauge can help identify subtle differences that are difficult to judge visually. Do not measure only one place. Check multiple points around the shank.
Measure width and thickness separately. A ring can have an even width but still have uneven wall thickness, or it can look balanced from the top while being thinner on one edge.
Measure around the ring
- Check several points, not one location.
- Compare opposite sides of the shank.
- Measure width and thickness separately.
- Inspect transitions near solder seams.
- Write down the high and low spots before filing.
Correct Problems Gradually
Removing too much material too quickly often creates a new asymmetry problem. The goal is not to chase one low spot by filing everything else down aggressively. The goal is to blend the surrounding geometry with the least possible material removal.
Work slowly and check the ring after every correction. If you change the shape in one area, rotate the ring and inspect the opposite side before continuing.
01. Mark the uneven areas
Use light pencil, marker or visual reference points so you know exactly where the high spots are.
02. File only the high areas
Use controlled strokes and avoid dragging the file into already thin sections.
03. Blend transitions
Smooth the area around the correction so the ring does not develop a visible flat spot.
04. Check under light again
Rotate the ring slowly and confirm that reflections move cleanly around the band.
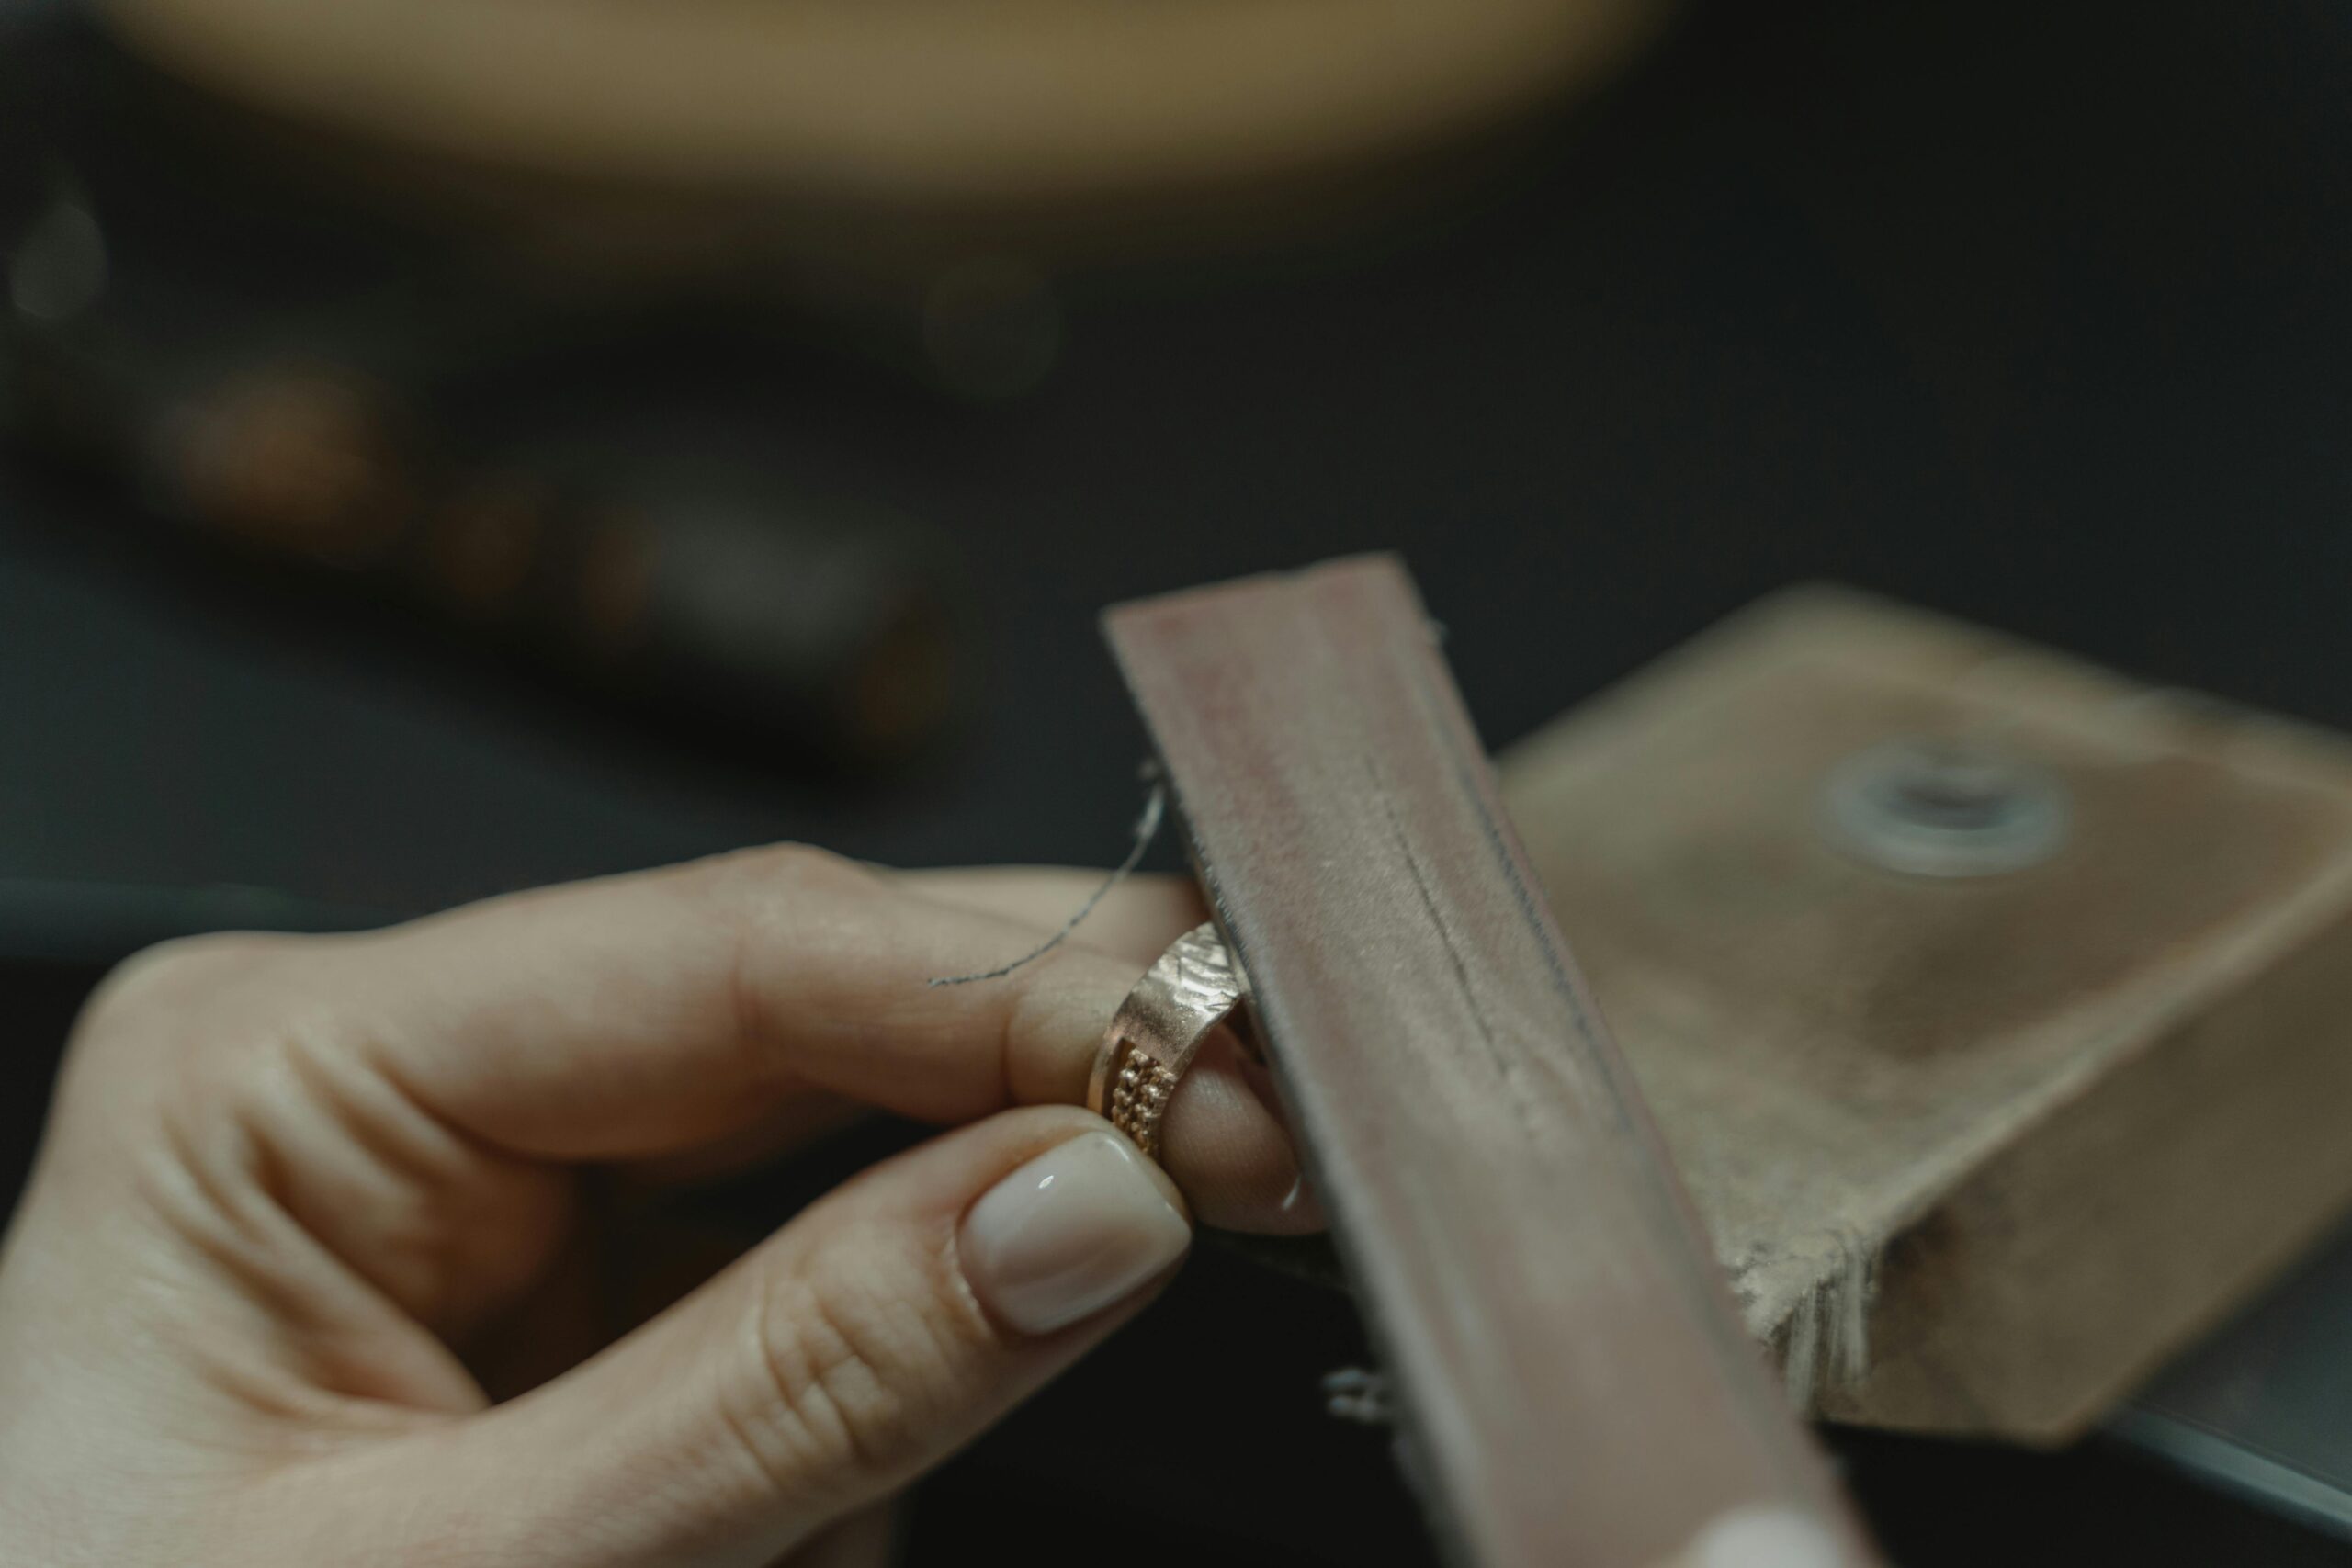
Control Filing Pressure
Filing is often where uneven thickness becomes worse. If the file angle changes, the ring can develop flat facets, thin edges or a heavier-looking opposite side.
Keep the file supported and use shorter strokes when correcting small areas. For ring shanks, long uncontrolled strokes can remove metal beyond the area you meant to correct.
Filing control checklist
- Use light pressure before using heavier pressure.
- Keep the file angle consistent across the curve.
- Do not correct one side without checking the opposite side.
- Blend high areas gradually into the surrounding surface.
- Stop before the surface becomes flat or faceted.
Watch Ring Reflections Carefully
Reflections reveal uneven thickness extremely quickly on polished silver. A smooth ring should carry light around the shank in a fairly continuous way. When the reflection bends, breaks or widens suddenly, the surface geometry may be uneven.
This reflection check is especially useful before final polish, because it lets you correct the geometry while there is still enough surface left to refine.
Wavy reflection
Usually suggests uneven thickness, sanding dips or inconsistent curvature.
Flat reflection
Often means one section has been filed at the wrong angle.
Heavy-looking side
May indicate that the opposite side has been thinned too much.
Uneven edge line
Often comes from sanding one edge harder than the other.
Wide Rings Reveal Problems Faster
Wider ring bands amplify reflection distortion and make uneven geometry easier to see. A narrow ring may hide a small inconsistency, but a wide silver band shows every flat area, thin edge and sanding dip more clearly.
When working on a wide ring, use slower abrasive progression and check the entire surface more often. Do not jump from coarse correction to final polish before the ring geometry is balanced.
Quick Diagnosis Guide
Use the symptoms below to decide whether the problem is mainly filing pressure, sanding technique, shaping distortion or seam cleanup.
One side looks heavier
Usually caused by uneven filing pressure or over-thinning the opposite side.
Wavy reflections after polish
Often caused by thickness imbalance, sanding dips or inconsistent curvature.
Ring feels asymmetrical
Often caused by uneven shaping during fabrication or mandrel correction.
Thin spots near seam
Usually caused by aggressive solder cleanup or localized sanding.
Flat areas on shank
Often caused by incorrect filing angles or unsupported abrasive work.
Uneven edge thickness
Usually caused by sanding one edge harder or rounding one side more than the other.
How Professionals Maintain Ring Symmetry
Professional jewelers usually correct geometry gradually instead of aggressively removing material. The most controlled approach is to measure, file lightly, rotate the ring, inspect reflections and repeat only where needed.
The best corrections are often small. If a ring needs heavy material removal to look even, the better choice may be to re-form, re-shape or remake the shank rather than weakening it.
01. Start with geometry, not shine
Make the ring shape even before moving into polishing compounds.
02. Use consistent abrasive progression
Jumping grits can hide problems temporarily and reveal them later.
03. Rotate constantly
Inspect the band from the top, side, inside and seam area after each correction.
04. Remove the minimum metal
Correct the high areas without thinning the entire shank unnecessarily.
When To Stop Correcting
Not every handmade ring needs machine-perfect uniformity. The goal is a balanced, comfortable and visually clean shank. If continued filing would make the ring too thin, it is usually better to stop and preserve strength.
A ring that is slightly handmade but structurally sound is better than a ring that has been over-corrected until the shank becomes weak.
Fix Ring Geometry Before Final Polish
Clean filing, careful measurement and gradual surface refinement create a stronger, more balanced ring than aggressive last-minute polishing.
Final Thoughts
Fixing uneven ring thickness depends on patience, controlled filing and understanding how light reveals geometry problems. Most uneven shanks can be improved if the correction is gradual and the ring is checked constantly.
Balanced reflections, smooth transitions and consistent edge thickness usually create the most professional-looking ring shanks after polishing.