SOLDERING GUIDE

Common Jewelry Soldering Mistakes

Learn the most common jewelry soldering mistakes, including poor solder flow, overheating, dirty seams, firescale, weak joints and uneven heating during silver jewelry fabrication.

Jewelry soldering setup with torch flame and silver work on a soldering surface
Root Cause

Why Jewelry Soldering Goes Wrong

Jewelry soldering is rarely difficult because of one single mistake. Most failed seams happen because several small preparation, heat control and cleanup issues combine at the same time.

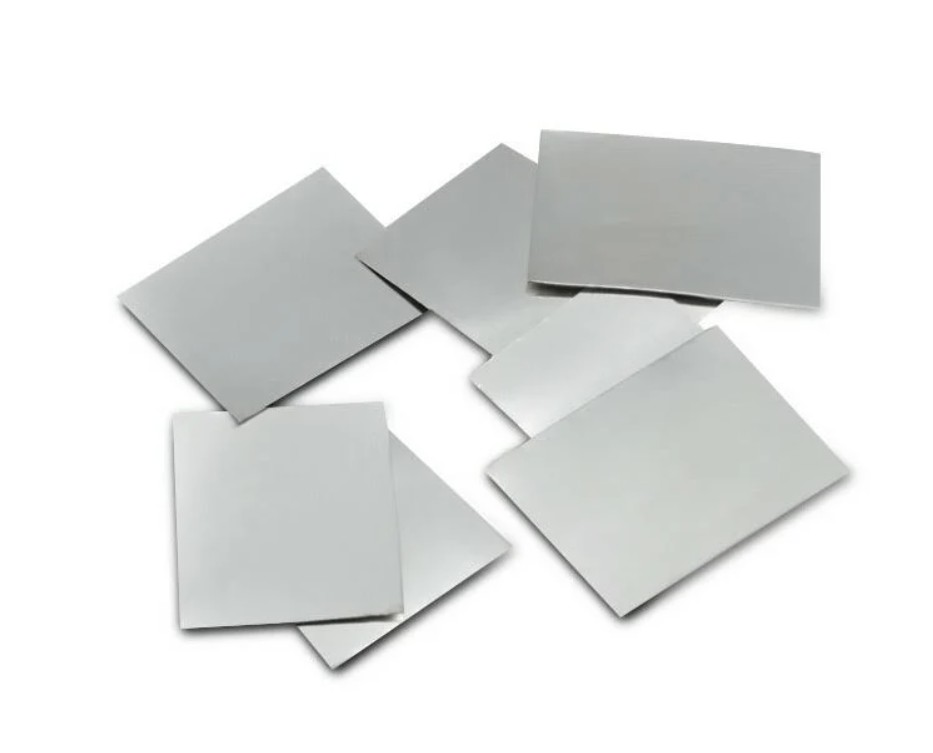
A silver joint may look simple from the outside, but the solder must flow across clean metal, into a tight seam, at the right temperature and with enough flux protection.

Clean metal Solder flows better when the joint is free from oil, oxide and residue.
Tight seam Solder follows close contact better than open gaps.
Even heat The metal should bring solder to flow temperature, not just the flame.
Silver ring seam being prepared for jewelry soldering on a heat-safe bench surface
Most soldering failures begin before the torch is lit: seam fit, surface preparation, flux and solder placement all matter.
Mistake 1

Using Too Much Solder

One of the most common beginner soldering mistakes is using excessive solder. It can feel safer to add a larger chip, but too much solder usually creates visible buildup, extra filing work and messy cleanup around the seam.

Use small chips Several small pieces are easier to control than one oversized piece.
Place solder close A short solder path gives cleaner flow into the seam.
Improve seam fit first Do not use solder as filler for poor contact.
Expect cleanup Excess solder usually means extra filing and sanding afterward.
Silver solder material prepared for cutting and controlled jewelry soldering
Small solder pieces give better control than oversized solder chips placed on an unprepared seam.
Mistake 2

Poor Seam Fit

Solder is not glue. It cannot reliably fill a large gap between two poorly fitted pieces of metal. If a ring seam, jump ring, bezel joint or fitting has a visible opening before heating, solder may flow around the gap instead of through it.

A tight seam gives the solder a path to follow. A wide gap gives it somewhere to puddle, ball up or fail completely.

Better Tight contact before fluxing gives solder a clean path.
Riskier Open gaps hidden with solder usually create weak joints.
Check before heat Inspect the seam under light before adding flux.
File if needed Correct the fit before trying to solve the problem with solder.
Mistake 3

Dirty Metal Surfaces

Oils, fingerprints, polishing residue, oxide, dust and old abrasive particles can all interfere with solder flow. Even if the joint looks clean, contamination on the seam surface can prevent solder from wetting the metal properly.

Clean before fluxing Remove oil, dust, oxide and polishing residue from the joint area.
Avoid touching the seam Fingerprints and skin oil can interfere with solder flow.
Keep solder clean Dirty or oxidized solder chips can behave unpredictably during heating.
Flux is not magic Flux helps, but it cannot fully compensate for contamination underneath.
Mistake 4

Not Using Enough Flux

Flux protects the metal from oxidation during heating and helps solder flow across the prepared joint. If there is too little flux, or if flux is applied unevenly, solder may ball up instead of flowing through the seam.

Flux should cover the joint area and the nearby metal. The surrounding metal matters because solder follows heat and clean surface conditions, not just the exact point where the chip was placed.

Apply before heating Flux belongs on the work before oxidation starts.
Cover the seam The joint and nearby metal both need protection.
Watch dry areas Unprotected sections can oxidize and resist solder flow.
Read the flux Flux changes appearance as the metal approaches soldering temperature.
Jewelry torch flame used for heating silver during soldering
Heat control and flux coverage work together. Solder will not flow cleanly across oxidized metal.
Mistake 5

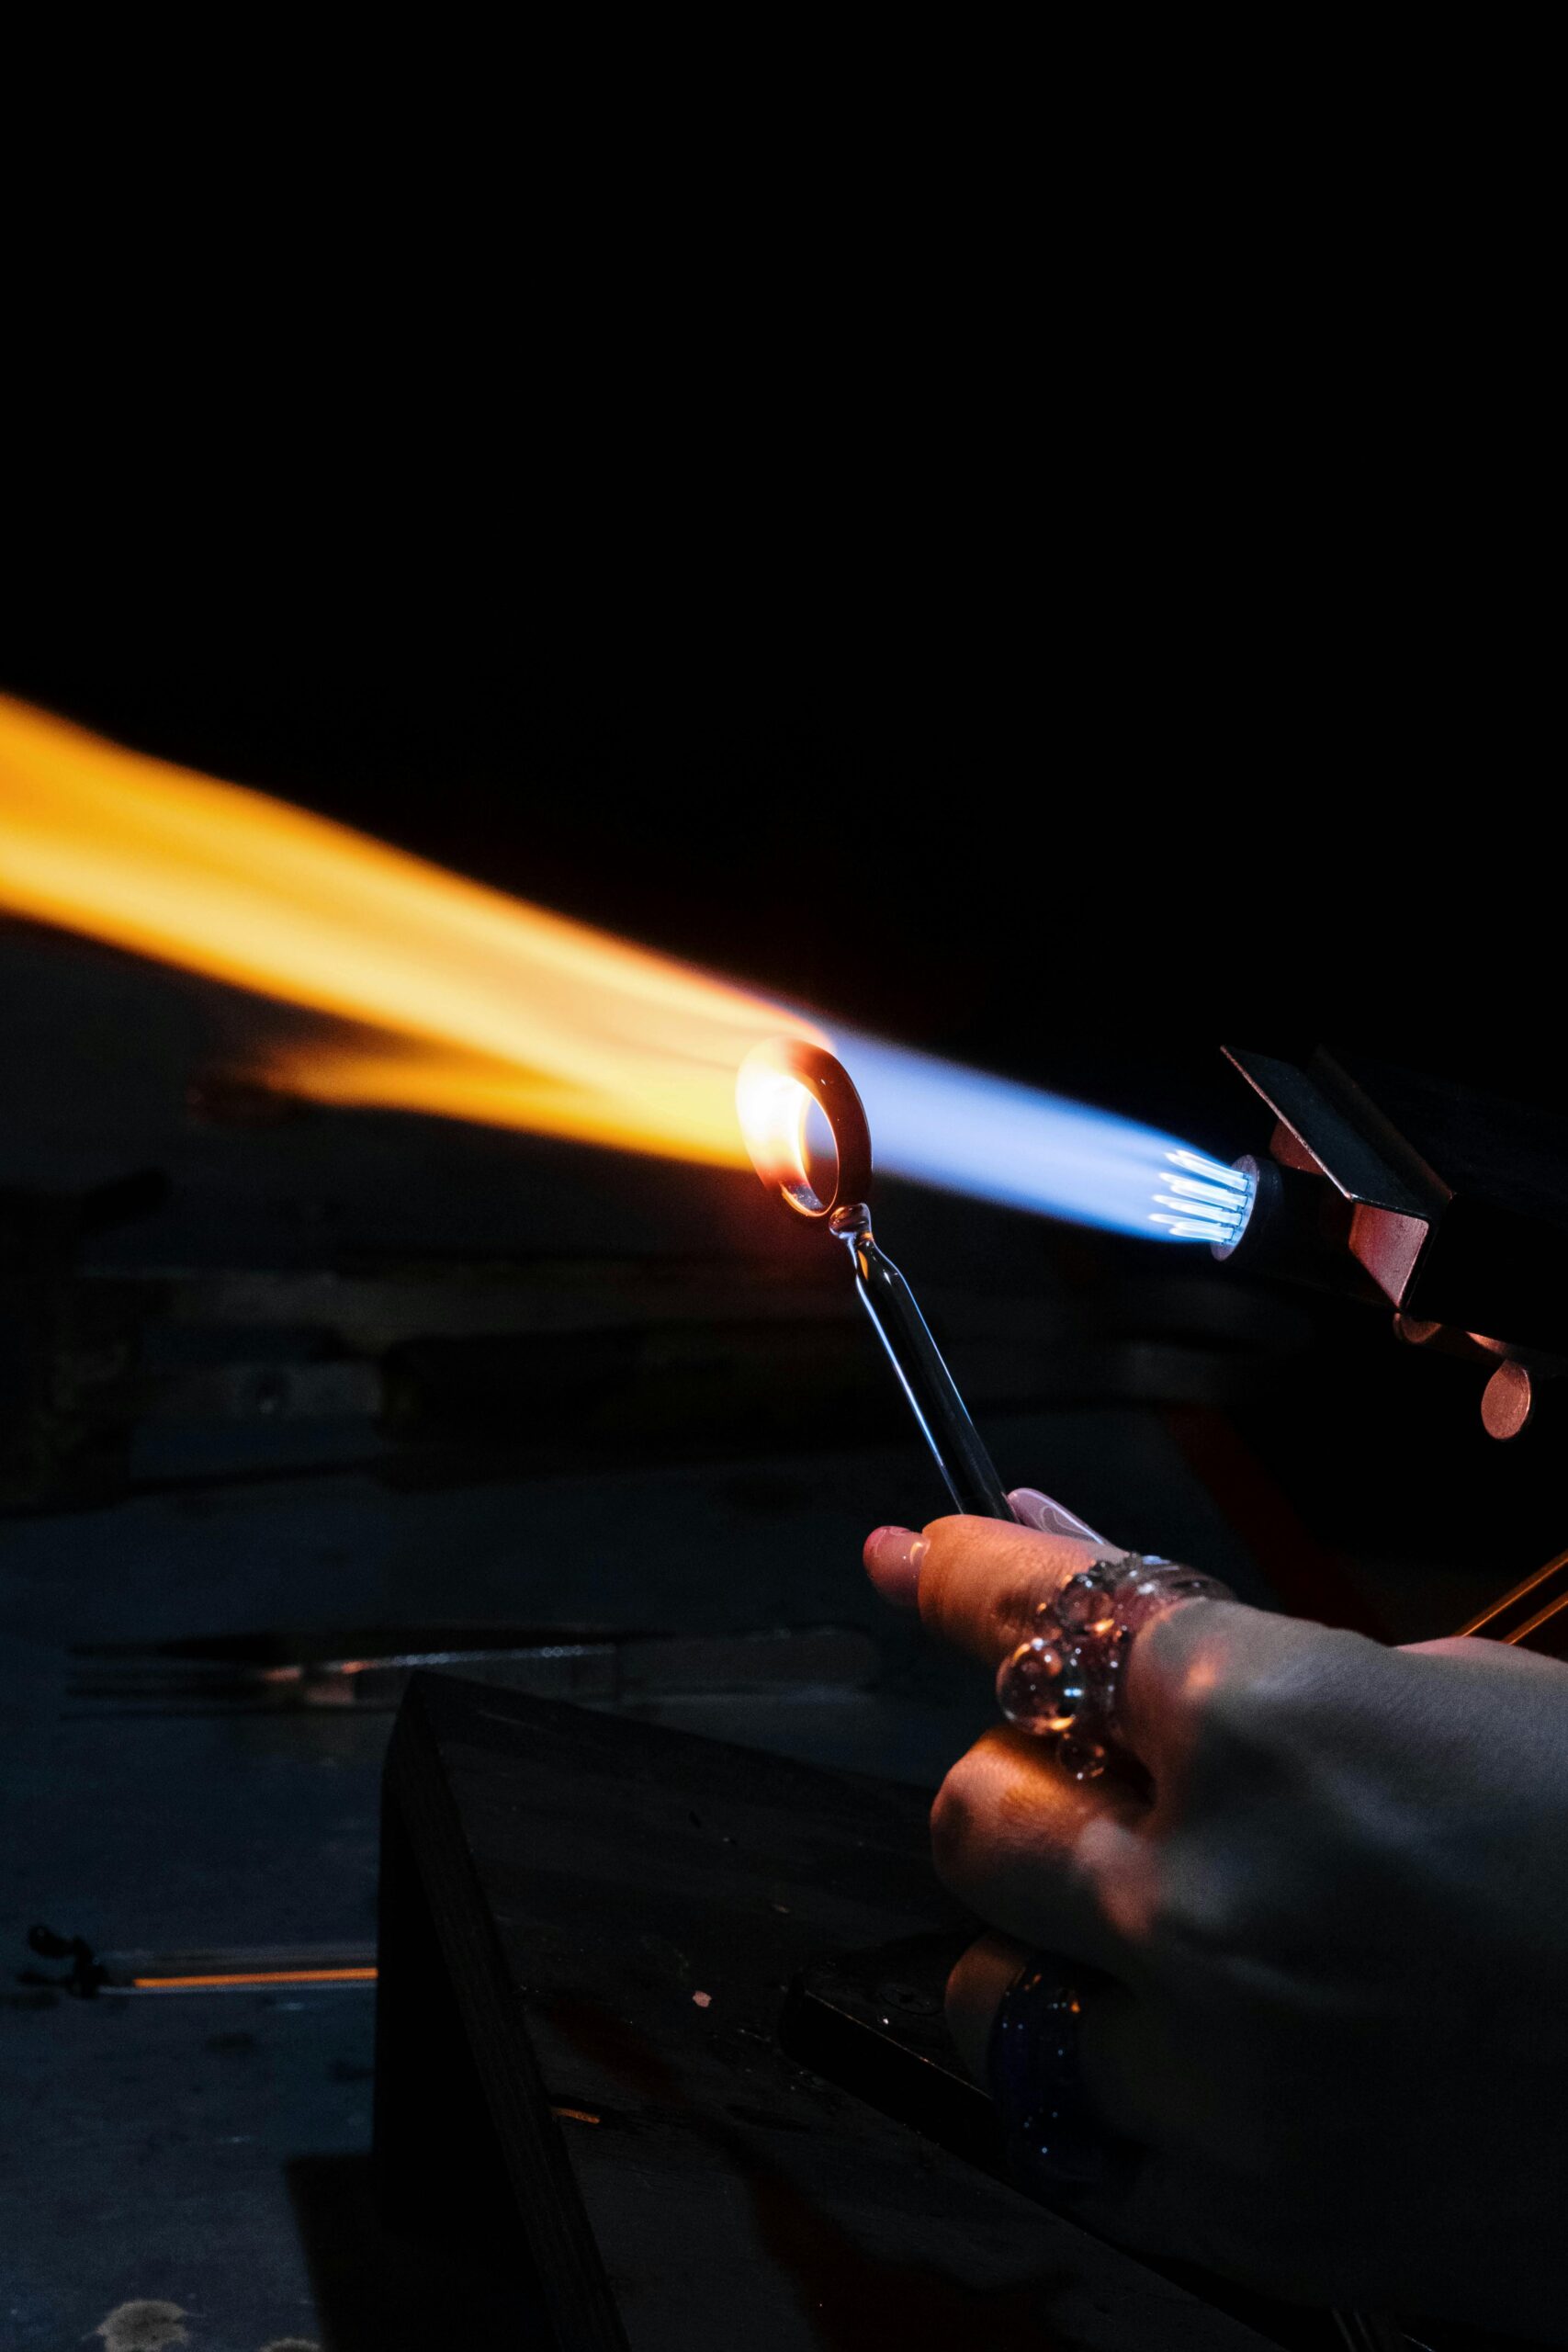
Heating The Solder Instead Of The Metal

Beginners often point the flame directly at the solder chip. This can melt the chip before the surrounding silver is hot enough, causing the solder to ball up, jump away or sit on the surface.

The solder should melt because the metal has reached soldering temperature. The goal is to heat the work evenly so the joint pulls the solder where it needs to go.

Heat the metal first The silver should bring the solder to flow temperature.
Move the flame A moving flame helps avoid local overheating.
Let the seam pull solder A hot, clean seam draws solder better than a chased solder chip.
Do not chase solder Chasing the chip usually overheats nearby areas and worsens control.
Mistakes 6–7

Uneven Heating And Solder Balling Up

Uneven heating is one of the biggest reasons solder flows in the wrong direction. Silver conducts heat quickly, but different parts of a jewelry piece can still heat at different speeds depending on thickness, shape and contact with the soldering surface.

When solder melts into a round ball but does not flow, the solder itself is usually not the main problem. The joint may be dirty, under-fluxed, poorly fitted or not hot enough.

Move the torch Constant movement reduces the risk of one hot spot pulling solder away.
Warm heavy areas Thicker silver often needs more heat than thin or delicate sections.
Check the seam A poor fit can make solder ball up instead of entering the joint.
Refresh flux Dry or exhausted flux cannot protect the joint properly.
Mistake 8

Poor Solder Placement

Solder placement matters. A chip placed too far from the seam may melt without entering the joint. A chip placed on an unheated area may stay solid while the rest of the piece overheats.

Place solder close to the seam A short solder path is easier to control.
Use a pick for accuracy Small chips are easier to position cleanly with a soldering pick.
Avoid detailed surfaces Do not place solder where cleanup will damage texture or decoration.
Think about cleanup Bad placement often creates more finishing work than the seam itself.
Silver jewelry cleanup and pickling workflow after soldering
Cleanup problems often trace back to too much solder, poor placement or overheating during the soldering stage.
Mistake 9

Overheating The Silver

More heat does not always fix soldering problems. Excessive heat can slump thin silver, distort bezels, warp ring shanks, deepen firescale and cause earlier solder joins to reflow.

Overheating often happens after the solder does not flow immediately. The natural reaction is to keep heating harder, but the correct fix is usually to pause and diagnose the seam, surface, flux and solder placement.

Check seam fit A poor seam will not become clean just because more heat is added.
Check cleanliness Dirty metal can resist solder even when the flame is strong.
Check flux condition Burned-out flux may need cleaning and reapplication.
Check flame direction Heating the wrong area can pull solder away from the joint.
Mistakes 10–11

Firescale, Oxidation And Wrong Solder Grade

Firescale is a dark oxidation problem that can appear in sterling silver after heating. It often becomes more obvious during sanding and polishing, which makes it especially frustrating after the soldering itself seemed successful.

Silver solder is also commonly used in different flow temperatures, such as hard, medium and easy. If the wrong grade is used at the wrong stage, an earlier seam can reflow while you are soldering a later part of the piece.

Firescale risk Worse with overheating, long heating time or poor flux protection.
Pickle first Remove surface oxidation before filing, sanding and polishing.
Hard solder first Usually used for early structural seams.
Easy solder last Used later when previous joins need protection from reflow.
Quick Diagnosis

Fast Troubleshooting Table Without The Table

When soldering goes wrong, diagnose the symptom before adding more solder or more heat. Most problems point back to preparation, fit, flux or heat direction.

Solder balls up Check cleanliness, flux coverage and whether the metal is hot enough.
Solder floods the surface Use less solder and improve chip placement.
Solder avoids the seam Check seam fit and heat direction.
Silver overheats Pause before adding more flame and recheck the setup.
Cleanup is heavy Review solder quantity, placement and surface protection.
Third hand tweezers or soldering support holding jewelry components during soldering
Stable support helps keep small parts aligned so solder can flow where the joint actually needs it.

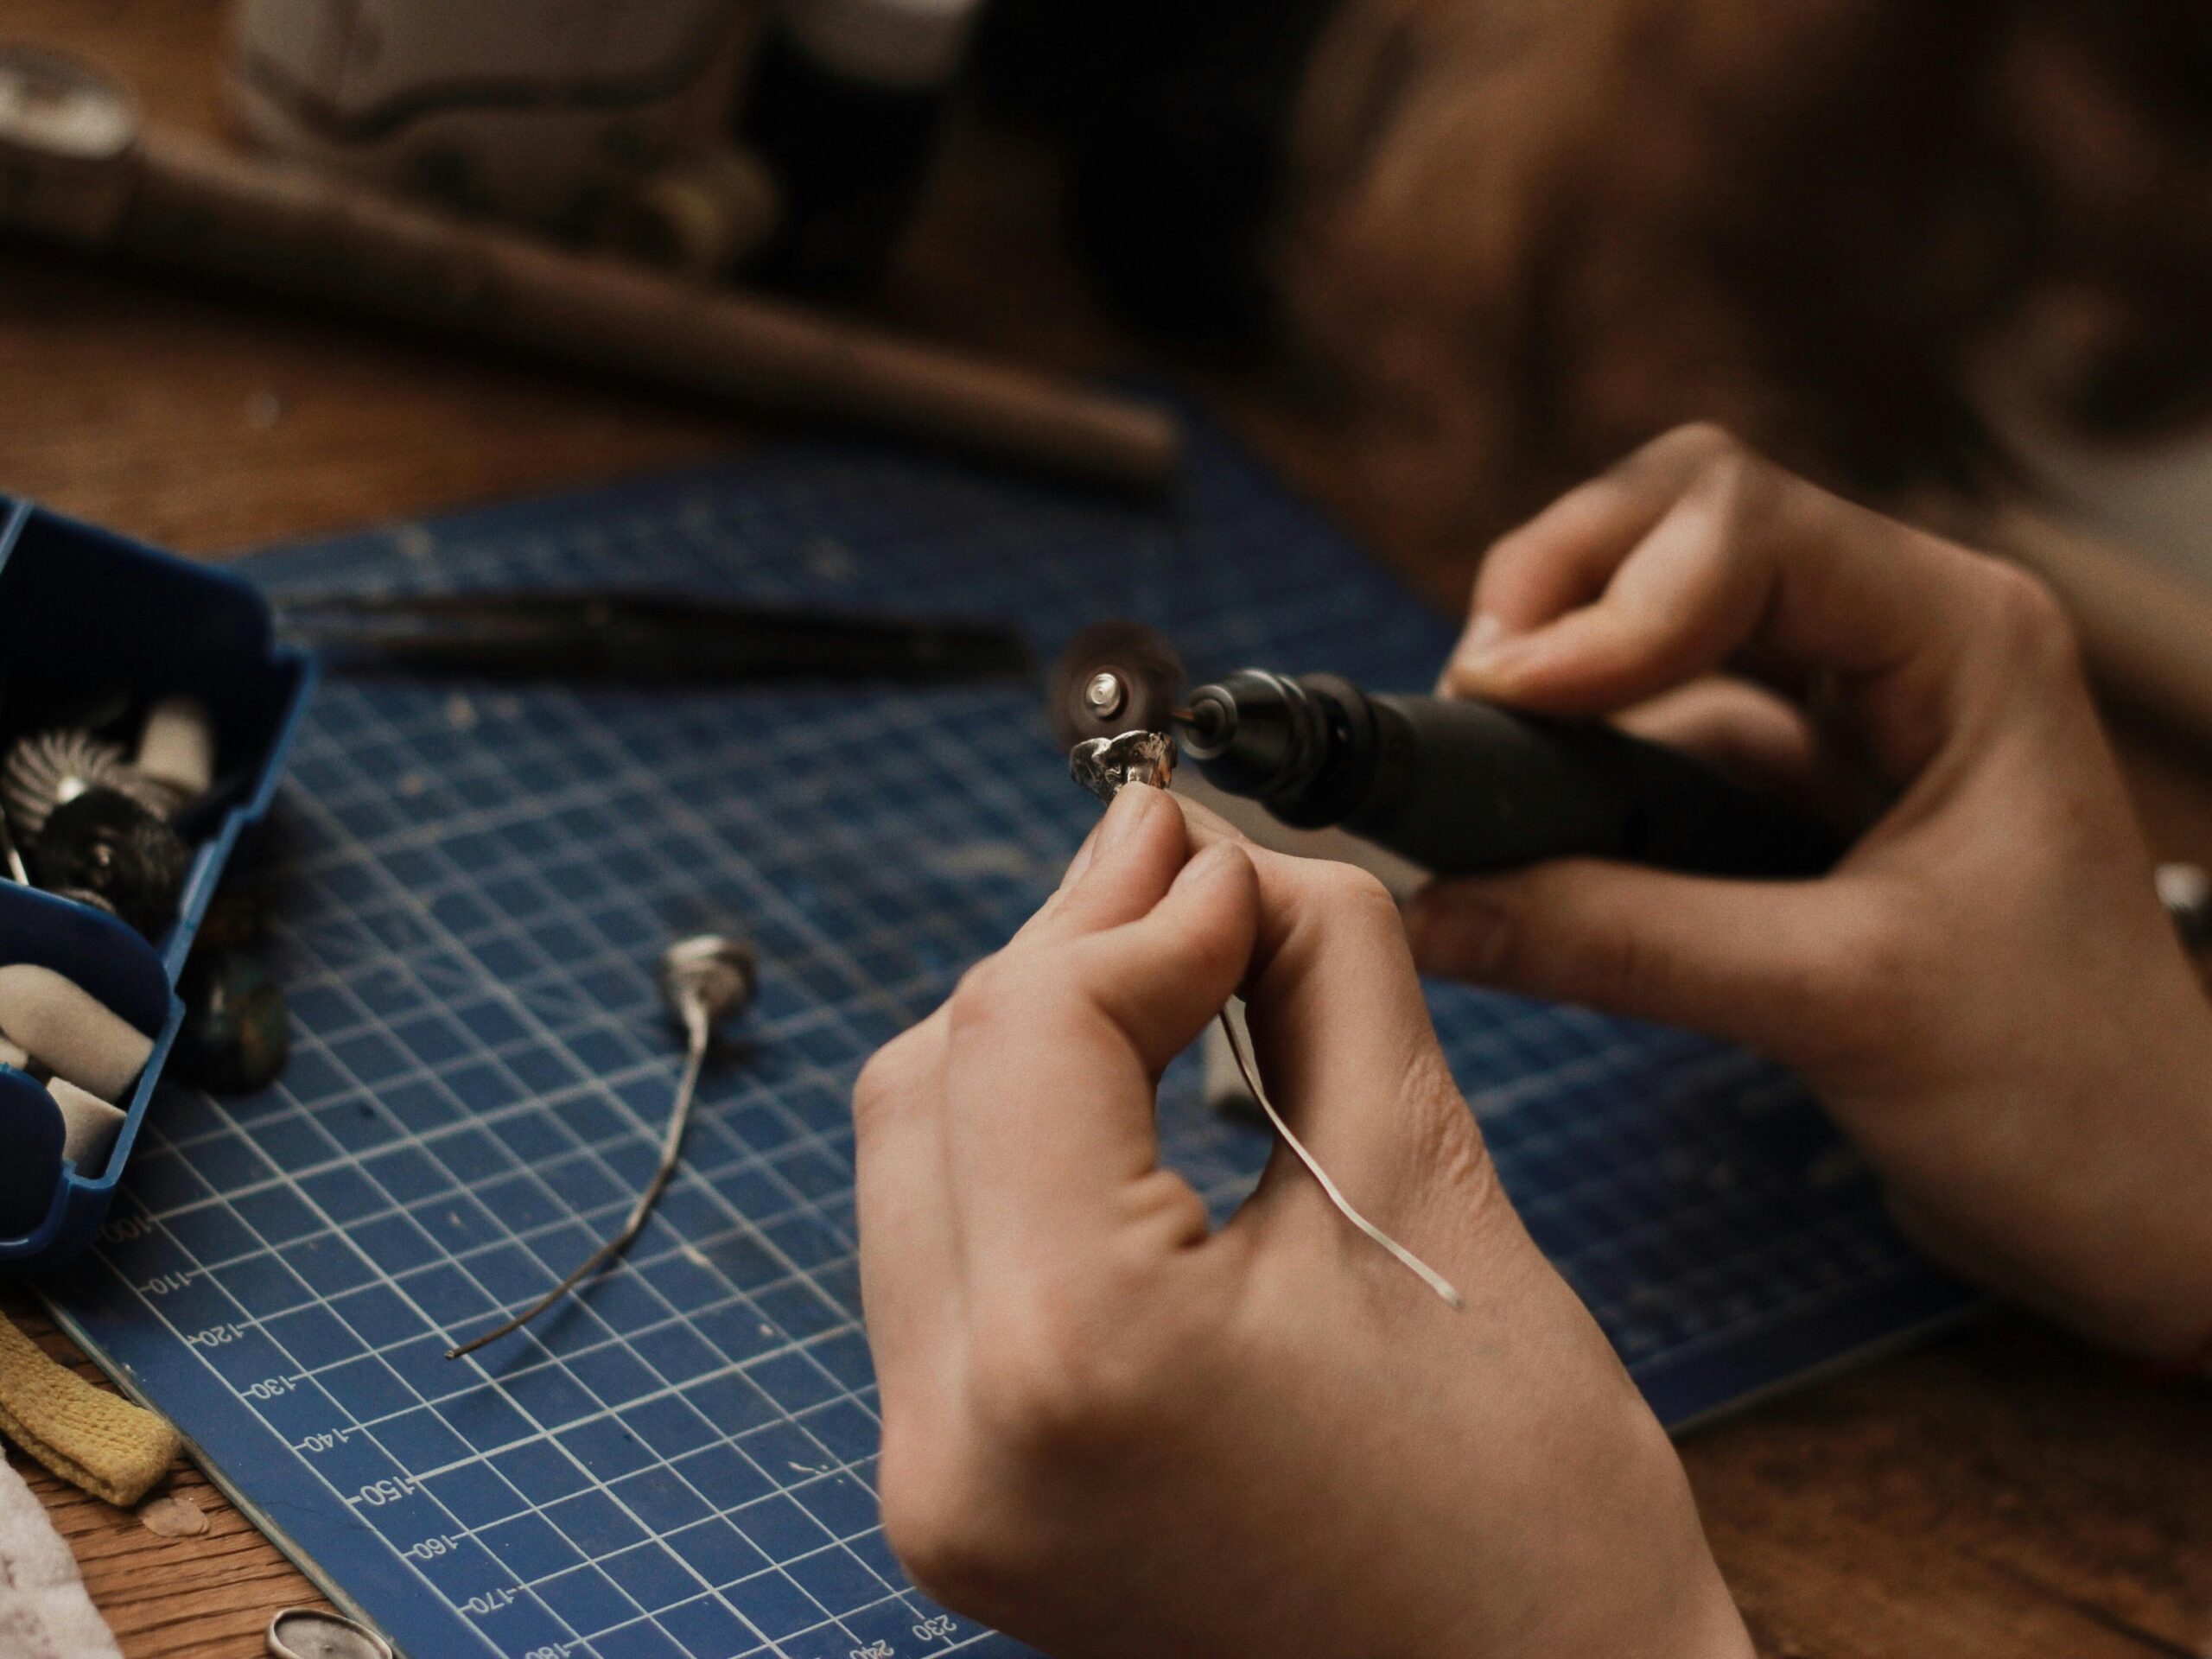
Build Better Joints By Fixing The Basics First

Most soldering mistakes become easier to solve when you stop thinking only about flame strength and start looking at seam fit, clean metal, flux coverage, solder size and heat direction together.