Why Even Bezel Walls Matter
Uneven bezel walls become much more noticeable once the stone is set. Areas that are too tall may wrinkle during burnishing, while low areas can appear thin, weak or unfinished.
Filing is not only cosmetic. It directly affects how the bezel behaves during setting, how evenly pressure moves around the stone and how professional the finished edge looks under light.
Most Uneven Walls Begin Earlier
Filing often reveals problems that started during bezel fabrication. The wall may look uneven because the strip was not aligned, the seam moved during soldering or the backing plate distorted slightly under heat.
Filing can improve the wall, but it cannot completely correct major structural problems underneath. If the stone seat is tilted or unsupported, the wall may still look wrong after filing.
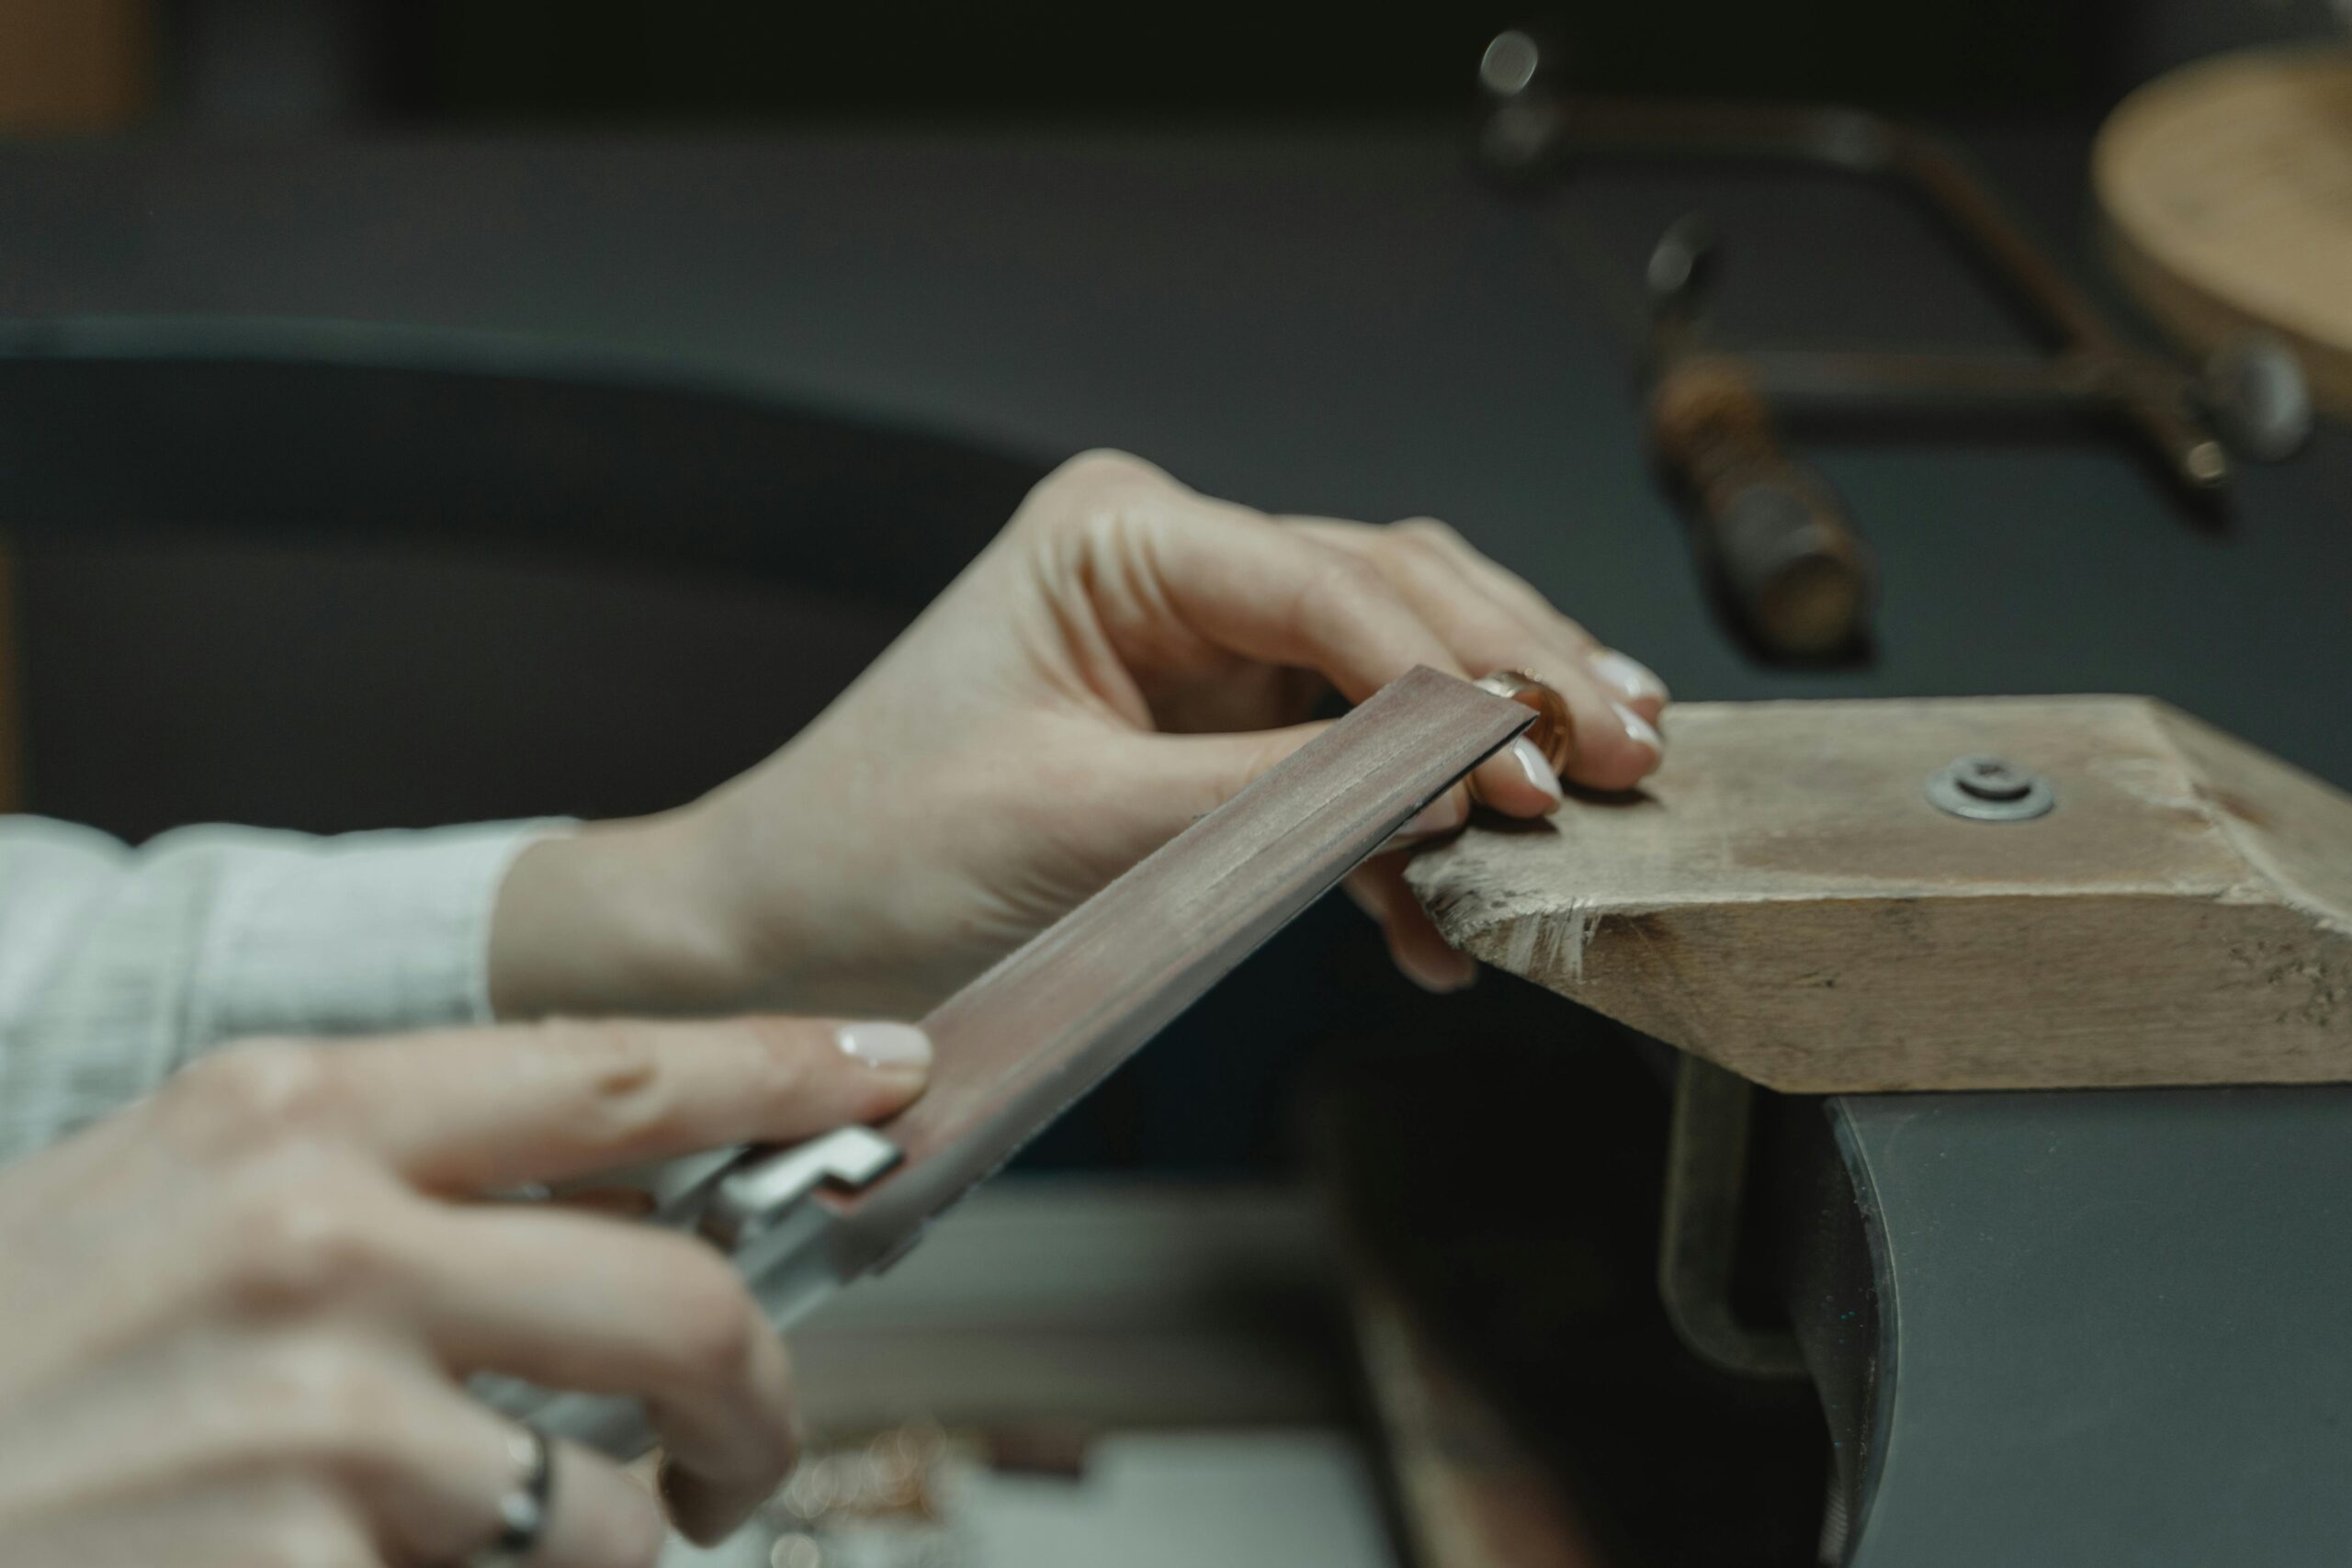
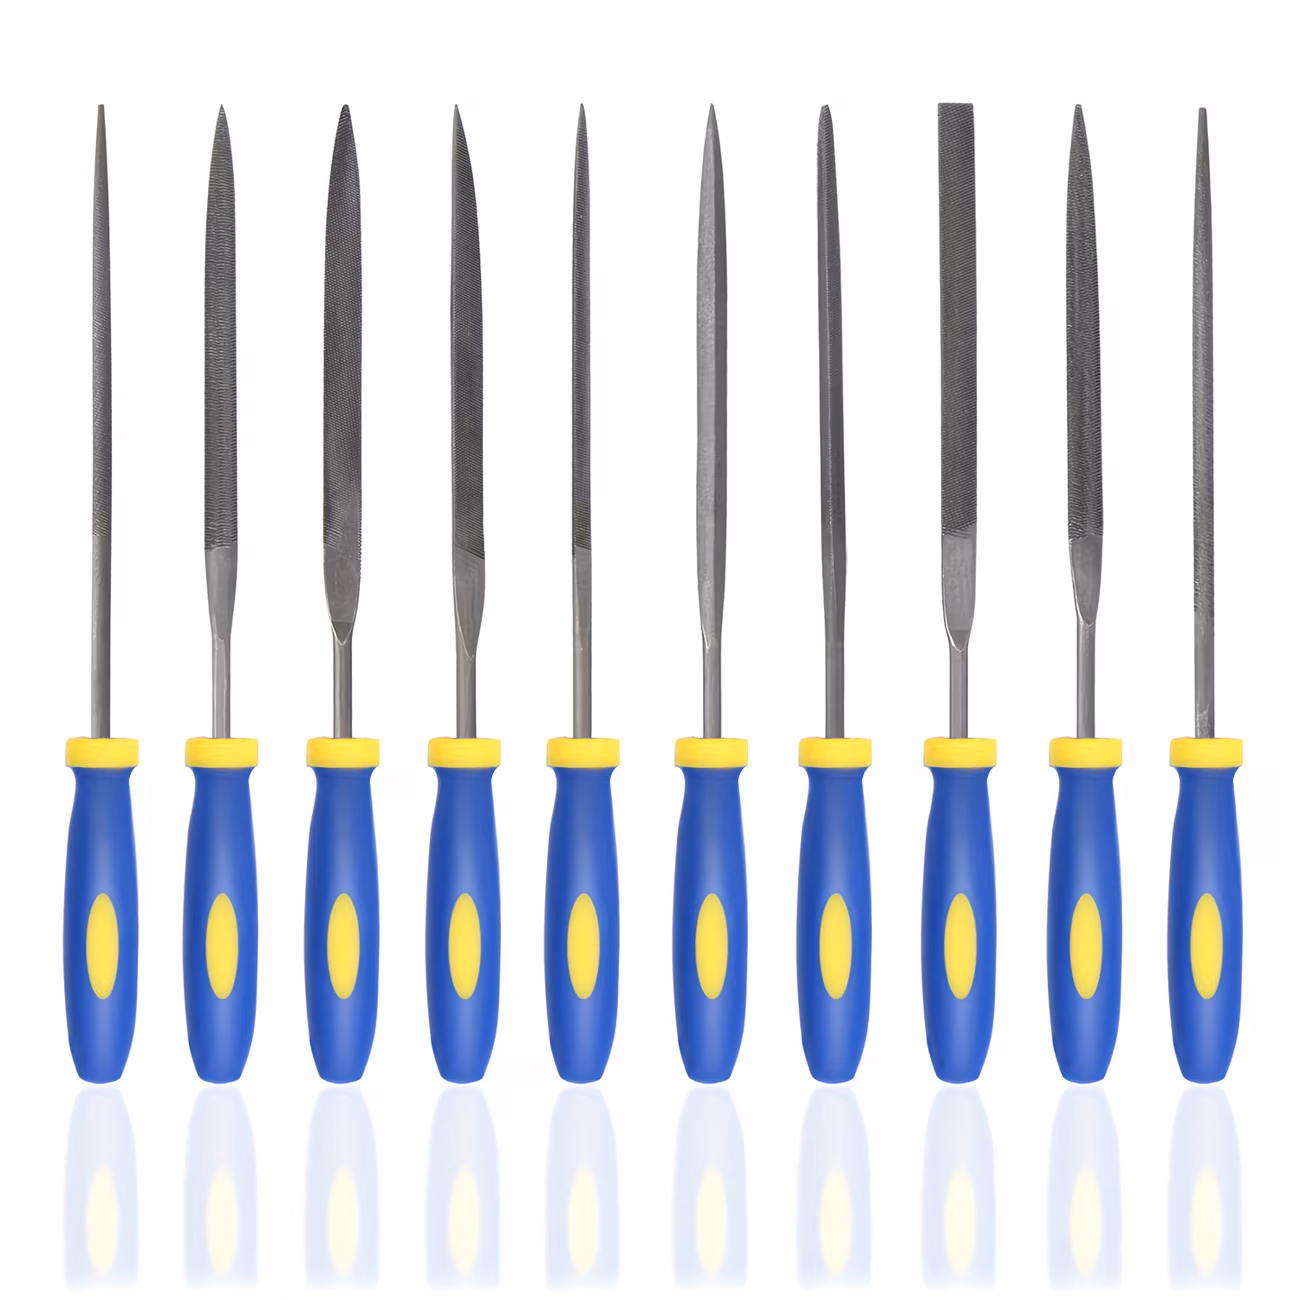
Choose The Right File
A clean sharp file gives much more control than an aggressive rough file. Most bezel wall cleanup is done with fine-cut hand files rather than heavy material removal tools.
The goal is gradual refinement. A coarse file can remove metal quickly, but it can also create deep cuts, flat spots and sudden transitions that are hard to repair.
File Before Final Sanding
Filing should establish the shape and height consistency before sanding and polishing begin. Sanding can refine the surface, but it is usually too soft and broad to correct serious height problems cleanly.
Trying to fix uneven bezel height with sanding alone often removes too much material, rounds over important edges and leaves the wall visually soft.
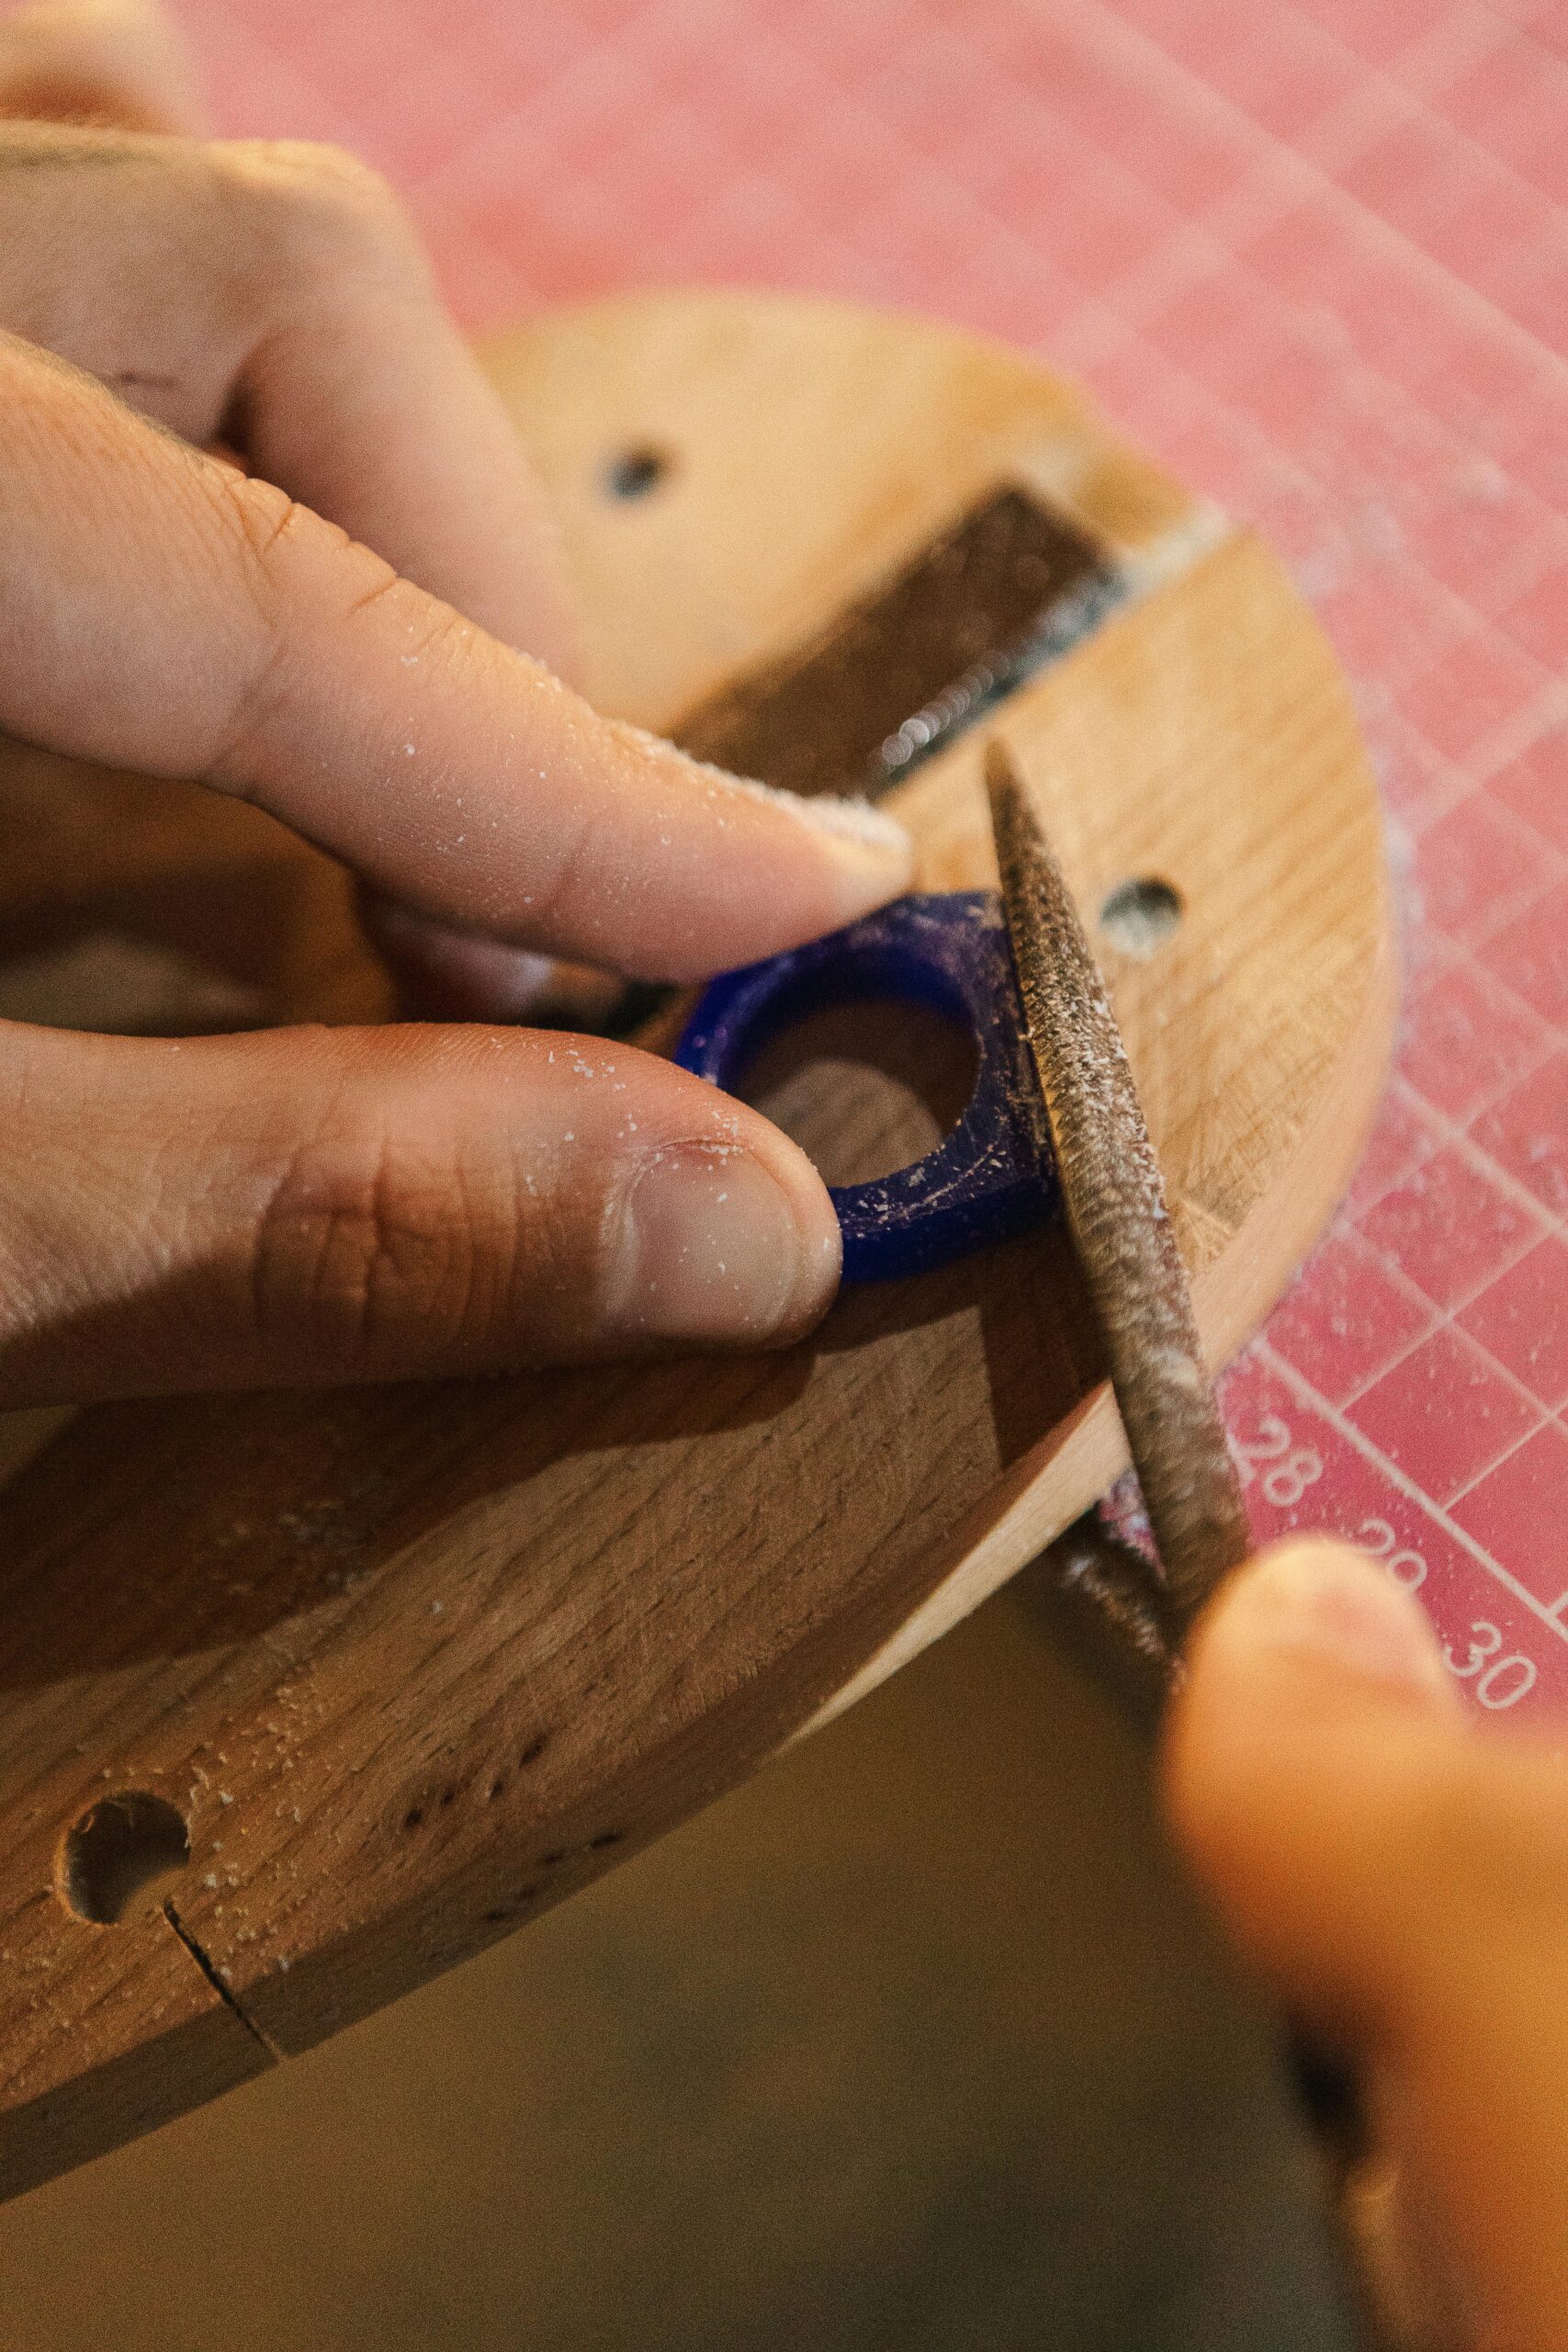
Work Slowly Around The Bezel
One of the biggest mistakes is aggressively filing only the highest area. This often creates flat spots or sudden transitions around the bezel wall.
Instead, rotate the piece frequently and remove material gradually. The goal is to blend the entire wall into a consistent line, not to attack one obvious high point until it disappears.
Watch Reflections Carefully
Directional lighting helps reveal uneven surfaces very quickly. Reflections often show height inconsistencies before they are obvious to the naked eye.
Rotate the piece under a bench light and look for breaks in the reflection. Waves, flats and high spots will usually show up before the stone is set.
Be Careful Near The Seam
The bezel seam is often slightly harder or shaped differently after soldering. Filing too aggressively in this area can create visible dips or flat spots.
Blend the seam gradually into the surrounding wall rather than trying to remove all evidence of it at once. A clean transition is more important than removing extra metal.
Check The Stone Height Frequently
Filing changes the relationship between the bezel wall and the stone height. If too much material is removed, the bezel may no longer cover enough of the stone for secure setting.
Test-fit the stone regularly while refining the bezel wall. The goal is an even wall that still has enough height to hold the stone securely after burnishing.
How Over-Filing Creates Problems
Filing too aggressively can weaken the bezel wall or create visual imbalance. Low spots become especially visible after burnishing because the bezel edge no longer frames the stone evenly.
Over-filing also changes how pressure moves during setting. A thin or low section may bend differently from the rest of the wall.
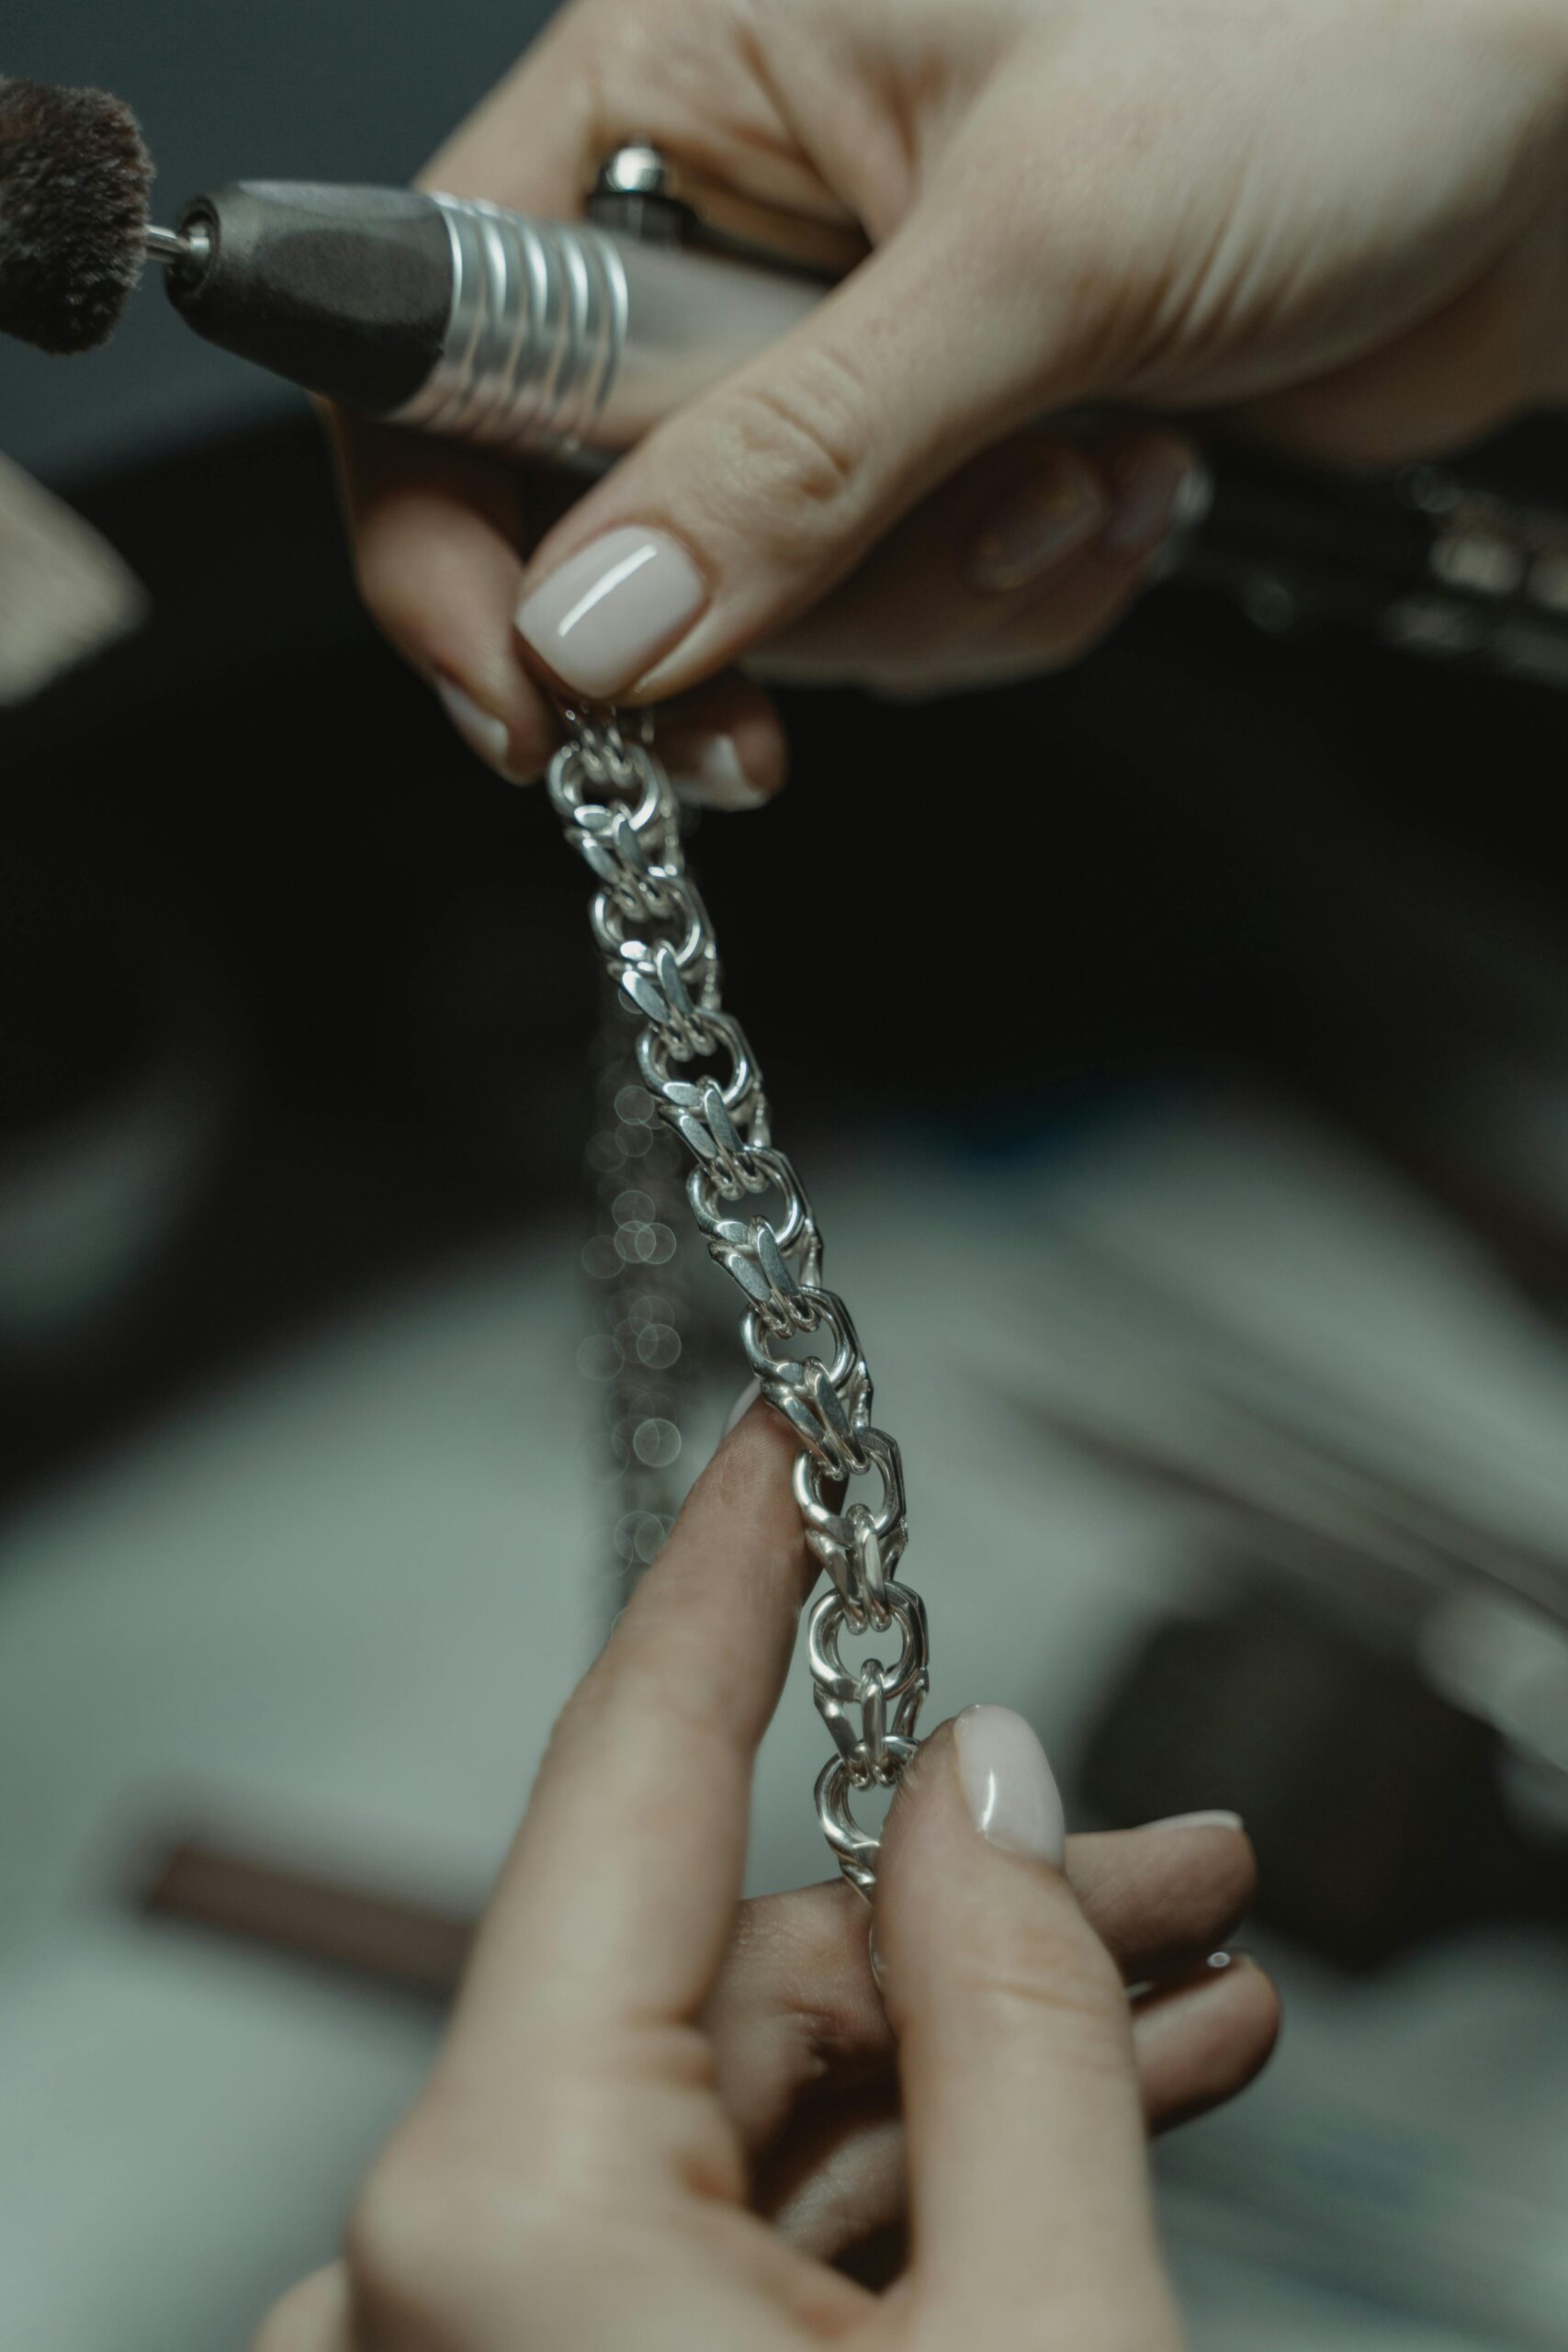
Refine The Surface After The Wall Is Even
Once the wall height is controlled, sanding and light polishing can refine the surface. This is the stage for removing file marks, not for correcting major height differences.
Keep the edge crisp enough for setting. Over-rounding the top edge can make the bezel look soft and reduce the clean line around the stone.
Quick Bezel Filing Diagnosis
If the wall still looks uneven, use the visible problem to trace the likely cause. Many filing problems are actually seat, seam or soldering problems.
Even Bezel Filing Is Gradual Work
Filing a bezel wall evenly is mostly about patience, controlled pressure and constant inspection under good lighting. The cleanest bezel walls usually come from gradual refinement rather than aggressive correction at the end.
File The Geometry Before You Burnish The Stone
Even bezel walls make setting easier, cleaner and safer. Refine the height gradually, inspect under directional light and test-fit the stone before final sanding or burnishing.
Keep Building The Bezel Setting Workflow
Even filing connects directly with seat preparation, burnishing control, wrinkle prevention and understanding uneven bezel walls.