SOLDERING GUIDE

Why Silver Jewelry Gets Porosity After Soldering

Porosity in silver jewelry usually appears as small pits, holes or rough surface texture after soldering and polishing. Most porosity problems are connected to overheating, contamination, excess solder or trapped gases during fabrication.

Textured finished silver ring showing how surface texture can reveal small defects
Surface Defects

What Is Porosity?

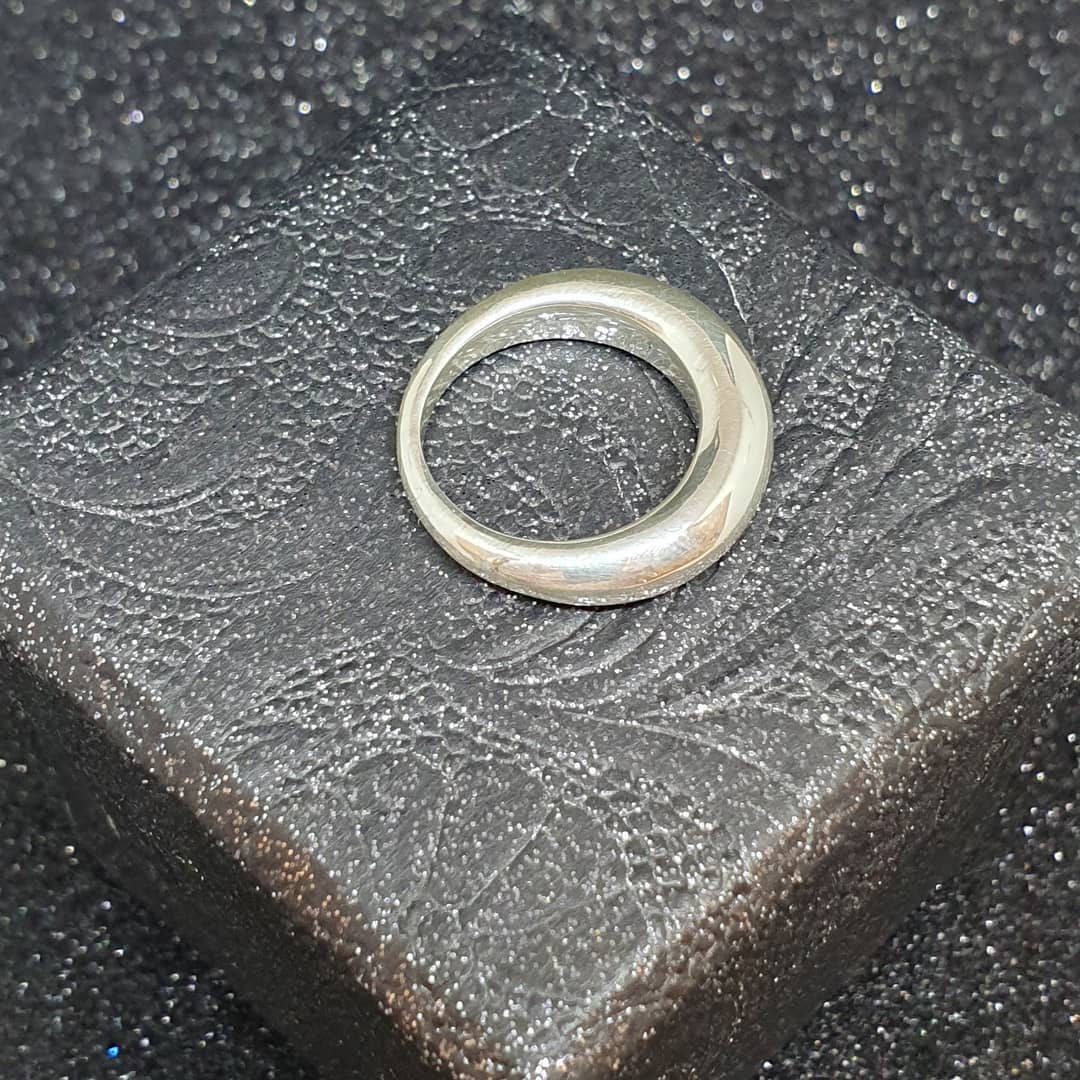
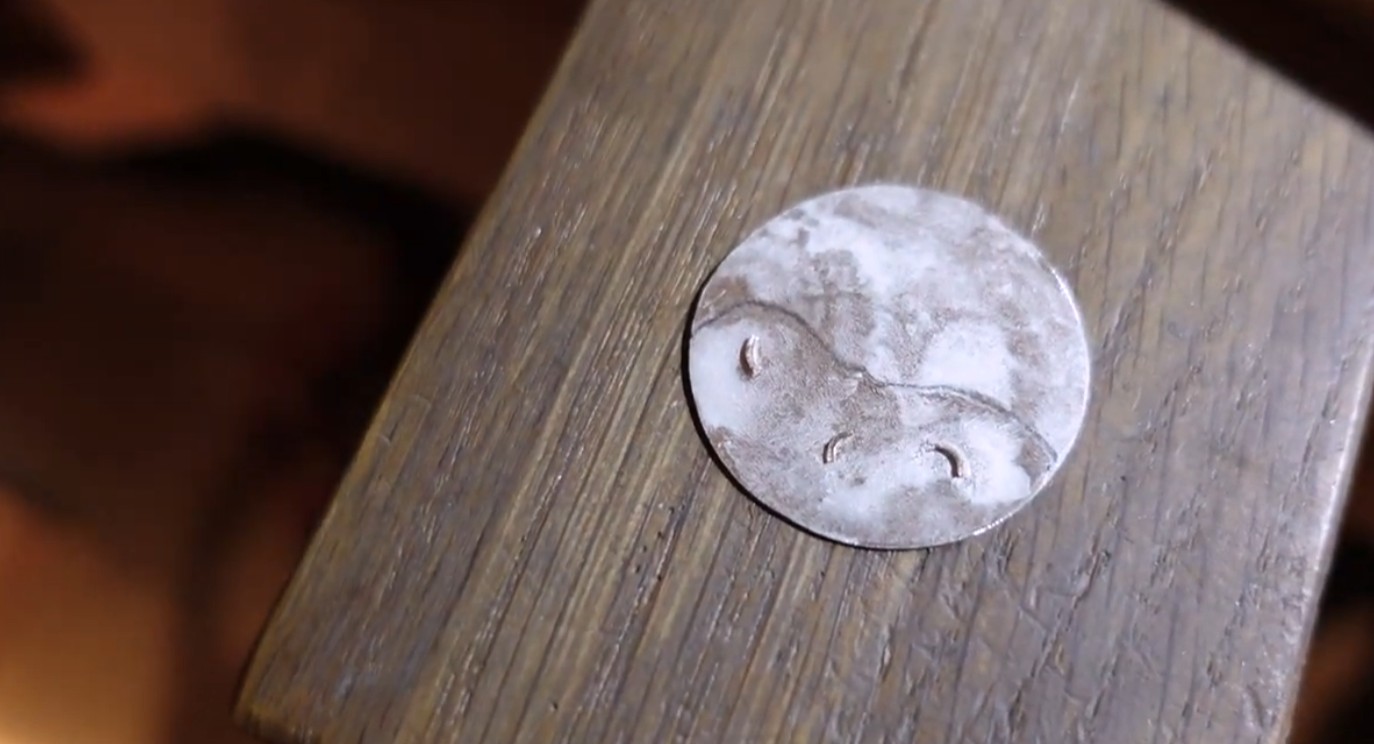
Porosity refers to small voids, pits or trapped gas pockets inside or near the surface of metal. In silver jewelry, porosity often appears as tiny holes, rough patches or grainy texture after soldering, sanding and polishing.

The frustrating part is that porosity may not look serious immediately after soldering. It often becomes more visible once oxidation is removed and the surface becomes reflective.

Small pits Tiny holes may only appear clearly after sanding or polishing.
Rough patches The surface may look grainy, uneven or difficult to polish cleanly.
Hidden voids Some defects sit just below the surface until finishing exposes them.
Late visibility Porosity often becomes obvious only after oxidation and residue are removed.
Finished handmade silver jewelry surface used for checking polish and surface defects
Porosity often becomes obvious late in the process, when sanding and polishing reveal small pits that were hidden under oxidation or rough surface texture.
Heat Damage

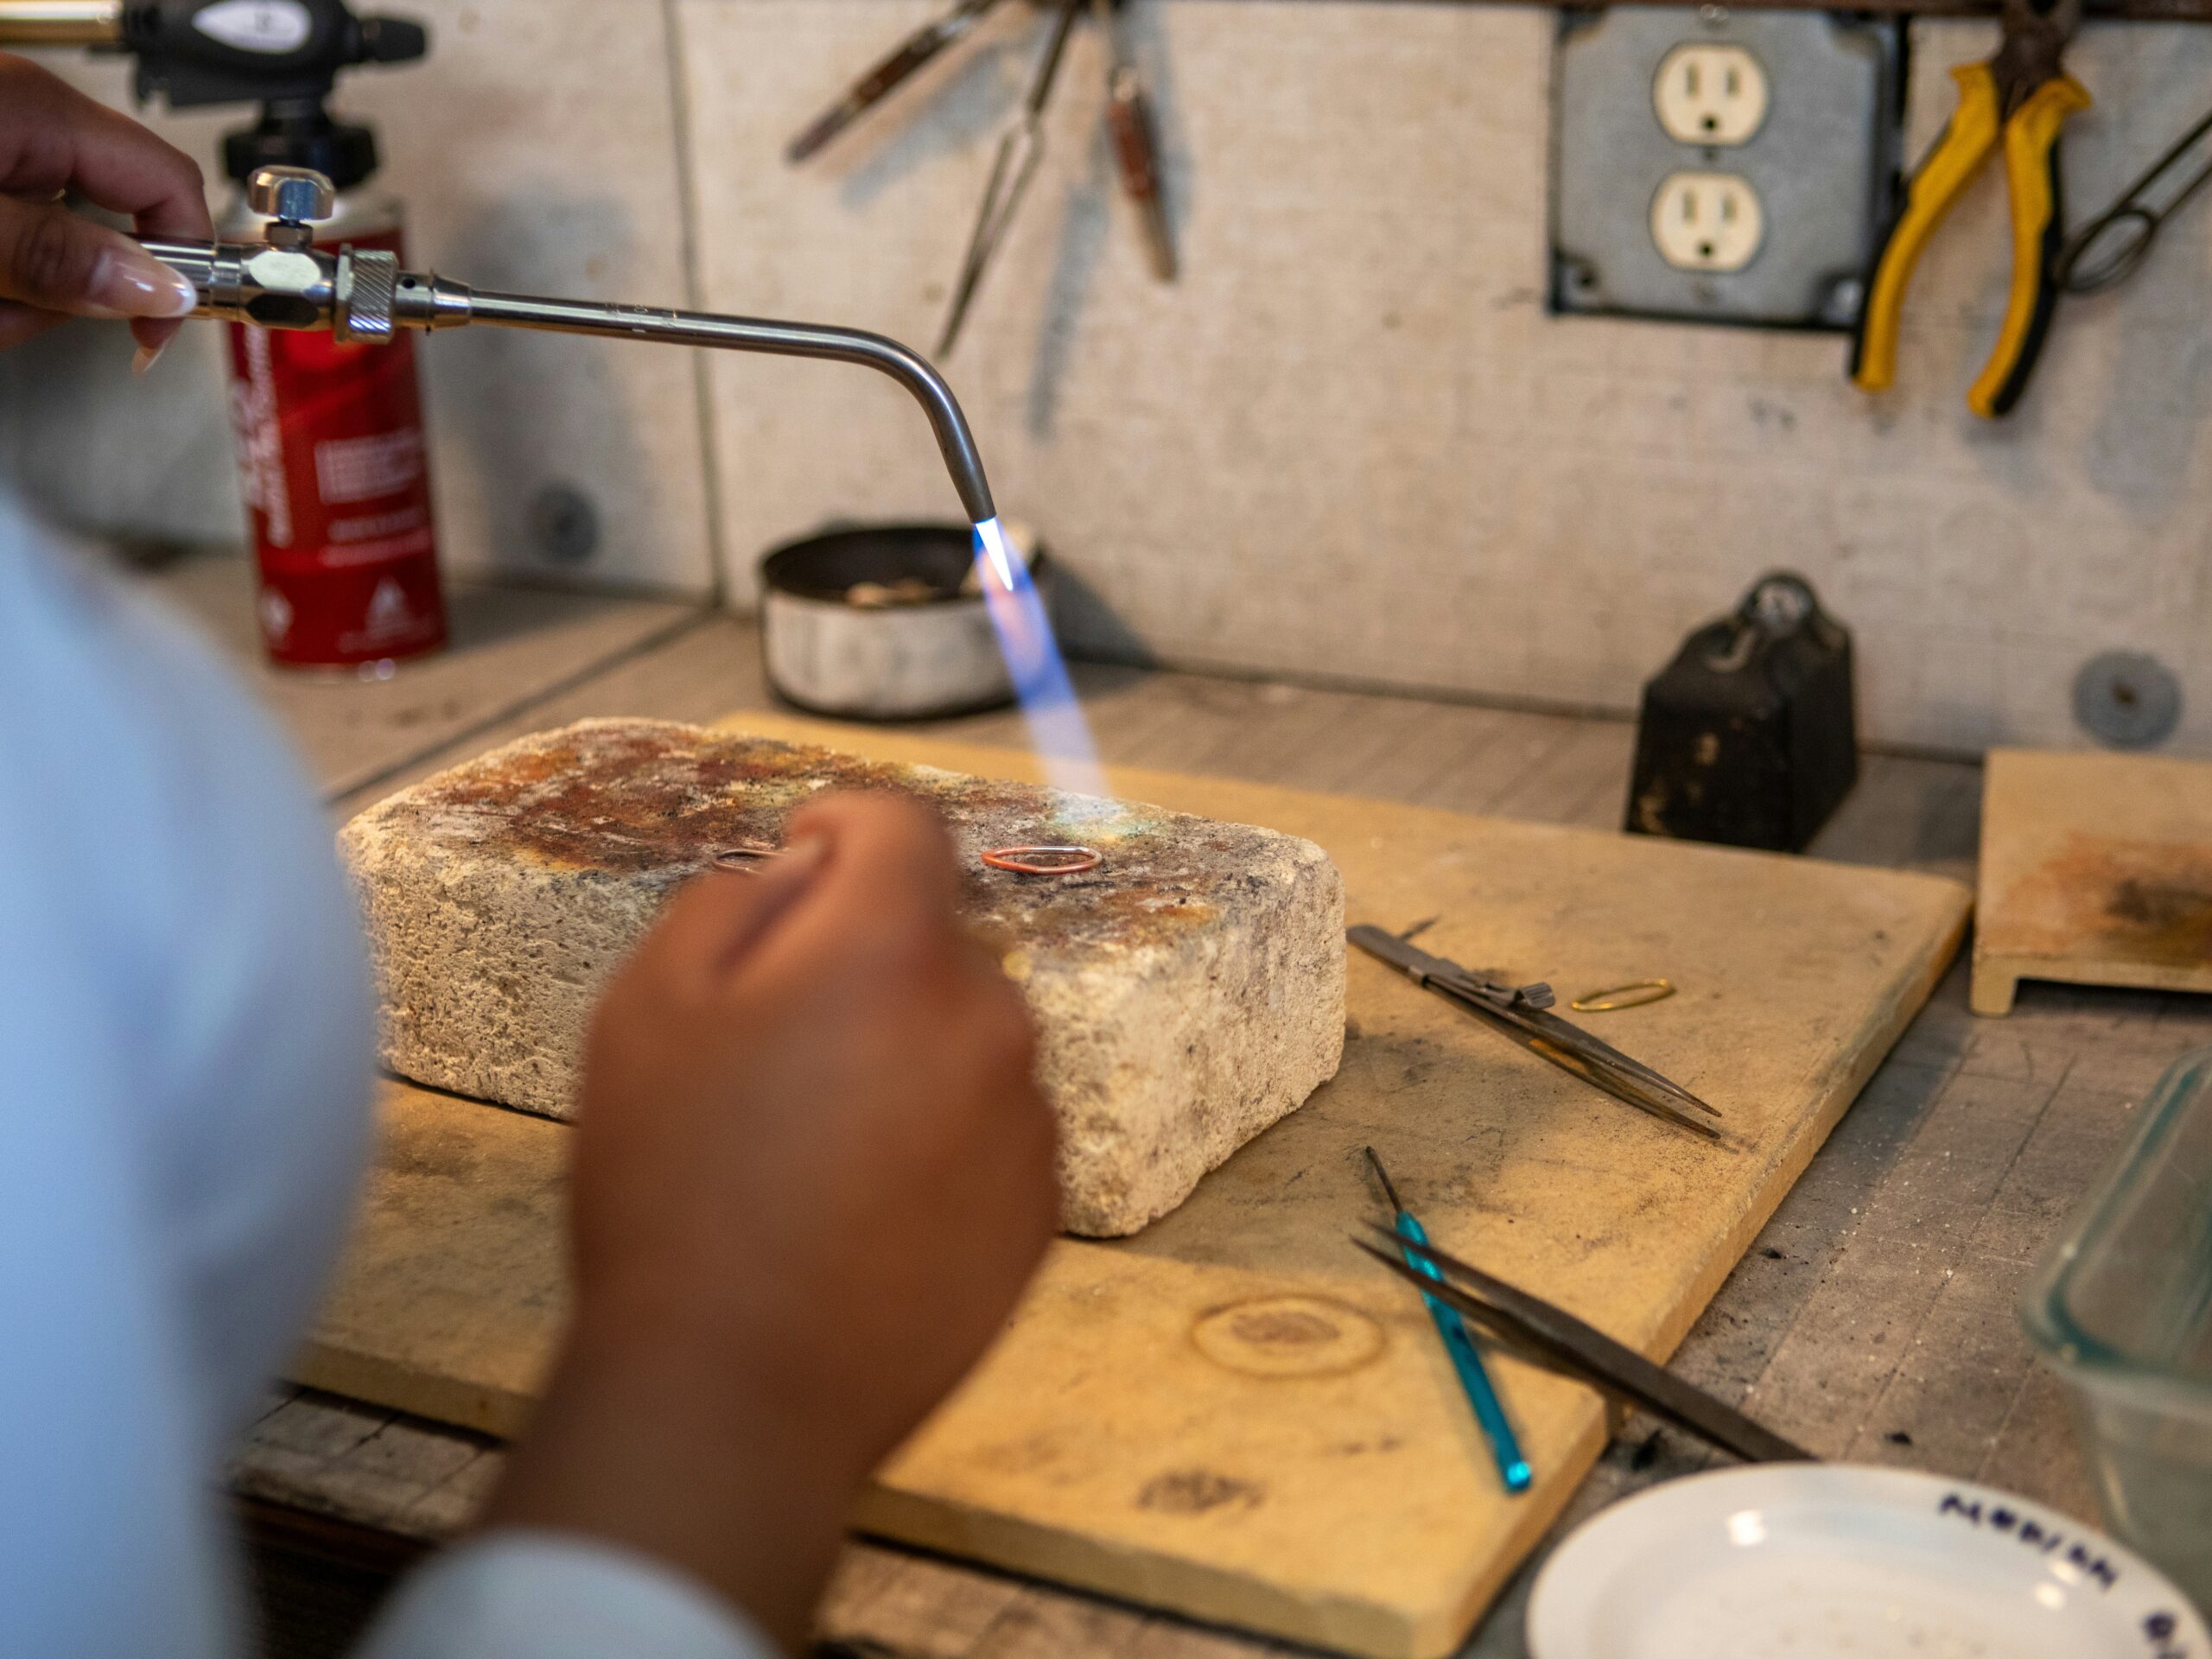
Overheating Is A Major Cause

Excessive heat exposure can damage silver surfaces and increase the likelihood of pitting or porosity during soldering. This is especially common when the torch is held too close, too still or too long after the solder has already flowed.

Overheating can also create rougher surface texture and heavier oxidation, which makes later finishing more difficult.

Prolonged torch exposure The longer silver stays hot, the more surface damage becomes possible.
Localized overheating Holding heat in one place can create pitting or grainy surface texture.
Excessive flame intensity Too much heat can damage the surface before the joint improves.
Poor heat distribution Hot spots and cold zones create unpredictable soldering and finishing results.
Jewelry workbench torch setup used for controlled soldering and heat work
Heat-related porosity is often caused by long exposure, repeated reheating or hot spots rather than one single moment under the torch.
Clean Metal

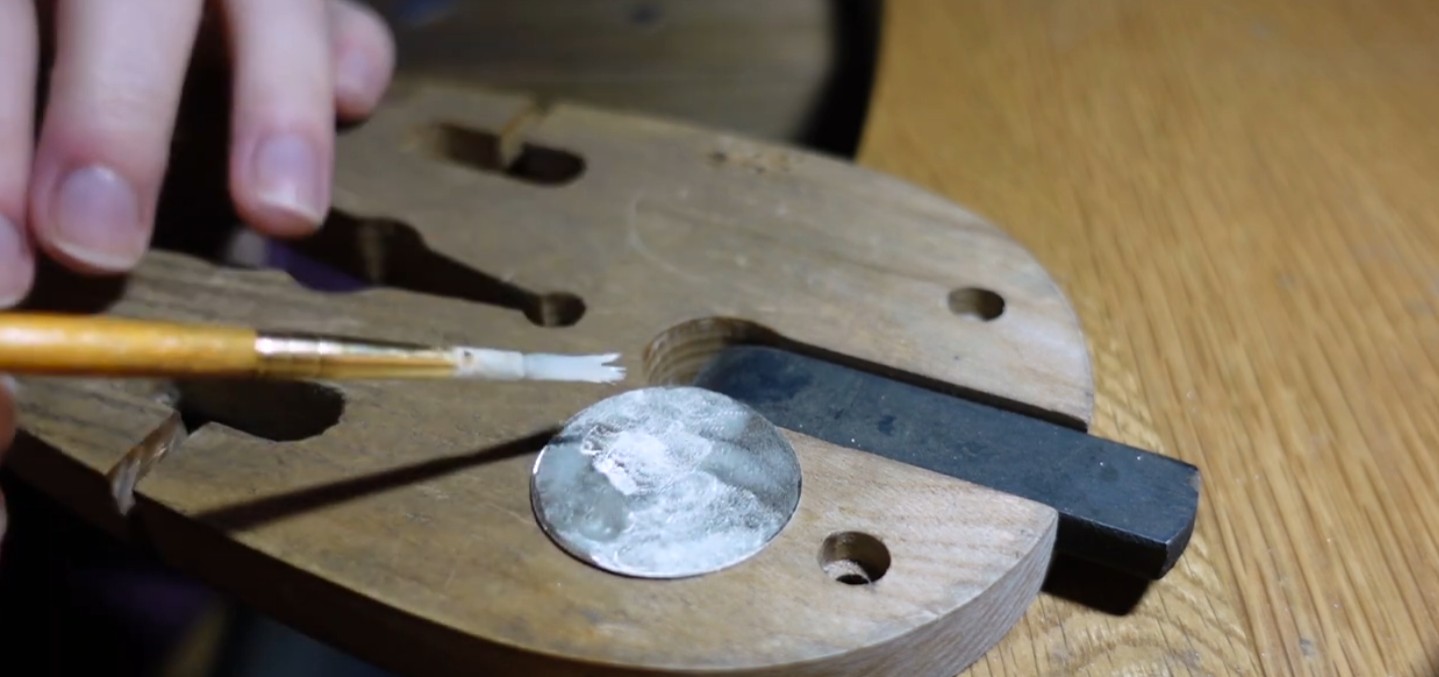
Contamination Can Create Surface Defects

Dirt, oil, old polishing compound and contaminated solder scraps can interfere with clean soldering. When contamination is trapped in or near a solder joint, it can contribute to pits, rough texture or weak-looking seam areas.

Clean metal preparation is one of the simplest ways to reduce porosity risk.

Finger oils and dirt Handling prepared seams can contaminate the soldering area.
Old polishing compound Residue trapped in seams or texture can cause problems under heat.
Dirty solder scraps Oxidized or contaminated solder may behave unpredictably.
Oxidized metal surfaces Solder flows and bonds best across clean, prepared silver.
Surface Preparation

Clean Preparation Reduces Porosity Risk

Porosity prevention starts before the torch is lit. A clean seam, clean solder and clean surrounding metal reduce the chance of trapping residue, oxide or contamination inside the soldering area.

If the surface is already dirty or oxidized, more heat usually makes the defect risk worse rather than better.

Remove oil and residue Clean the soldering area before fluxing or placing solder.
Use clean solder Old or oxidized scraps can introduce unpredictable behavior.
Clean textured areas Residue hides easily in grooves, seams and decorative details.
Pickle and inspect Cleaning between soldering operations helps reveal early defects.
Reheating Risk

Repeated Heating Weakens Surface Quality

Multiple soldering cycles increase oxidation and thermal stress inside the silver. Repairs, adjustments and repeated attempts to make a seam flow can all make porosity more likely.

If a joint does not work the first time, it is usually better to stop and diagnose the cause rather than reheating the same area again and again.

Surface porosity Repeated heating can damage the surface layer and make pits more likely.
Fire scale Long or repeated heat cycles increase oxidation problems.
Grainy texture The surface may become rougher and harder to polish cleanly.
Uneven seams Repeated reheating can make solder flow and cleanup less predictable.
Prepared silver surface before soldering to reduce contamination and porosity risk
When a joint fails, clean and diagnose the surface before reheating. Repeated torch cycles can make surface defects worse.
Late Defects

Porosity Often Appears After Polishing

Before polishing, small pits may remain hidden under oxidation, flux residue or a rough soldered surface. Once the silver becomes reflective, porosity becomes much easier to see under directional light.

This is why many porosity problems feel like they appear “suddenly” late in the work. The defect was often already present, but the polished surface made it visible.

Small surface pits Tiny holes may become clear only after the surface reflects light.
Rough reflections Grainy areas may look dull or broken under directional light.
Tiny holes near seams Pits often collect compound and become more visible after polishing.
Uneven polish behavior Porous areas may not brighten the same way as clean silver.
Jewelry sandpaper used for controlled surface refinement before final polishing
Controlled sanding helps reveal whether the surface is clean or whether pits and rough texture remain before final polishing.
Solder Quantity

Large Solder Masses Increase Risk

Excessive solder usage can create uneven cooling, rough seam transitions and trapped contamination. Large solder blobs also require heavier cleanup, which can reveal or exaggerate surface defects.

Porosity near seams is often connected to a combination of too much solder, overheating and poor surface preparation.

Use small solder chips Small pieces are easier to control and need less cleanup.
Avoid solder blobs Large masses can create rough seam transitions and heavy filing work.
Improve the seam first Do not use extra solder to compensate for poor joint fit.
Reduce cleanup pressure Less excess solder means less grinding, sanding and defect exposure later.
Solder Control

Use Small, Clean Solder Pieces

Small solder pieces are easier to control, easier to place and less likely to create heavy buildup. They also reduce the amount of filing needed after the soldering operation is finished.

Large solder masses often look like a shortcut at the bench but create more surface correction later.

Better Small clean solder pieces placed near the seam.
Riskier Large solder blobs used to fill poor seam contact.
Cleaner surface Less solder buildup usually means less aggressive cleanup.
Fewer defects Controlled solder quantity reduces trapped residue and overheating risk.
Fire Scale Vs Porosity

Fire Scale And Porosity Can Be Confused

Fire scale and porosity are different problems, but both can show up during finishing after soldering. Fire scale often looks like gray, purple or cloudy staining below the surface, while porosity looks more like pits, holes or grainy texture.

Both problems become more likely when silver is overheated or repeatedly heated for too long.

Fire scale Subsurface oxidation that appears as cloudy gray or purple shadows.
Porosity Small pits, holes, voids or grainy texture in the surface.
Shared cause Both are more likely after overheating or repeated heating.
Finishing clue Stains and holes need different correction strategies.
Small solder chips placed for controlled silver jewelry soldering
Controlled solder quantity reduces cleanup, overheating risk and the chance of confusing solder buildup with surface defects.
Inspection

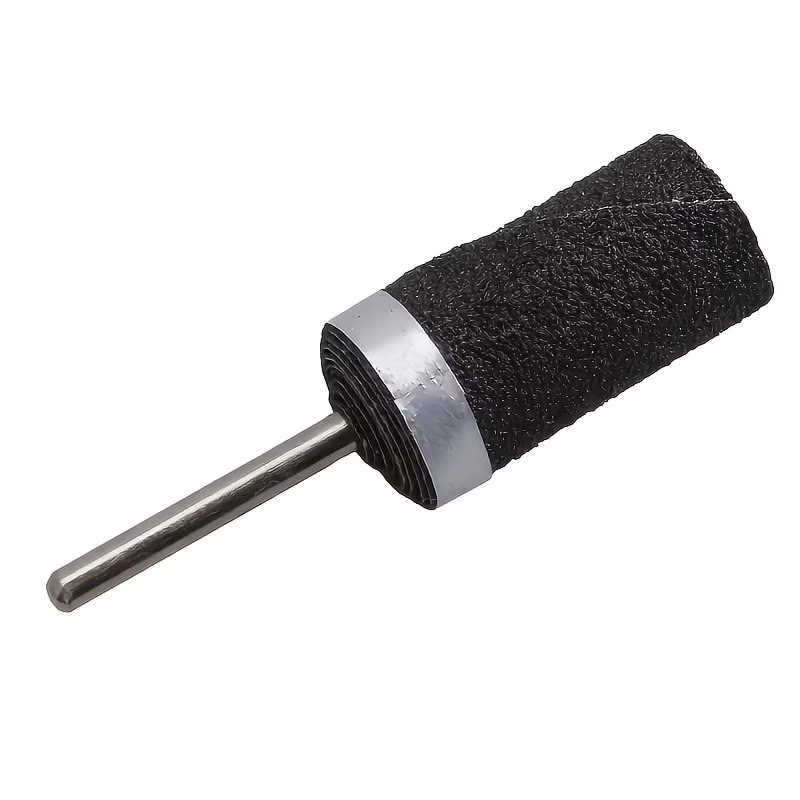
Surface Inspection Is Important

Professional jewelers inspect reflections constantly during finishing. Rotating the piece under directional light helps reveal pits, rough reflections and tiny holes before final polishing.

Inspection should happen after pickling, after filing, during sanding and again before final polish. Waiting until the final shine can make defects harder to correct cleanly.

Inspect after pickling Clean surfaces reveal defects hidden by oxidation or flux residue.
Inspect after filing Check whether surface correction exposed pits or rough areas.
Inspect during sanding Use progressive sanding to see whether defects are improving or deepening.
Inspect before final polish Do not wait until the piece is mirror-bright to look for porosity.
Finished silver jewelry surface used for checking small pits and polish quality
Porosity is easiest to diagnose before the final polish. A bright surface makes defects sharper, not easier to hide.
Diagnosis

Quick Porosity Diagnosis

Porosity problems usually point back to heat, contamination, repeated reheating or excessive solder. The location of the pits can help you understand what happened.

Small pits after polishing The defect was likely hidden until the surface became reflective.
Grainy reflective surface Too much heat may have damaged surface quality.
Tiny holes near seams Dirty seams, old residue or excessive solder may be involved.
Repeated rough texture The same area may have been heated too many times.
Professional Workflow

How Professionals Reduce Porosity

Professional soldering usually focuses on minimizing contamination and controlling heat exposure carefully. Porosity prevention starts before the torch is lit and continues through inspection.

The cleaner the metal and the shorter the heat cycle, the lower the chance of creating avoidable surface defects.

Clean metal preparation Remove oil, oxide and old polishing residue before soldering.
Controlled heating Avoid prolonged torch exposure, hot spots and repeated reheating.
Minimal solder usage Large solder blobs increase cleanup and defect risk.
Careful pickling and inspection Clean the surface and look for pits before final polishing.
Gradual surface refinement Sand and inspect progressively instead of polishing too early.
Finished handmade silver jewelry used for final surface inspection
Professional porosity prevention is a full workflow: clean preparation, controlled heat, minimal solder and inspection before final polish.
Quick Sequence

A Cleaner Anti-Porosity Workflow

Porosity prevention is easiest before the defect exists. Once pits appear during polishing, repair becomes more difficult and may require deeper surface correction.

1. Clean the metal Remove oil, oxide and old polishing residue.
2. Use controlled heat Avoid prolonged torch exposure and hot spots.
3. Use minimal solder Large solder blobs increase cleanup and defect risk.
4. Avoid repeated reheating Diagnose the seam instead of heating again and again.
5. Inspect before polishing Look for pits, rough texture and tiny holes early.

Prevent Porosity Before Polishing Reveals It

Porosity in silver jewelry is usually connected to overheating, contamination or unstable soldering conditions. Cleaner preparation, controlled heating and careful finishing usually reduce surface defects dramatically during jewelry fabrication.