SOLDERING GUIDE

Common Torch Mistakes In Jewelry Soldering

Torch control affects nearly every part of jewelry soldering. Poor flame positioning, uneven heating and excessive temperature can cause solder flow problems, fire scale, weak seams, warping and visible solder lines.

Jewelry torch flame heating silver during soldering or heat-control work
Heat Direction

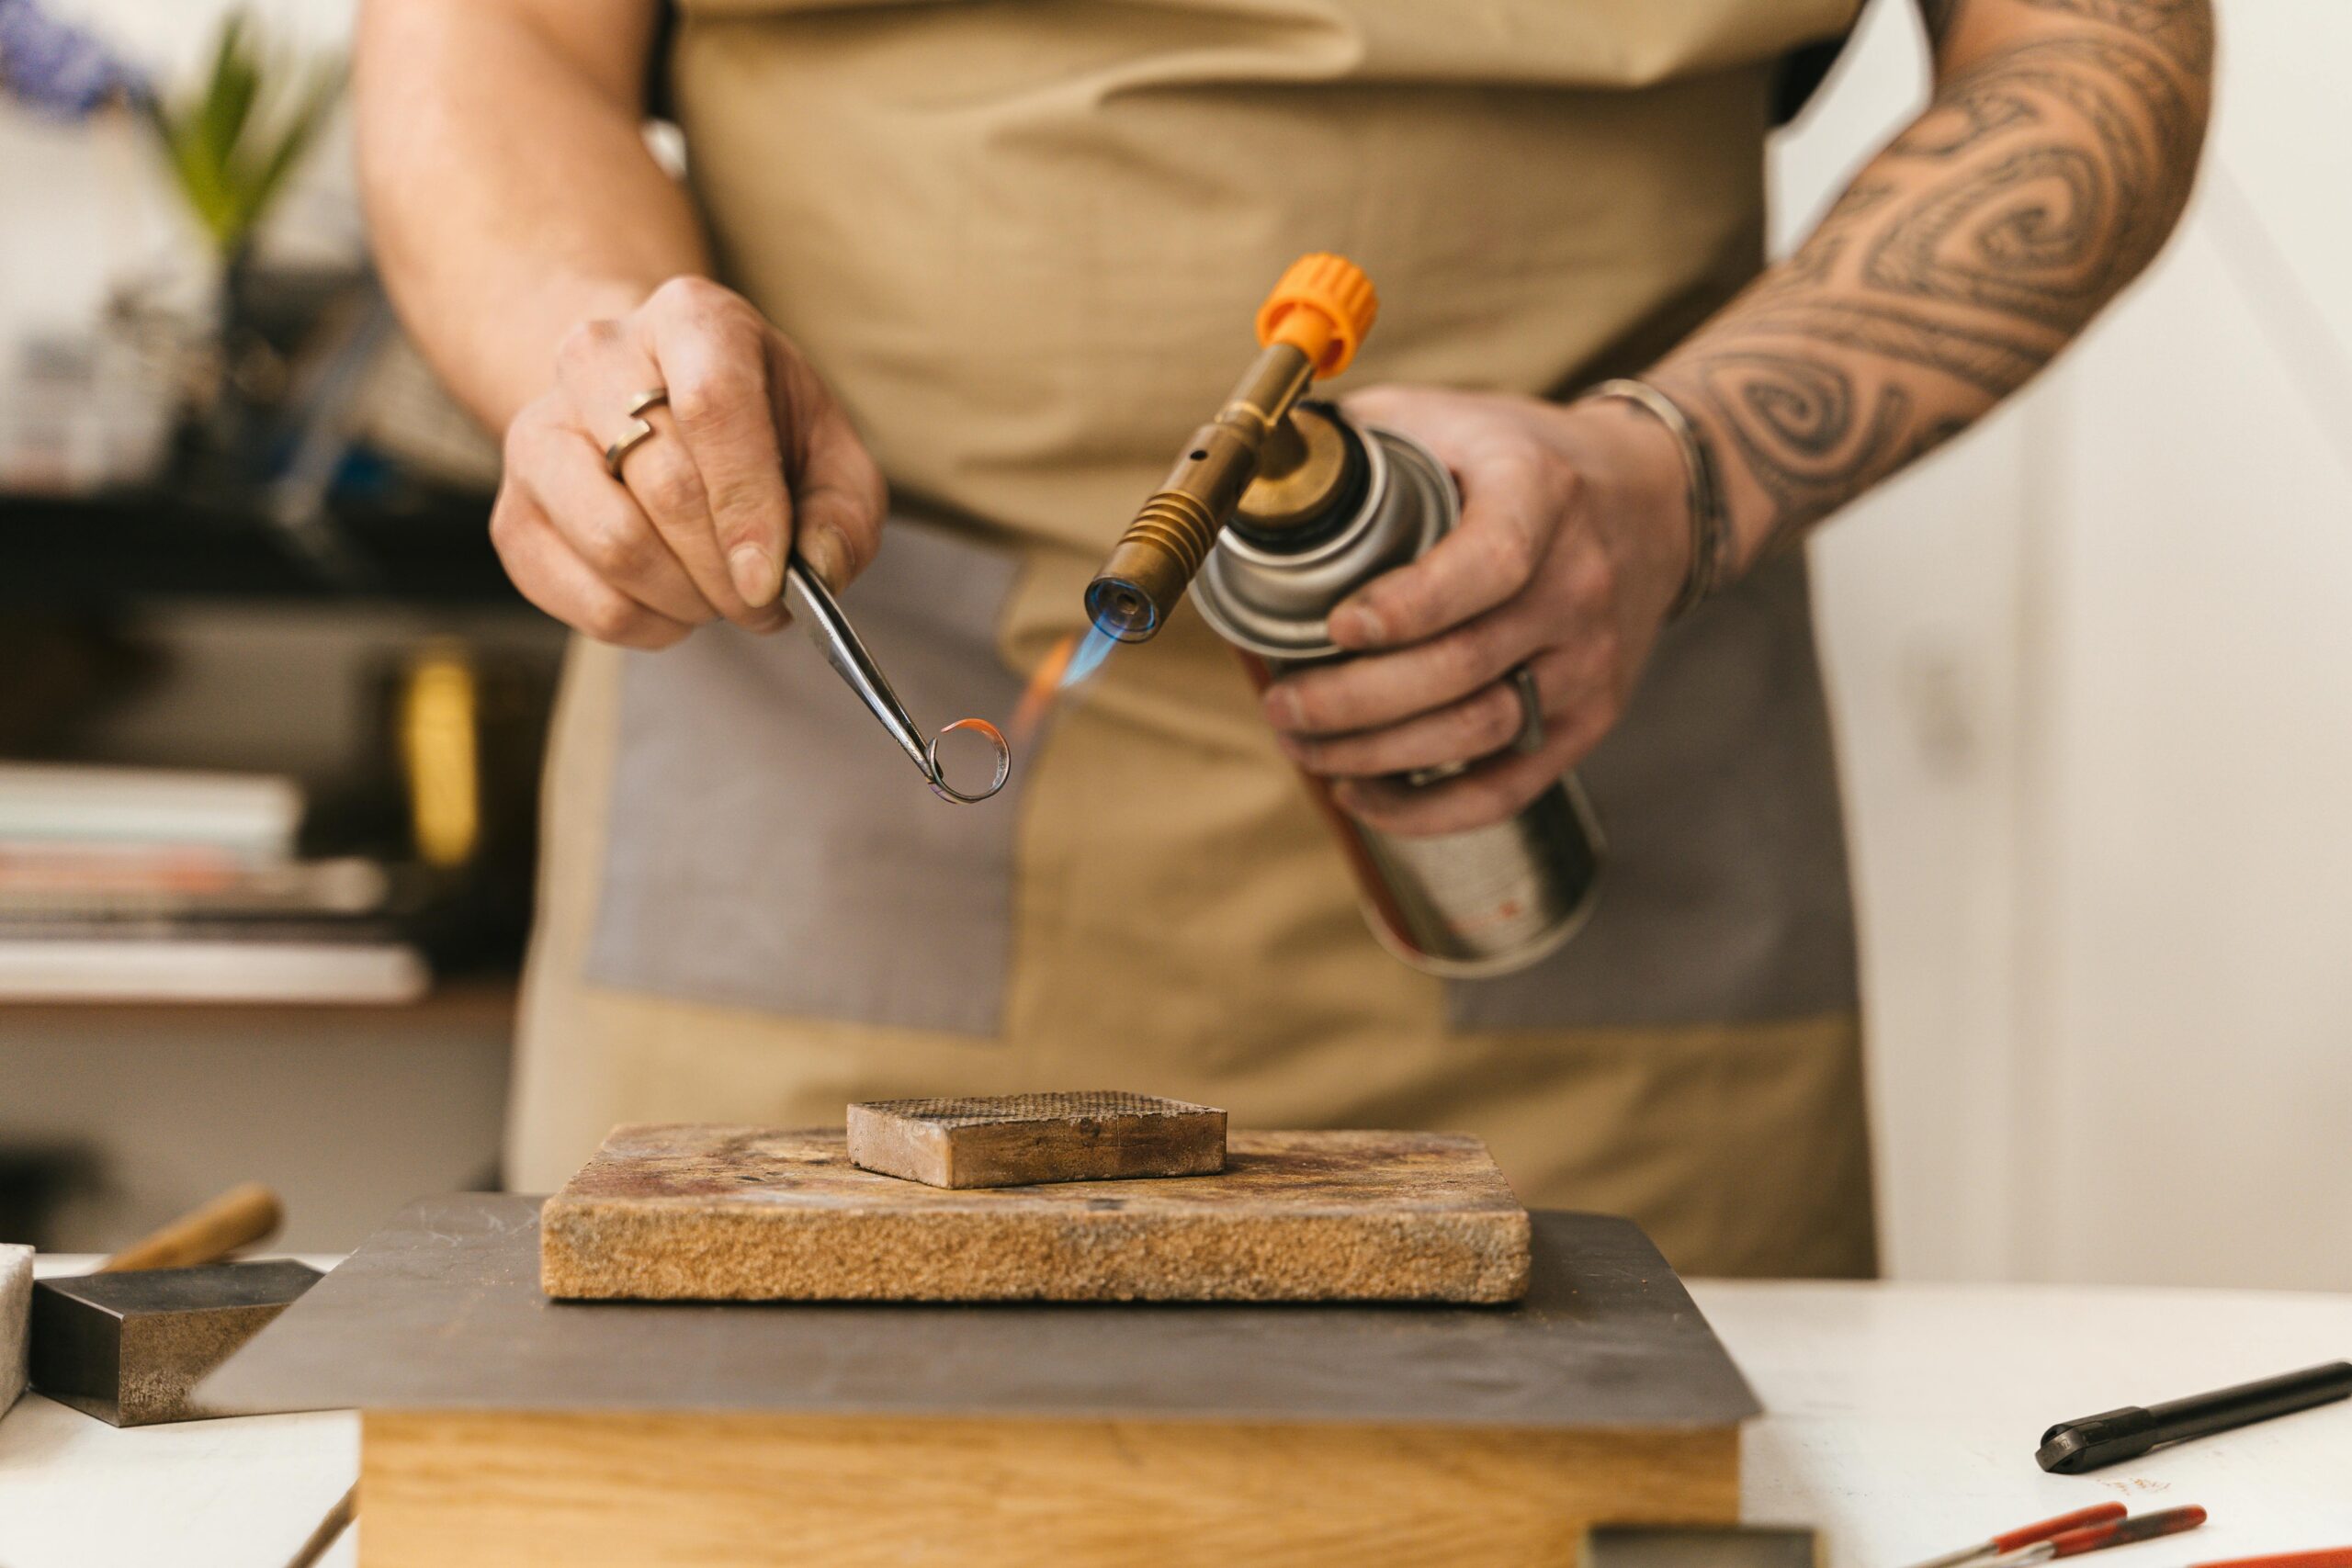
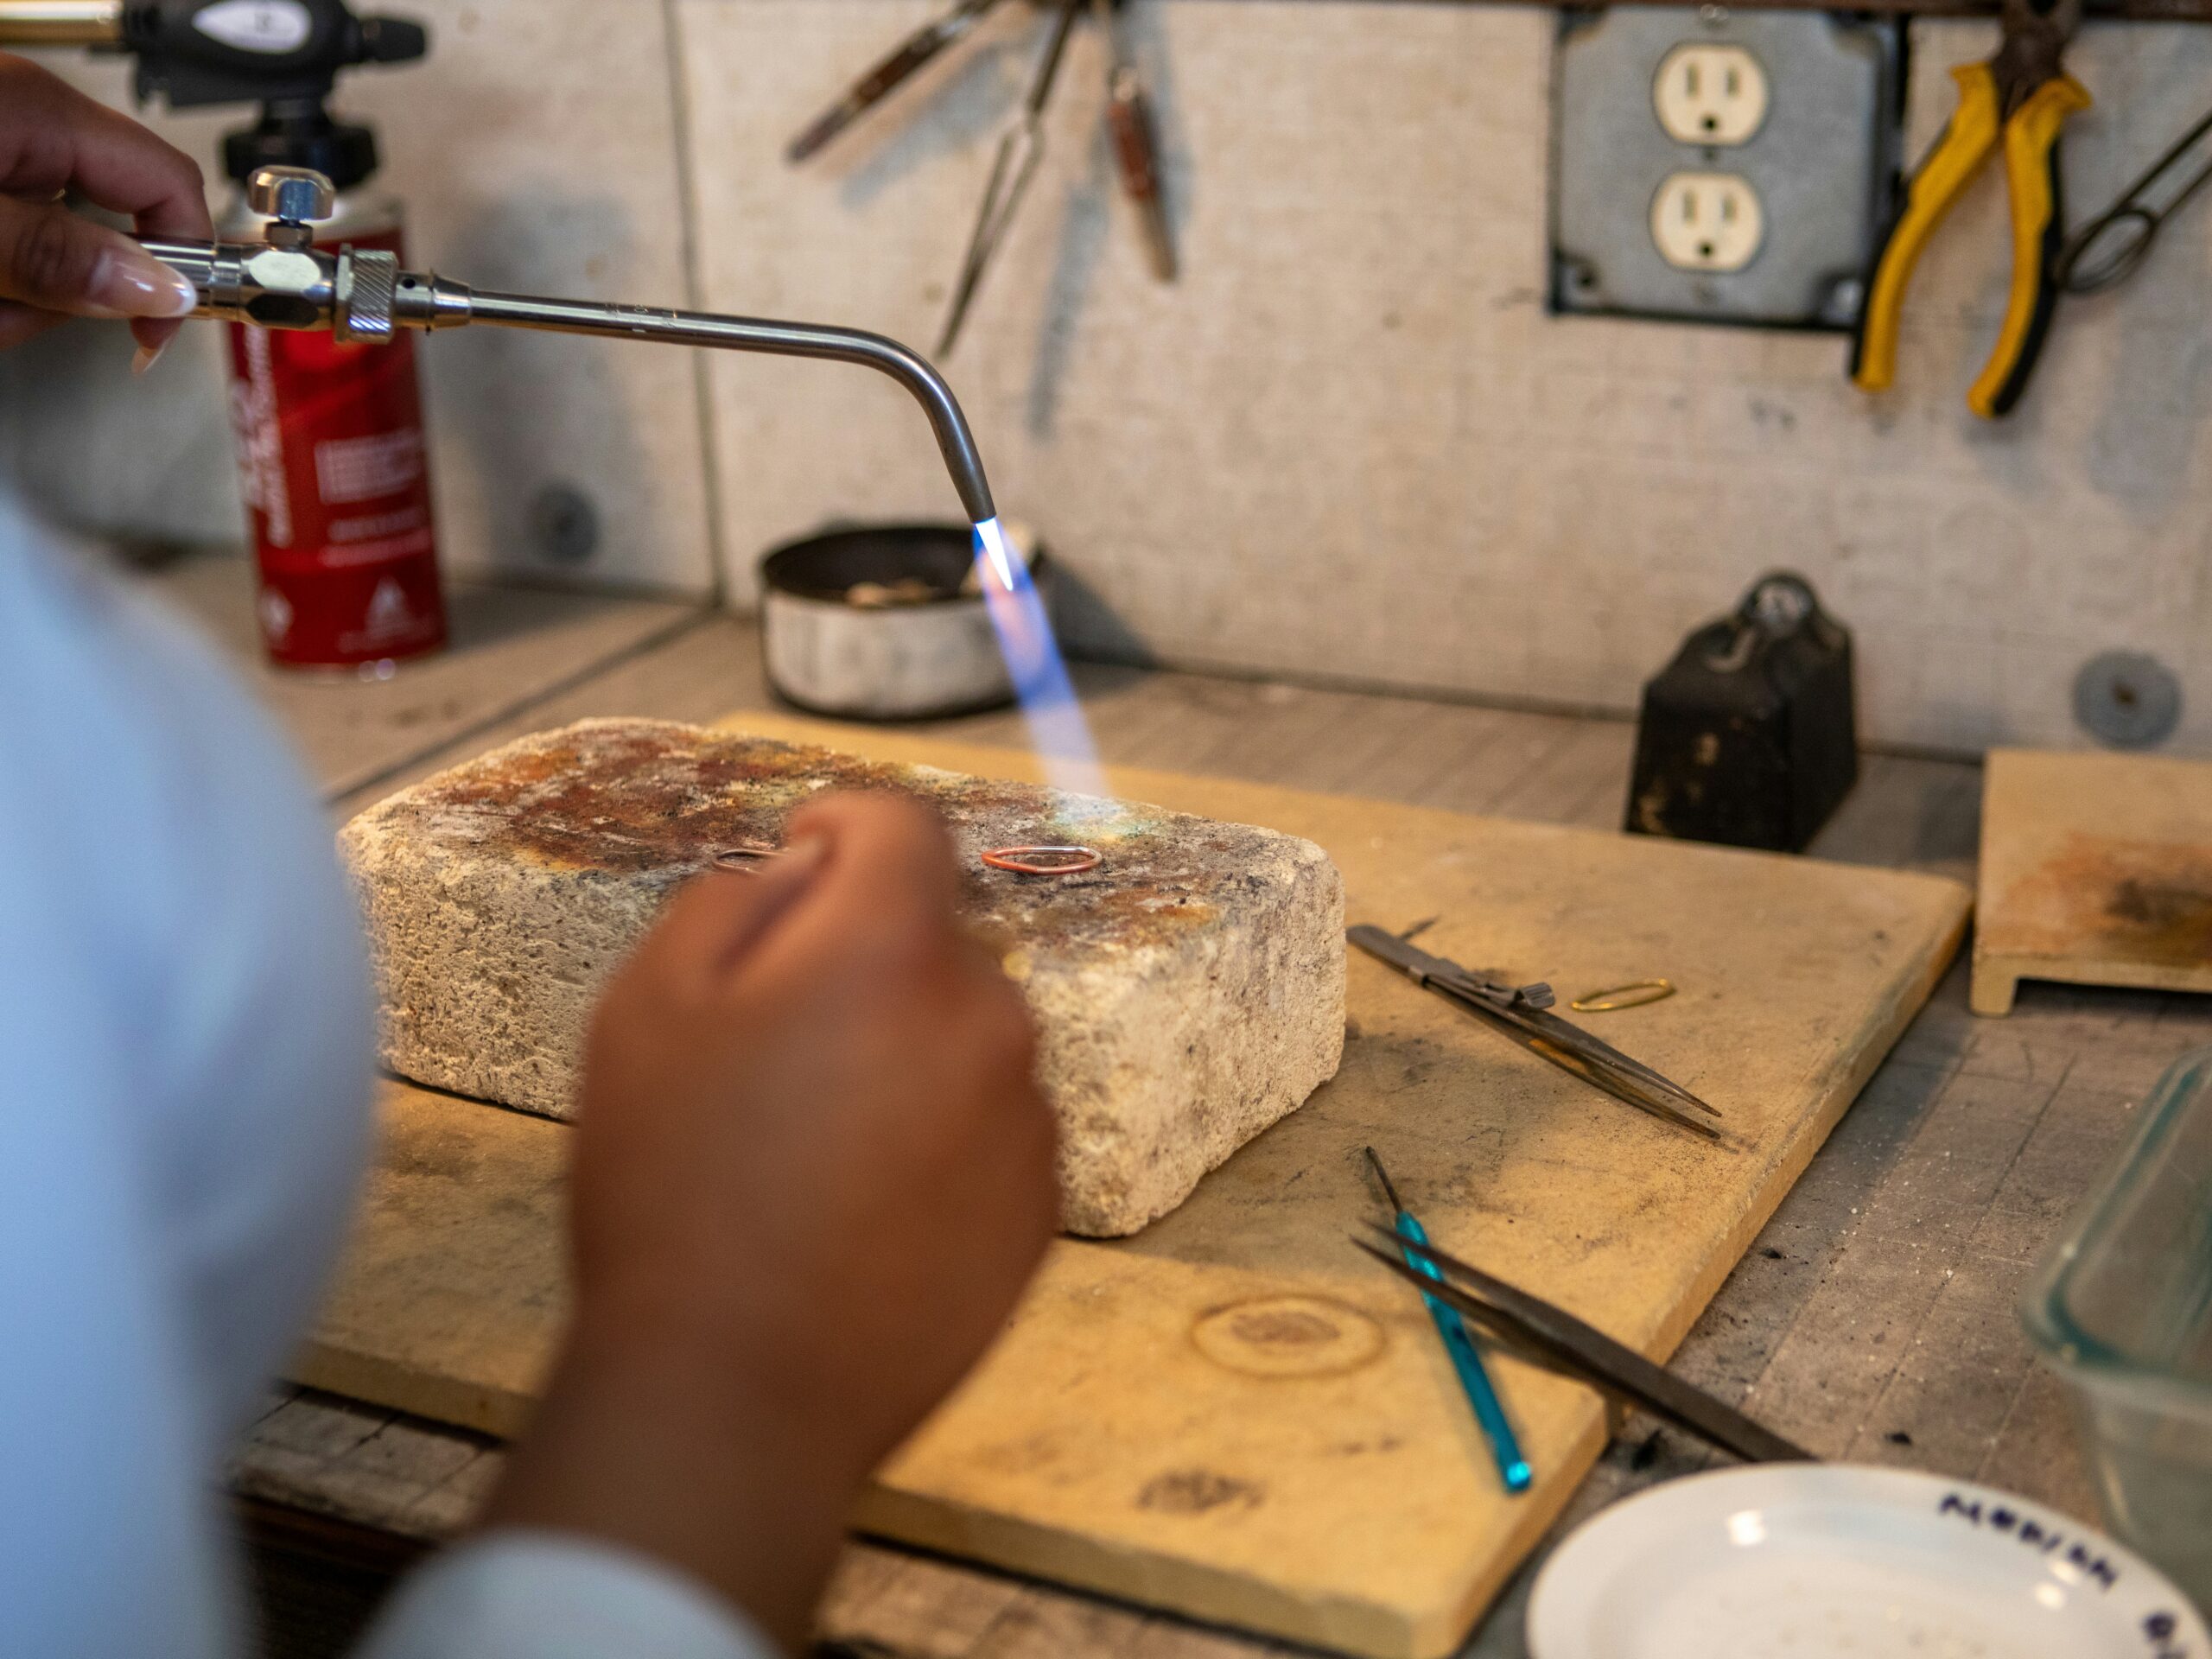
Why Torch Control Matters

Solder follows temperature very precisely. A small flame positioning mistake can make solder ball up, jump away, flow toward the wrong area or leave part of the seam cold.

Torch control affects solder flow, oxidation, warping, joint strength and finishing quality. When the torch is used well, soldering feels calmer because the metal reaches temperature more evenly.

Solder follows heat The hottest area often controls where solder moves.
Even heat improves flow The seam should reach soldering temperature together, not in isolated spots.
Too much heat creates cleanup Overheating can increase fire scale, warping and visible solder marks.
Jeweler using a torch on a soldering block during silver jewelry fabrication
Torch control is not just about flame size. Flame angle, distance, movement and heat balance all affect how solder behaves.
Mistake 1

Heating The Solder Directly

One of the most common torch mistakes is pointing the flame directly at the solder pallion. This can melt the solder before the surrounding silver reaches soldering temperature.

When that happens, solder often balls up, skates away from the seam or sits on top of the metal instead of flowing through the joint.

Warm the surrounding silver The metal should bring the solder to flow temperature.
Avoid direct flame on the chip Melting the solder alone does not mean the seam is ready.
Let the seam pull solder A clean, hot seam draws solder more predictably.
Watch flux and metal The flux and surface behavior tell you more than the solder chip alone.
Small torch heating a silver ring on a soldering block during jewelry soldering
The flame should bring the surrounding silver up to temperature so the seam can pull solder into place.
Mistake 2

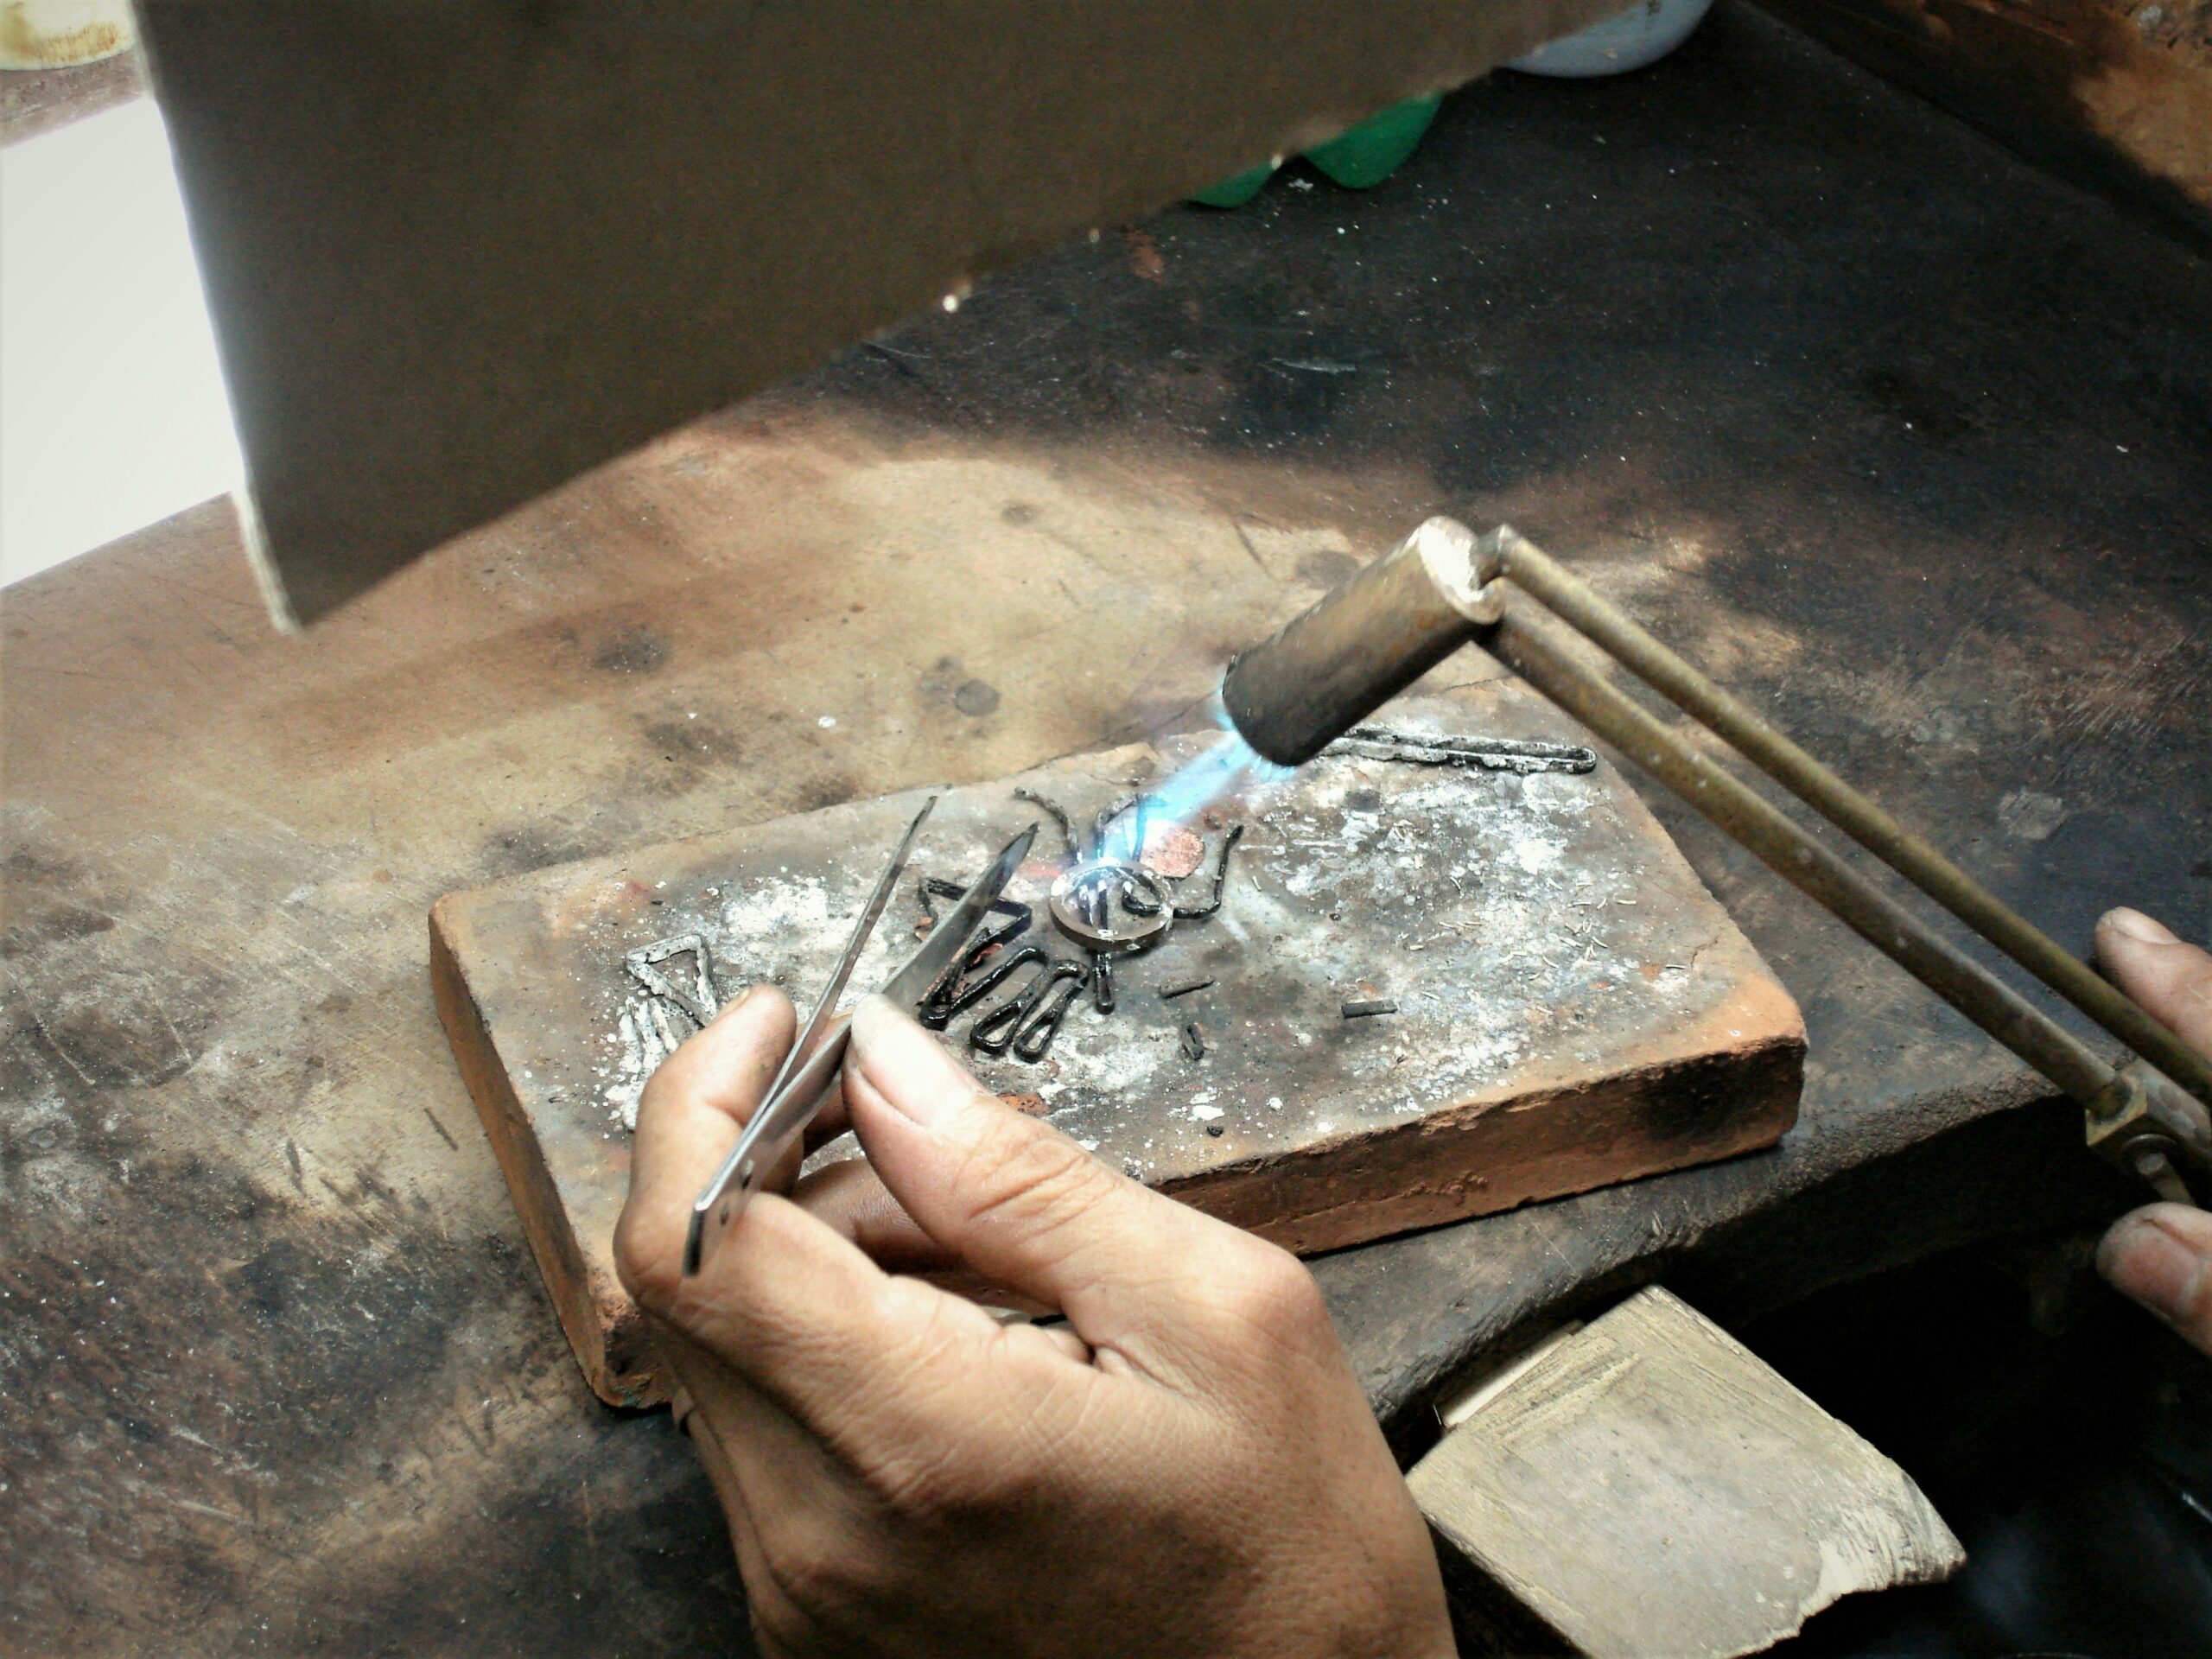
Keeping The Flame Too Still

Holding the torch in one position creates hot spots. The hottest area then starts controlling the solder path, even if that area is not the seam.

A still flame can cause partial solder flow, visible solder lines, surface collapse, warping or one part of the piece reaching temperature before the joint is ready.

Better Continuous torch movement across the joint area.
Riskier Holding heat in one small spot until it overheats.
Cleaner flow The whole seam approaches soldering temperature together.
Less distortion Moving heat reduces local surface collapse and warping.
Mistake 3

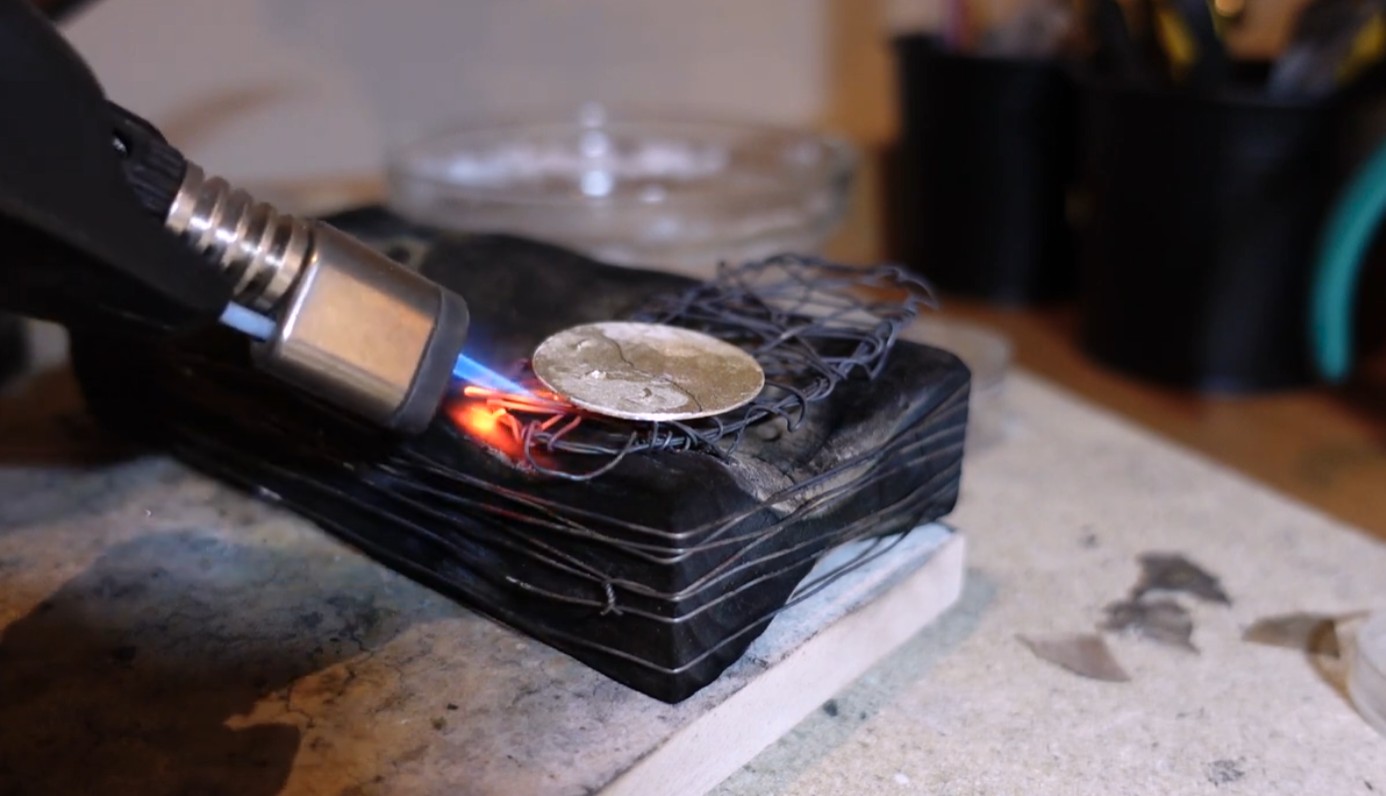
Overheating Thin Silver

Thin silver components heat much faster than heavy stock. Fine bezel wire, thin sheet, jump rings and delicate decorative elements can overheat quickly if the flame is too concentrated.

Excess heat can create warping, fire scale, melted edges, surface slump and distorted reflections that become difficult to remove later.

Use softer movement Thin parts need less direct heat than heavy silver sections.
Watch for distortion Surface movement is a warning sign that heat is becoming excessive.
Stop after flow Do not keep heating after the solder has already run through the seam.
Protect delicate areas Bezel walls, jump rings and thin sheet can heat faster than expected.
Mistake 4

Ignoring Heat Balance

Thick and thin components do not heat at the same speed. If a heavy ring shank, backplate or setting base remains too cool, solder may avoid the seam even while the thin section overheats.

Good torch control means balancing heat across the full joint, not simply heating the smallest or most visible part of the assembly.

Large backplate to small bezel Warm the heavier base so the bezel does not overheat first.
Heavy ring shank to setting The shank may need a gradual head start before solder will flow cleanly.
Jump rings or chain links Small contact points need careful, focused but not stationary heat.
Multi-part assemblies Uneven thickness makes heat balance more important than raw flame size.
Torch flame heating a glowing silver piece on a soldering surface
A glowing or shifting surface can mean the thin area is overheating before the full joint is ready.
Mistakes 5–6

Using Excessive Flame Size Or Holding The Torch Too Close

A large aggressive flame can reduce precision. It may heat more of the piece than intended, increase oxidation and make it harder to see exactly when solder begins to flow.

Flame distance also changes how concentrated the heat feels. Holding the torch too close can create a sharp hot spot, especially on thin silver or small soldering areas.

Match flame to the piece A heavy ring shank needs a different flame strategy than a thin bezel.
Avoid oversized flame Too much flame increases fire scale, distortion and solder visibility problems.
Control distance Too close can blast one tiny point before the full joint is ready.
Watch flux speed If flux changes too aggressively, the torch may be too close or too hot.
Close view of a torch flame used during jewelry soldering
Flame distance changes how concentrated the heat becomes. Too close can overheat one small area before the seam is ready.
Visual Cues

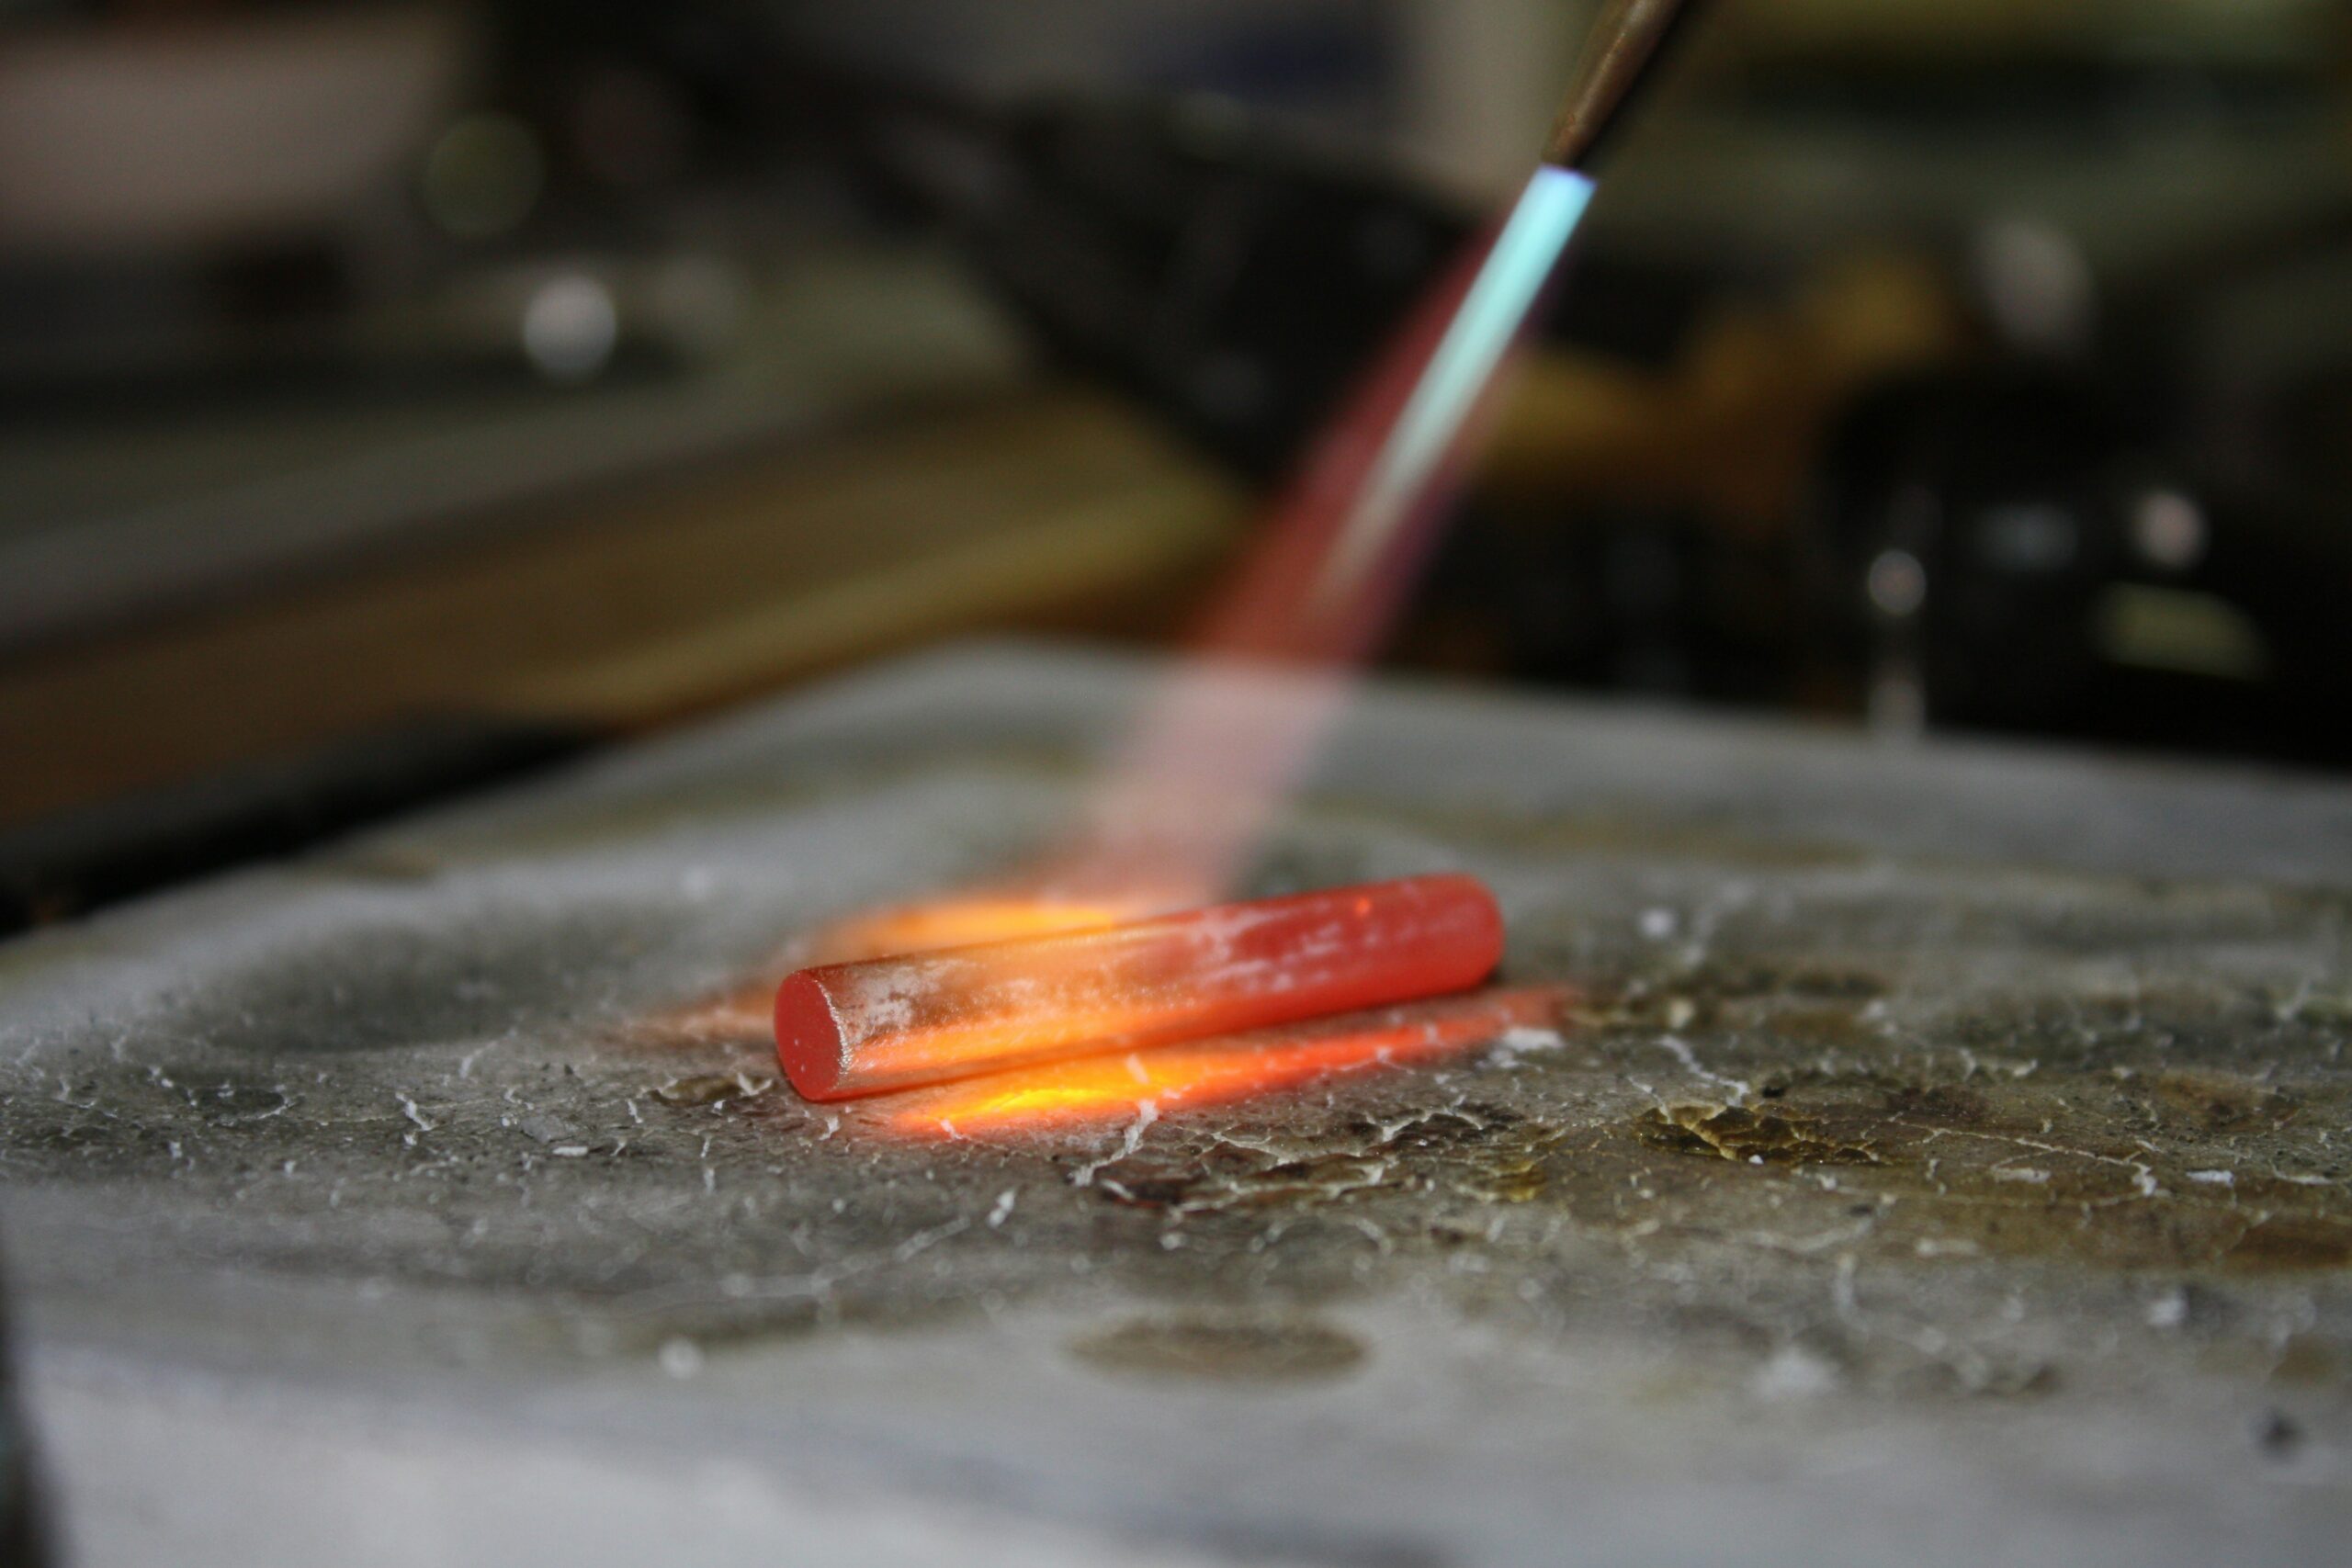
Not Watching Surface Reflections

Reflections reveal temperature changes and distortion surprisingly well during soldering. A surface that starts to wave, sag or change reflection unevenly may be warning you that one area is overheating.

Surface observation helps you stop before damage becomes visible only after cleanup.

Watch for waves Movement in the surface can signal overheating or beginning distortion.
Notice uneven glow Uneven heat color can show that one area is racing ahead of the joint.
Stop if thin parts move Movement often means the heat is already too aggressive.
Observe solder flow Do not force flow with more flame if preparation or heat balance is wrong.
Preparation Check

Trying To Fix Poor Preparation With Heat

Torch control cannot fix every soldering problem. If the seam is dirty, poorly fitted, under-fluxed or badly placed, more heat may simply create more damage.

When solder refuses to flow, pause before increasing temperature. The better move is often to clean the joint, improve the fit, add fresh flux or adjust solder placement.

Is the seam tight? Open gaps usually need fitting, not more flame.
Is the metal clean? Oil, oxide or polishing residue can stop solder from wetting the surface.
Is there enough flux? Dry or burned-out flux can make solder ball up or resist the seam.
Is solder placed correctly? Solder should be close enough to the seam to flow where it belongs.
Is heat balanced? Both parts of the joint need to approach temperature together.
Professional Workflow

How Professionals Control Torch Heat

Professional jewelers usually focus on controlled heat movement rather than aggressive flame intensity. The torch is used to guide temperature across the piece, not just to melt the solder as quickly as possible.

The goal is predictable solder flow, minimal oxidation and enough heat at the seam without overheating nearby details.

Move continuously Do not park the flame in one place unless the operation specifically requires it.
Warm heavy sections first Thicker metal often needs a head start before solder will flow cleanly.
Watch flux and metal Use visual cues to judge temperature instead of chasing the solder chip.
Stop when solder flows Extra heating after flow increases oxidation, distortion and cleanup.
Jeweler applying torch heat to a soldering block at the bench
Professional torch control is usually about guiding temperature, not forcing the solder to melt as fast as possible.
Quick Diagnosis

Diagnose Torch Mistakes Before Adding More Heat

Many soldering failures look like solder problems, but the pattern often points back to torch position, flame distance, heating speed or poor preparation.

Solder balls up Flame may be melting solder before the metal is hot enough.
Silver warps Heat is too concentrated or held too long.
Fire scale increases Too much heat, poor flux protection or too much heating time.
Partial seam flow One side of the joint is colder than the other.
Visible solder line Flow, cleanup or heat balance may be incomplete.

Use The Torch To Guide Heat, Not Force The Joint

Clean soldering depends on balanced flame movement, careful observation and controlled heat. When the metal reaches temperature evenly, solder flows more predictably and the finished seam usually needs less cleanup.