SOLDERING GUIDE

How To Avoid Solder Flooding In Jewelry Making

Solder flooding happens when excessive solder spreads across silver surfaces instead of staying controlled within the seam. Clean jewelry soldering depends on tight seam preparation, balanced heat and careful solder quantity.

Jewelry torch flame heating silver during soldering or heat-control work
Control Problem

What Is Solder Flooding?

Solder flooding happens when molten solder spreads too far across the jewelry surface instead of remaining concentrated inside the seam. It often looks like the solder has washed over the surrounding metal rather than being pulled neatly into the joint.

The problem is usually not only the solder itself. Flooding is normally a control problem: too much solder, too much heat in one area, too much open surface for solder to follow, or a seam that is not fitted tightly enough.

Large cleanup areas Flooded solder spreads polishing and filing work beyond the actual seam.
Visible buildup Excess solder can leave lumps, ridges or visible repair marks.
Softened details Solder can wash over texture, wire detail or decorative edges.
Uneven reflections After polishing, flooded areas may reflect differently from clean silver.
Silver solder material prepared for cutting and controlled jewelry soldering
Solder flooding is usually a control problem: too much solder, too much heat in one area or a seam that is not fitted tightly enough.
Before Heat

Prepare The Surface First

Solder flooding often begins before heat is applied. Dirty, uneven or poorly prepared metal can make solder move unpredictably across the surface instead of flowing cleanly into the seam.

Remove oxidation Oxide can stop solder from wetting the seam cleanly.
Clean oil and residue Fingerprints, dust and polishing residue can interfere with flow.
Dry fit before solder The parts should touch before flux and solder are added.
Avoid rough contaminated seams Uneven seam edges can pull solder into messy areas.
Check actual contact If the joint does not touch, solder may flood instead of filling neatly.
Silver jewelry soldering setup for seam preparation and controlled solder placement
Clean seam preparation keeps solder focused on the joint instead of letting it wash across nearby surfaces.
Biggest Cause

Too Much Solder Is The Biggest Cause

Beginners often assume more solder creates stronger joints. In reality, excessive solder usually creates messy seams, heavy filing work and visible repairs after polishing.

A clean solder joint needs enough solder to fill the seam, not enough to flood the surface around it.

Better Small chips placed exactly at the joint.
Cleaner flow Capillary action can pull small solder pieces into a tight seam.
Riskier Large pieces stacked beside the seam.
More cleanup Extra solder usually means extra filing and sanding.
Chip Placement

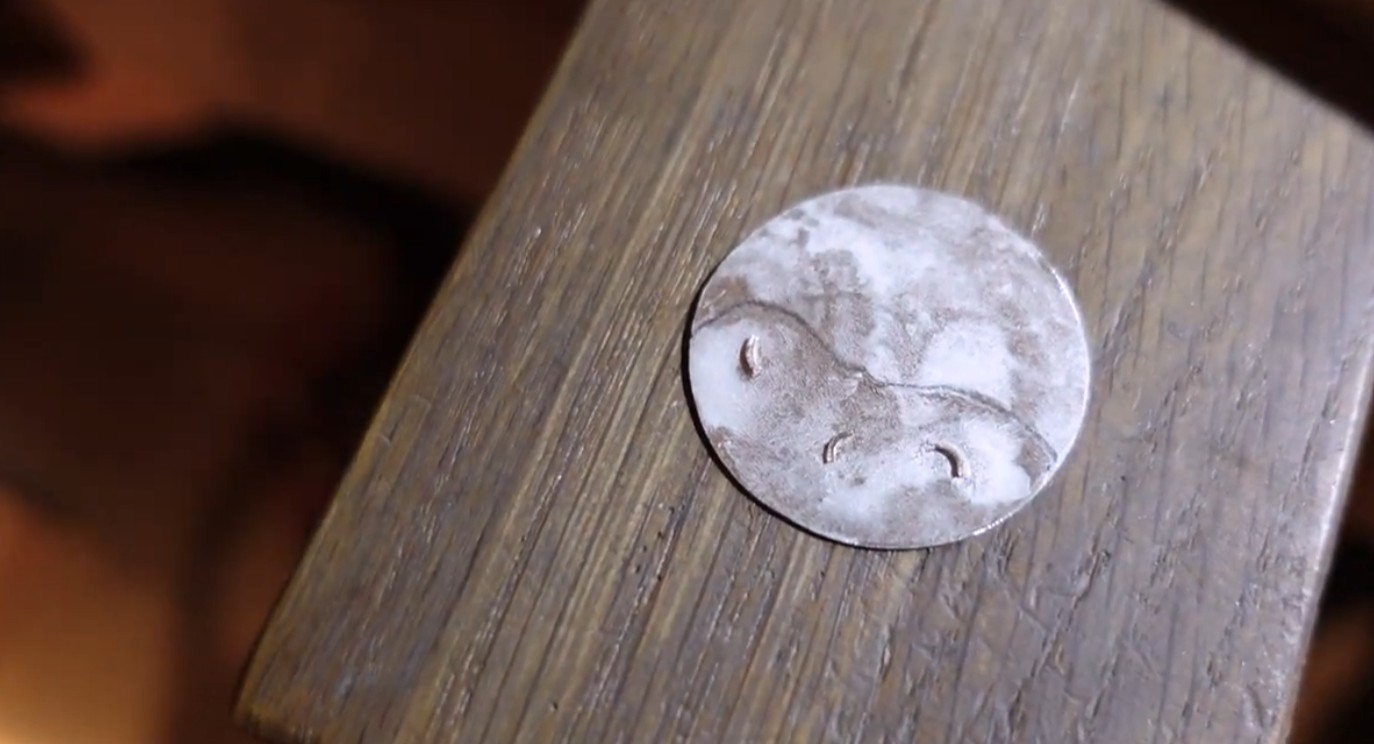
Place Solder Chips With Control

Solder chip placement affects how the seam fills once heat is applied. Poorly placed chips can flow into open surface areas instead of into the joint.

Place solder near the seam Keep the solder path short and direct.
Avoid stacked pieces Stacked solder often flows outward before the seam fills.
Space small chips evenly Even spacing gives cleaner, more predictable flow.
Protect visible detail Do not place solder where cleanup could damage texture or decoration.
Seam Fit

Poor Seam Fit Encourages Flooding

Gaps between silver components require more solder to fill properly. Loose seams often force solder to spread outward unpredictably because the joint does not give the solder a narrow path to follow.

If the parts move during heating, the solder may follow the newly opened gap or spread across the hottest available surface.

Uneven contact points Solder may pool in low spots instead of flowing through the seam.
Wide seam gaps Usually require too much solder and create visible buildup.
Misaligned components Uneven fit makes solder flow less predictable.
Rough seam edges Rough surfaces can trap flux, oxide and excess solder.
Parts moving during heating Movement can open the seam just as solder starts to flow.
Silver solder material prepared for cutting and controlled jewelry soldering
A tight seam lets a small amount of solder work efficiently. A loose seam usually invites flooding.
Heat Path

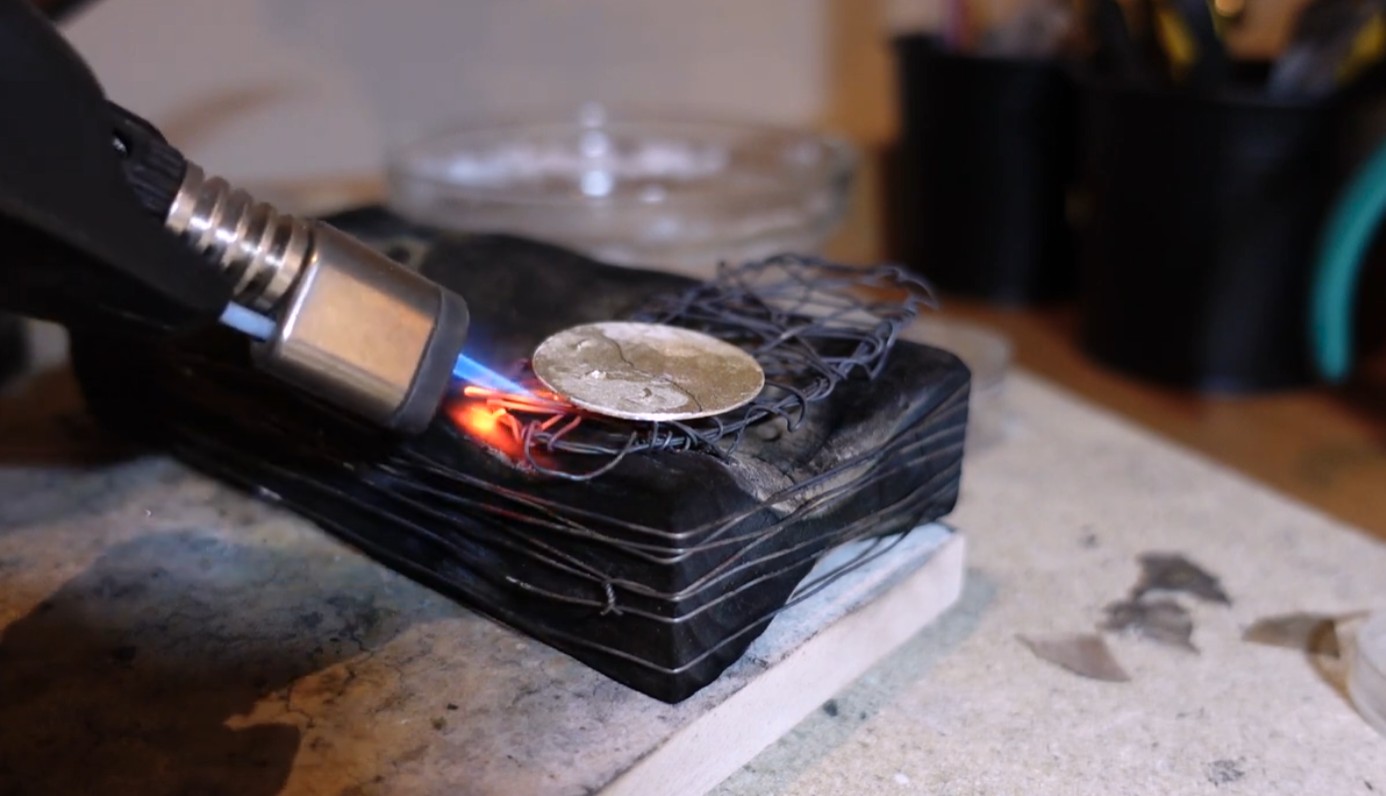
Apply Heat Gradually

Solder follows heat. If one area becomes too hot too quickly, solder may flood toward that area instead of staying at the seam.

Heat the surrounding metal Do not focus only on the solder chip.
Move the torch continuously A moving flame helps reduce overheated hot spots.
Avoid one small hot area Localized heat can pull solder away from the joint.
Watch the flash point Stop heating once solder flashes and fills the seam.
Let it cool without movement Moving parts while solder cools can weaken or distort the joint.
Small torch heating a silver ring on a soldering block during jewelry soldering
Gradual heating helps the seam pull solder into place instead of letting it wash across the hottest surface.
Flux Control

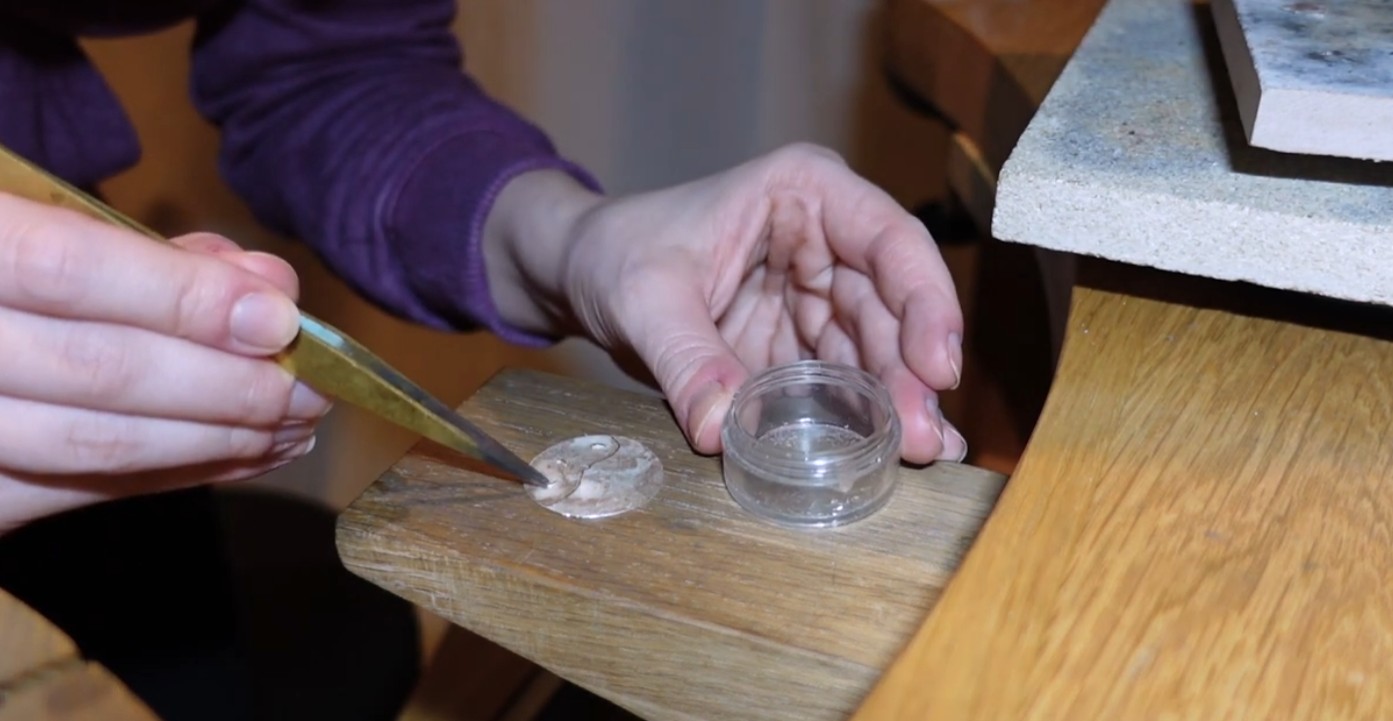
Flux Placement Matters Too

Flux helps solder flow smoothly, but excessive flux across a broad surface can encourage solder to spread outside the joint, especially if the piece is overheated.

The goal is not to flood the entire area with flux. The goal is to protect the seam and the nearby metal that needs to participate in the joint.

Protect the seam Flux should cover the joint and the nearby area that needs solder flow.
Avoid broad wet paths Excessive flux across decorative areas can help solder travel where you do not want it.
Watch overheating Too much heat plus too much open fluxed surface can encourage flooding.
Diagnosis

Quick Diagnosis Guide

When solder flooding appears, diagnose the direction and cause of the flow before adding more heat or more solder. The pattern usually points back to quantity, seam fit, flux or heat path.

Solder spreads everywhere Usually caused by too much solder, too much flux or broad overheating.
Large visible seam Often caused by a wide gap, poor fit or movement during heating.
Solder avoids the seam Usually caused by uneven heating, contamination or heating the solder first.
Heavy filing required Often caused by flooded solder buildup instead of capillary flow.
Quick Sequence

A Cleaner Anti-Flooding Workflow

The best way to avoid solder flooding is to make each step smaller and more controlled. The seam should be clean, tight, lightly fluxed, accurately soldered and heated gradually.

1. Prepare the surface Clean, remove oxide and dry fit the parts.
2. Place solder chips Use small pieces near the seam.
3. Apply heat gradually Heat the metal, not only the solder.
4. Watch the flow Solder should pull into the seam, not wash across the surface.
5. Let it cool naturally Do not move the joint while the solder is setting.

Master Jewelry Soldering With More Control

Clean soldering depends heavily on precision and restraint rather than excessive solder quantity. Tight seams, careful solder placement and controlled heat usually create the cleanest professional jewelry soldering results.