What Clean Burnishing Really Means
Clean bezel burnishing is controlled compression. The goal is to move the bezel wall smoothly over the stone without gouging the metal, folding the edge or forcing one side down before the rest of the setting is ready.
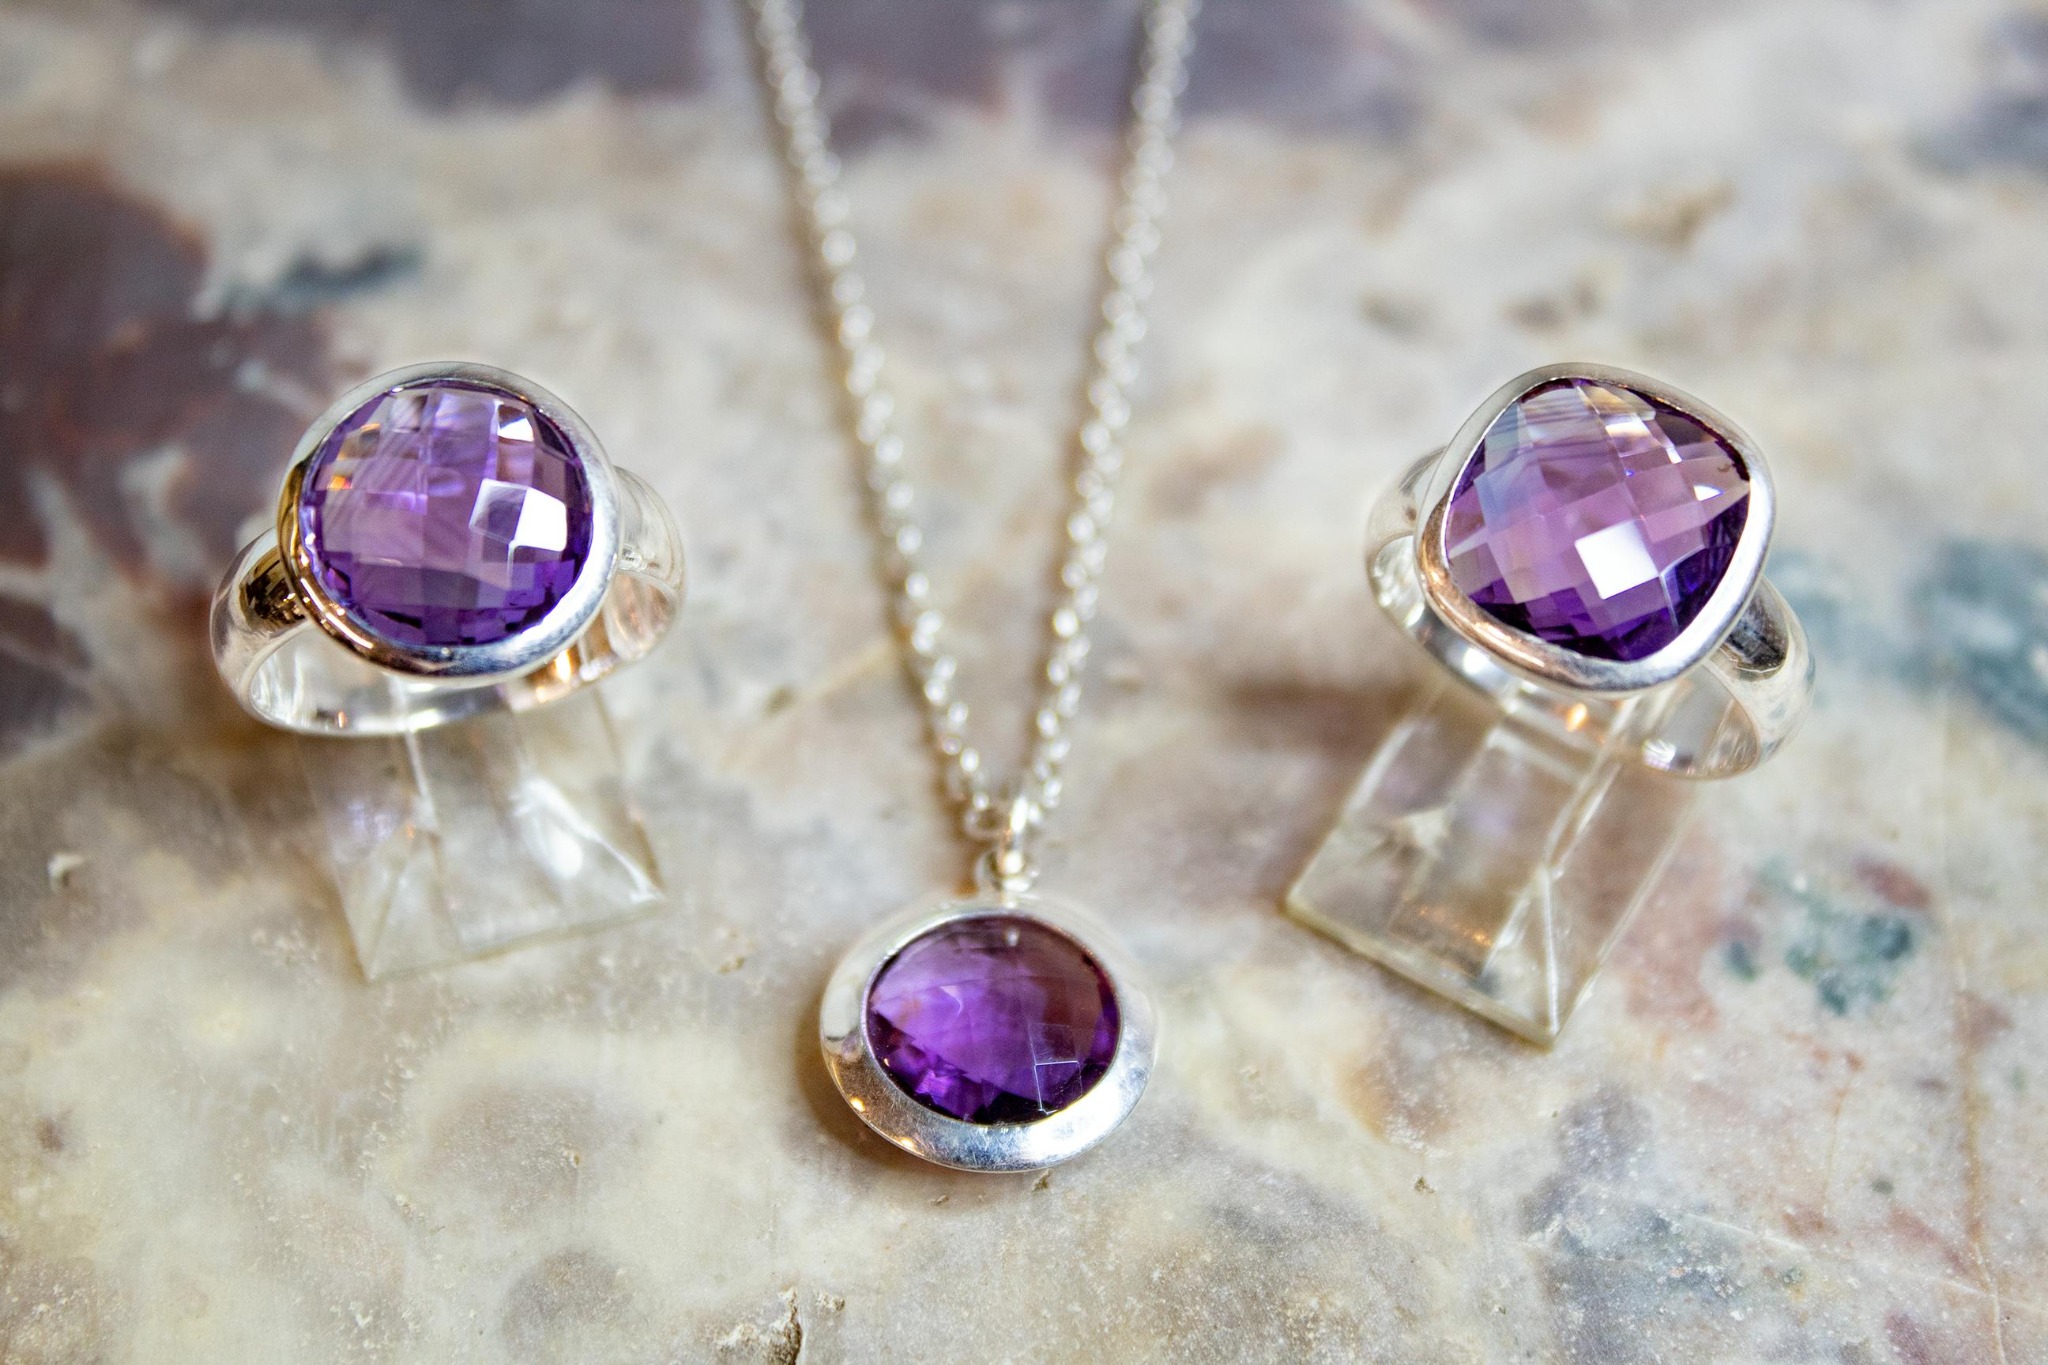
A cleanly burnished bezel should look calm and intentional. The stone should sit securely, the top edge should look even, and the metal should appear compressed rather than crushed.
Start With A Stable Bezel Seat
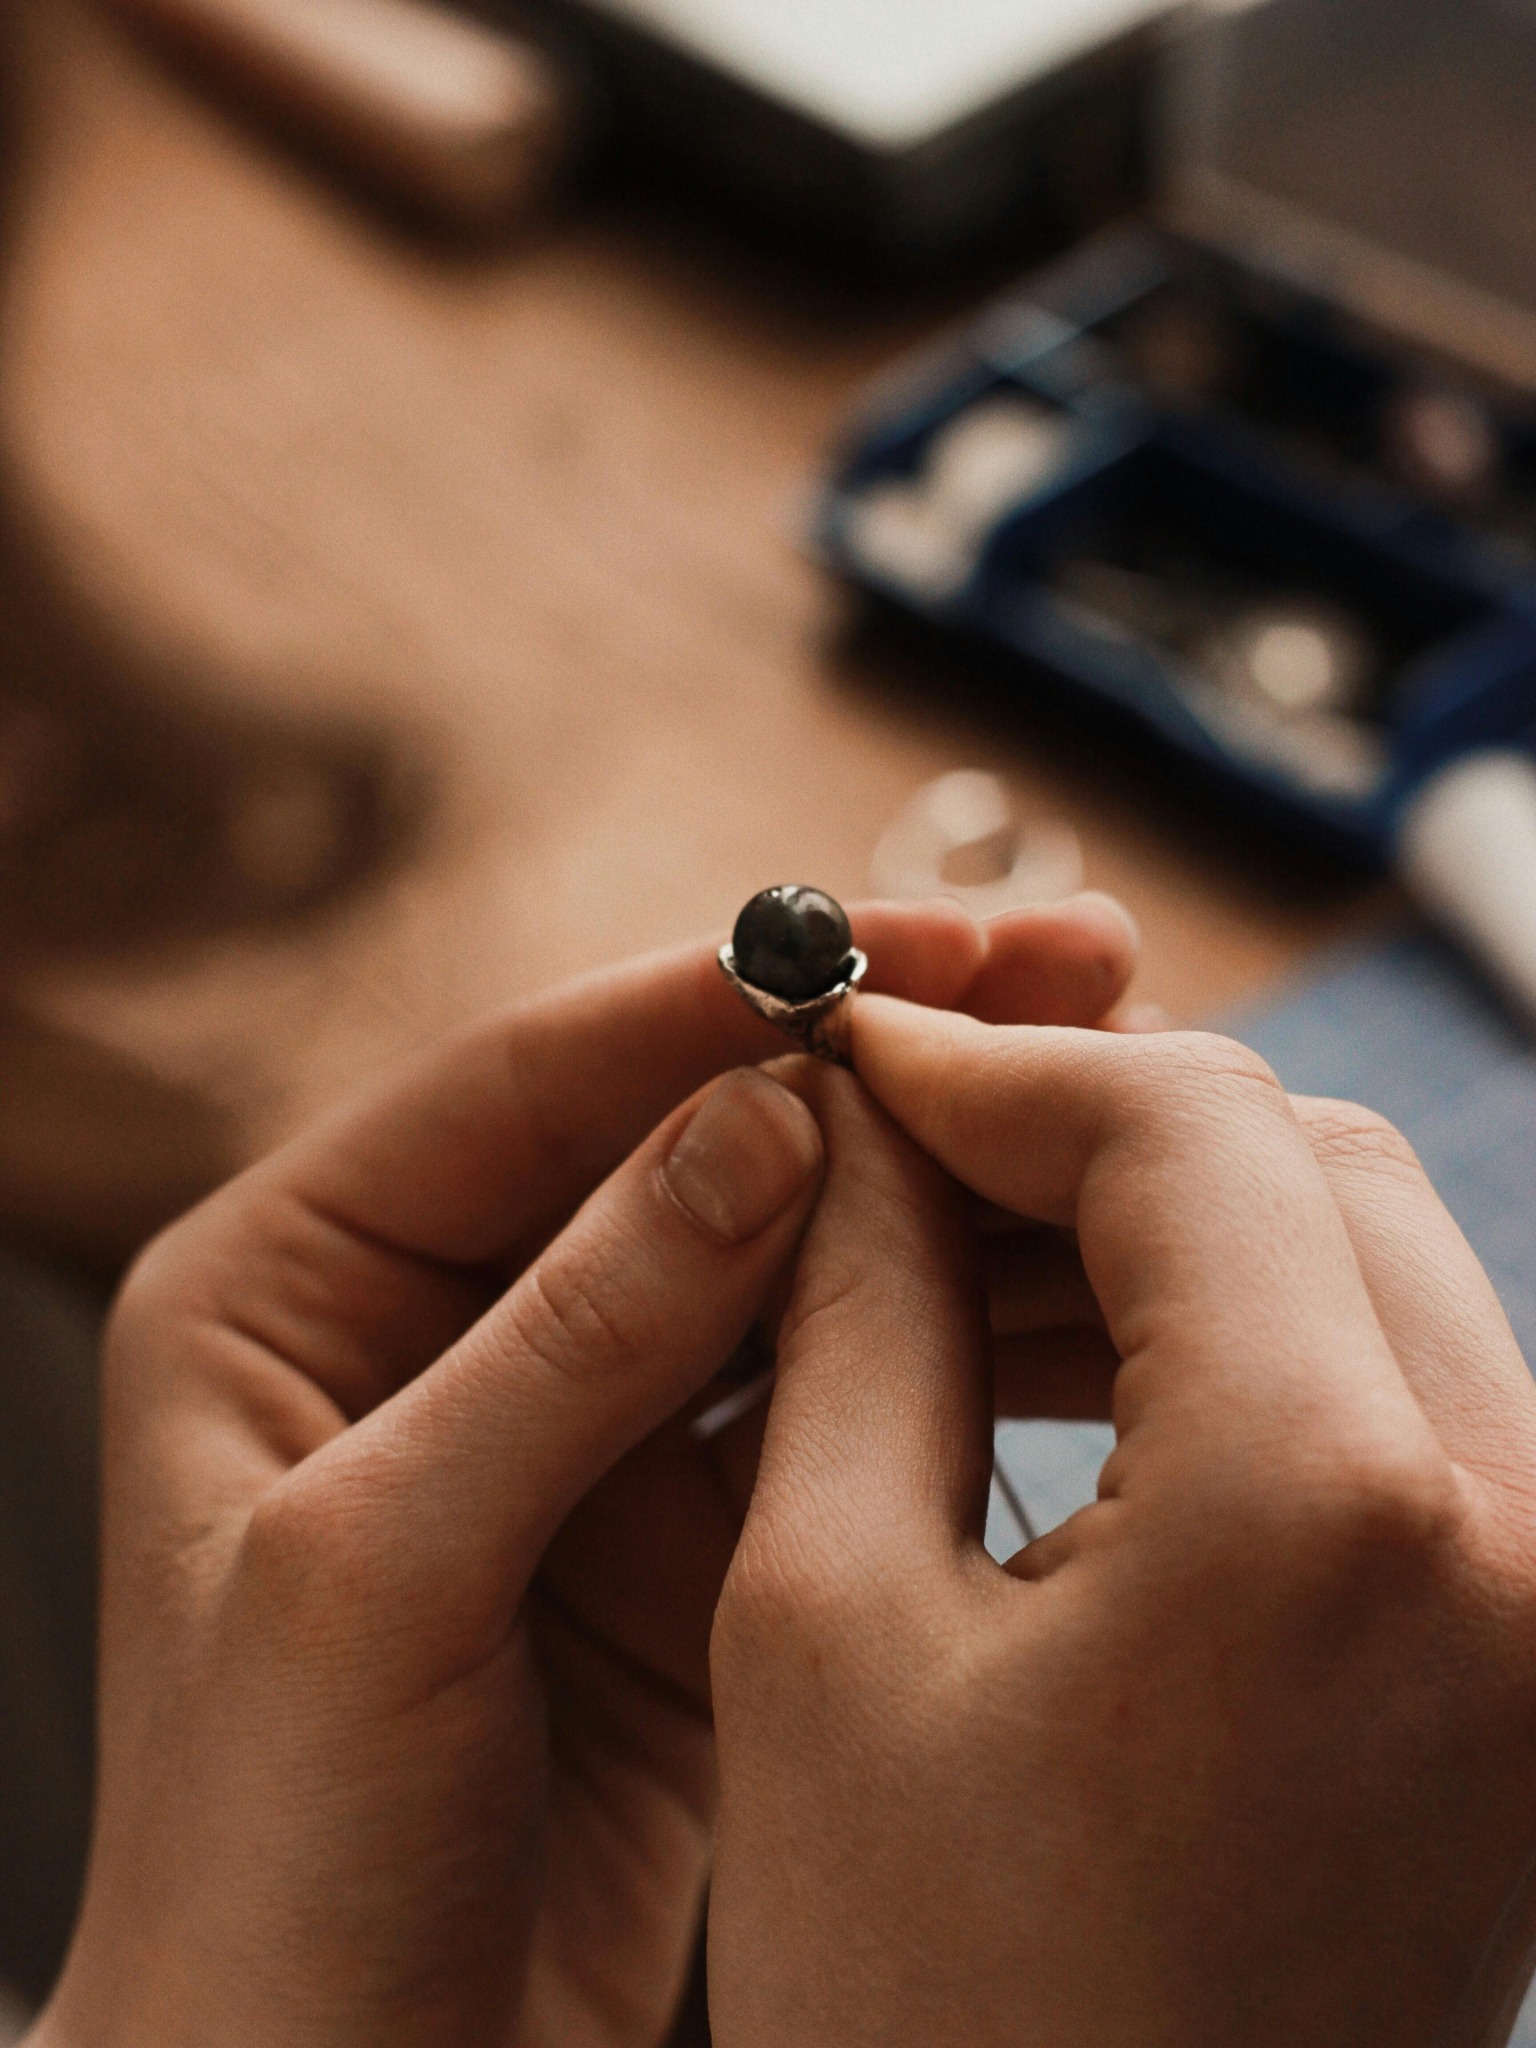
Most burnishing problems begin before the burnisher touches the bezel. If the stone rocks in the seat, the pressure from the tool can shift it, tilt it or make the bezel close unevenly.
The stone should sit level and stable before serious pressure begins. The bezel wall should be close enough to move toward the stone, but not so tall that excess metal has nowhere to go.
Use A Smooth, Clean Burnisher
A burnisher transfers its own surface condition into the bezel. A scratched, dirty or rough tool can mark soft silver immediately, especially when the bezel is fine silver or freshly annealed.
Before setting, inspect the burnisher under strong light. The working face should be polished, clean and free from sharp edges that can drag or cut into the bezel wall.
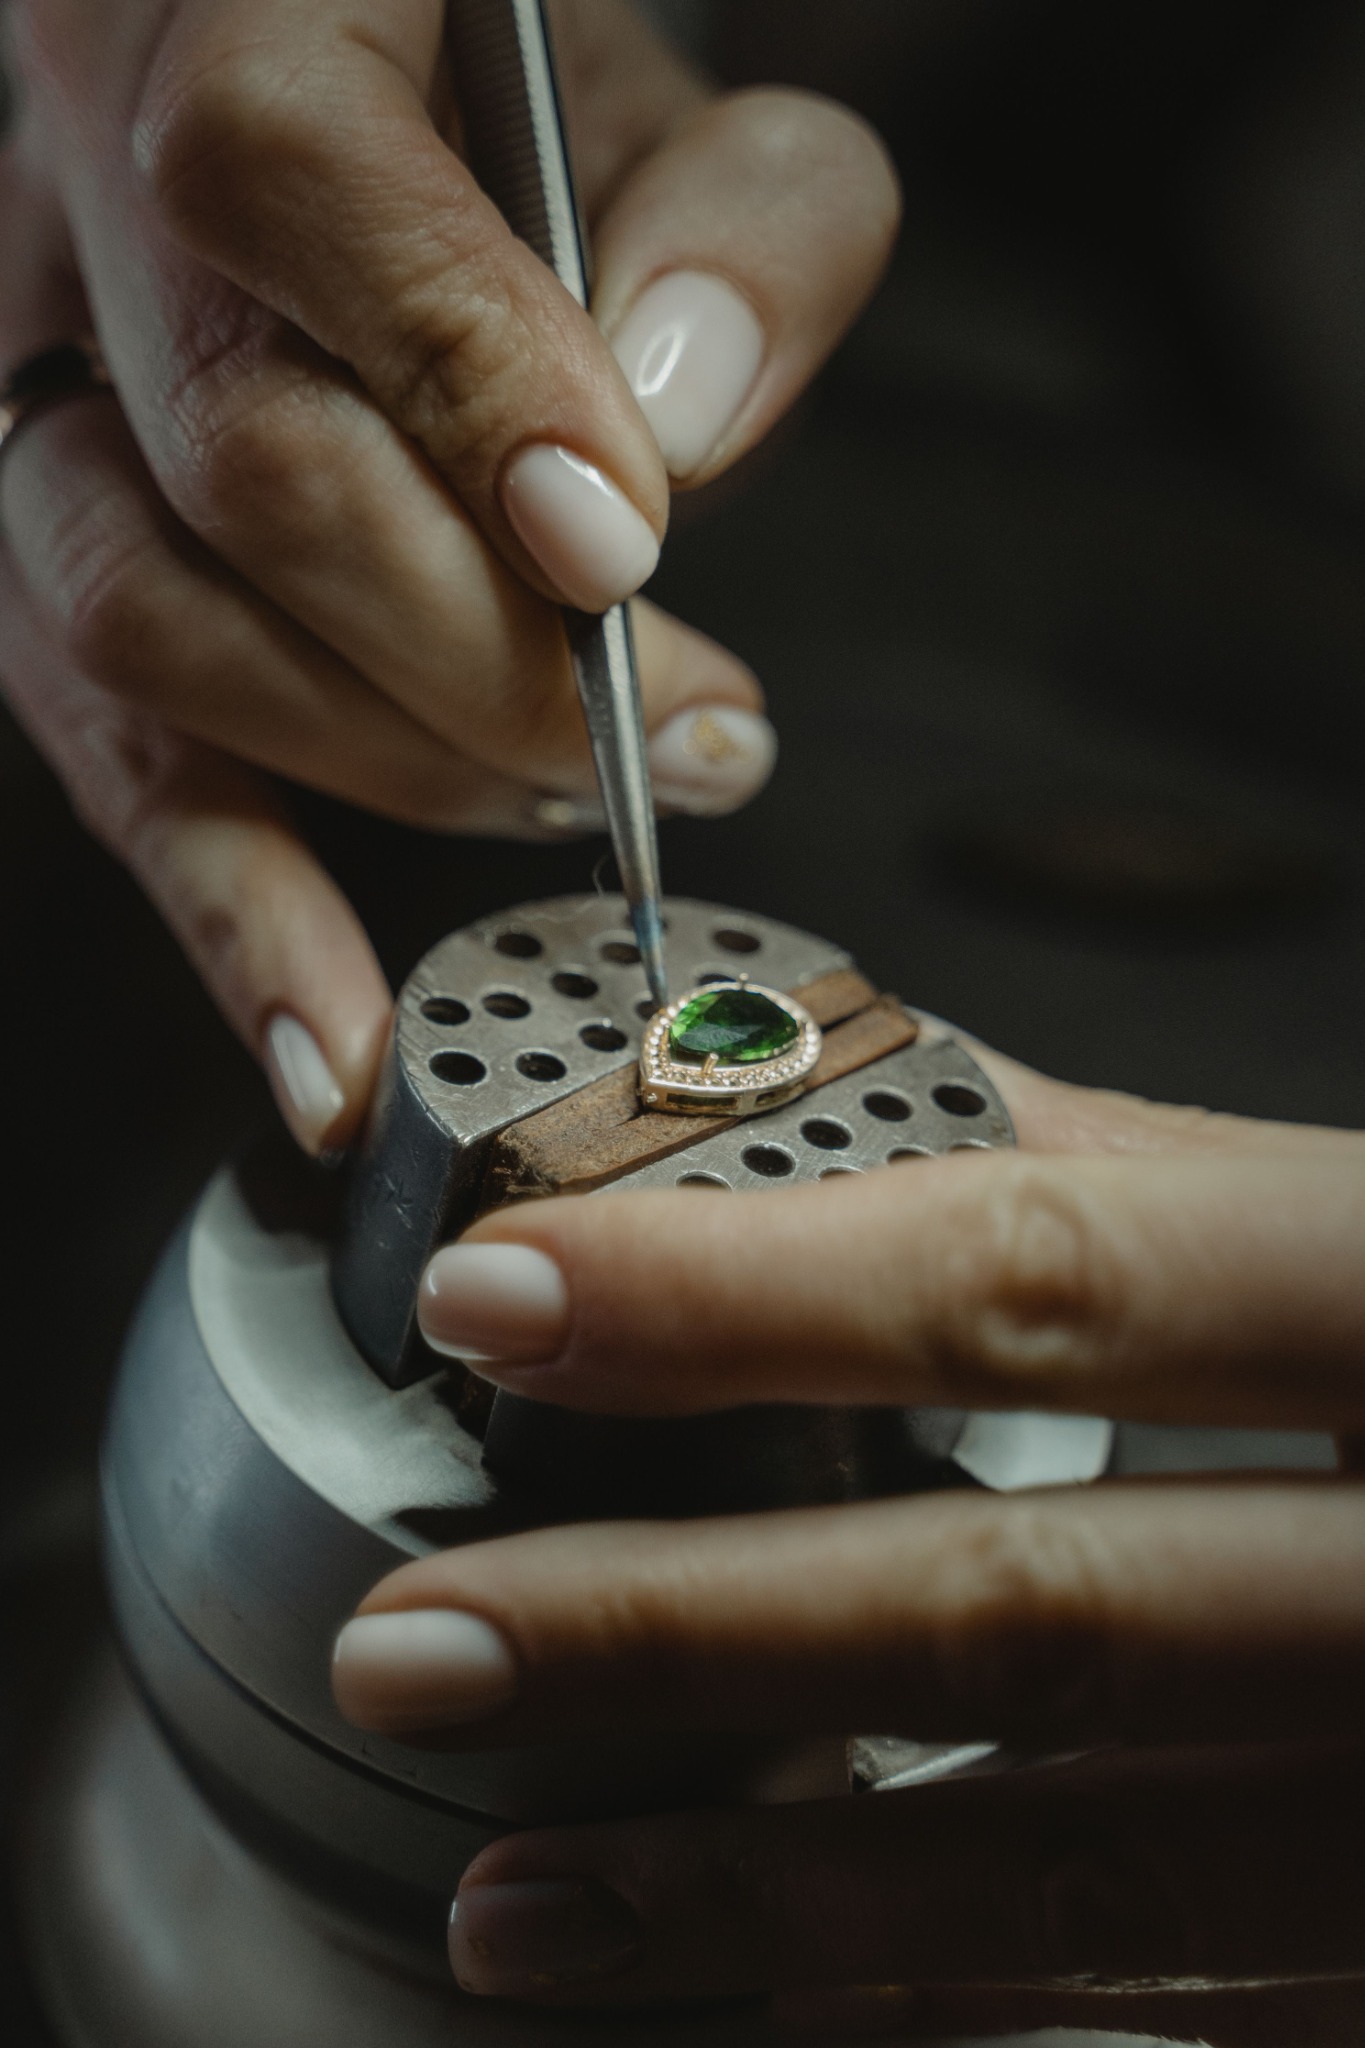
Burnish In Stages Around The Stone
One of the most common mistakes is closing one side completely before the rest of the bezel has started to move. This creates uneven pressure and can tilt the stone or start wrinkles in the wall.
Work gradually around the setting. Bring the wall down in small stages, then refine the edge once the stone is secure and the pressure is balanced.
Fine Silver Usually Burnishes More Easily
Fine silver bezel strip usually moves more smoothly than sterling silver. It compresses with less resistance and is more forgiving when setting cabochon stones.
Sterling silver can still be used, but it has more springback. If sterling is too work-hardened or the bezel wall is too tall, it may resist movement and wrinkle more easily during burnishing.
Control The Burnisher Angle
The angle of the burnisher changes how pressure travels through the bezel wall. If the tool is too steep, it can crush the top edge downward. If it is too flat, it can skate across the surface and leave scratches.
A controlled angle helps the metal move inward and slightly downward toward the stone. The tool should glide, not chatter, dig or jump.
Watch For Wrinkling Early
Wrinkles rarely appear all at once. They usually begin as small waves, sharp compression lines or areas where one section of the wall moves faster than the rest.
If the bezel begins folding unevenly, more force usually makes the problem worse. Stop, inspect the wall height, check the pressure sequence and look for unsupported areas under the stone.
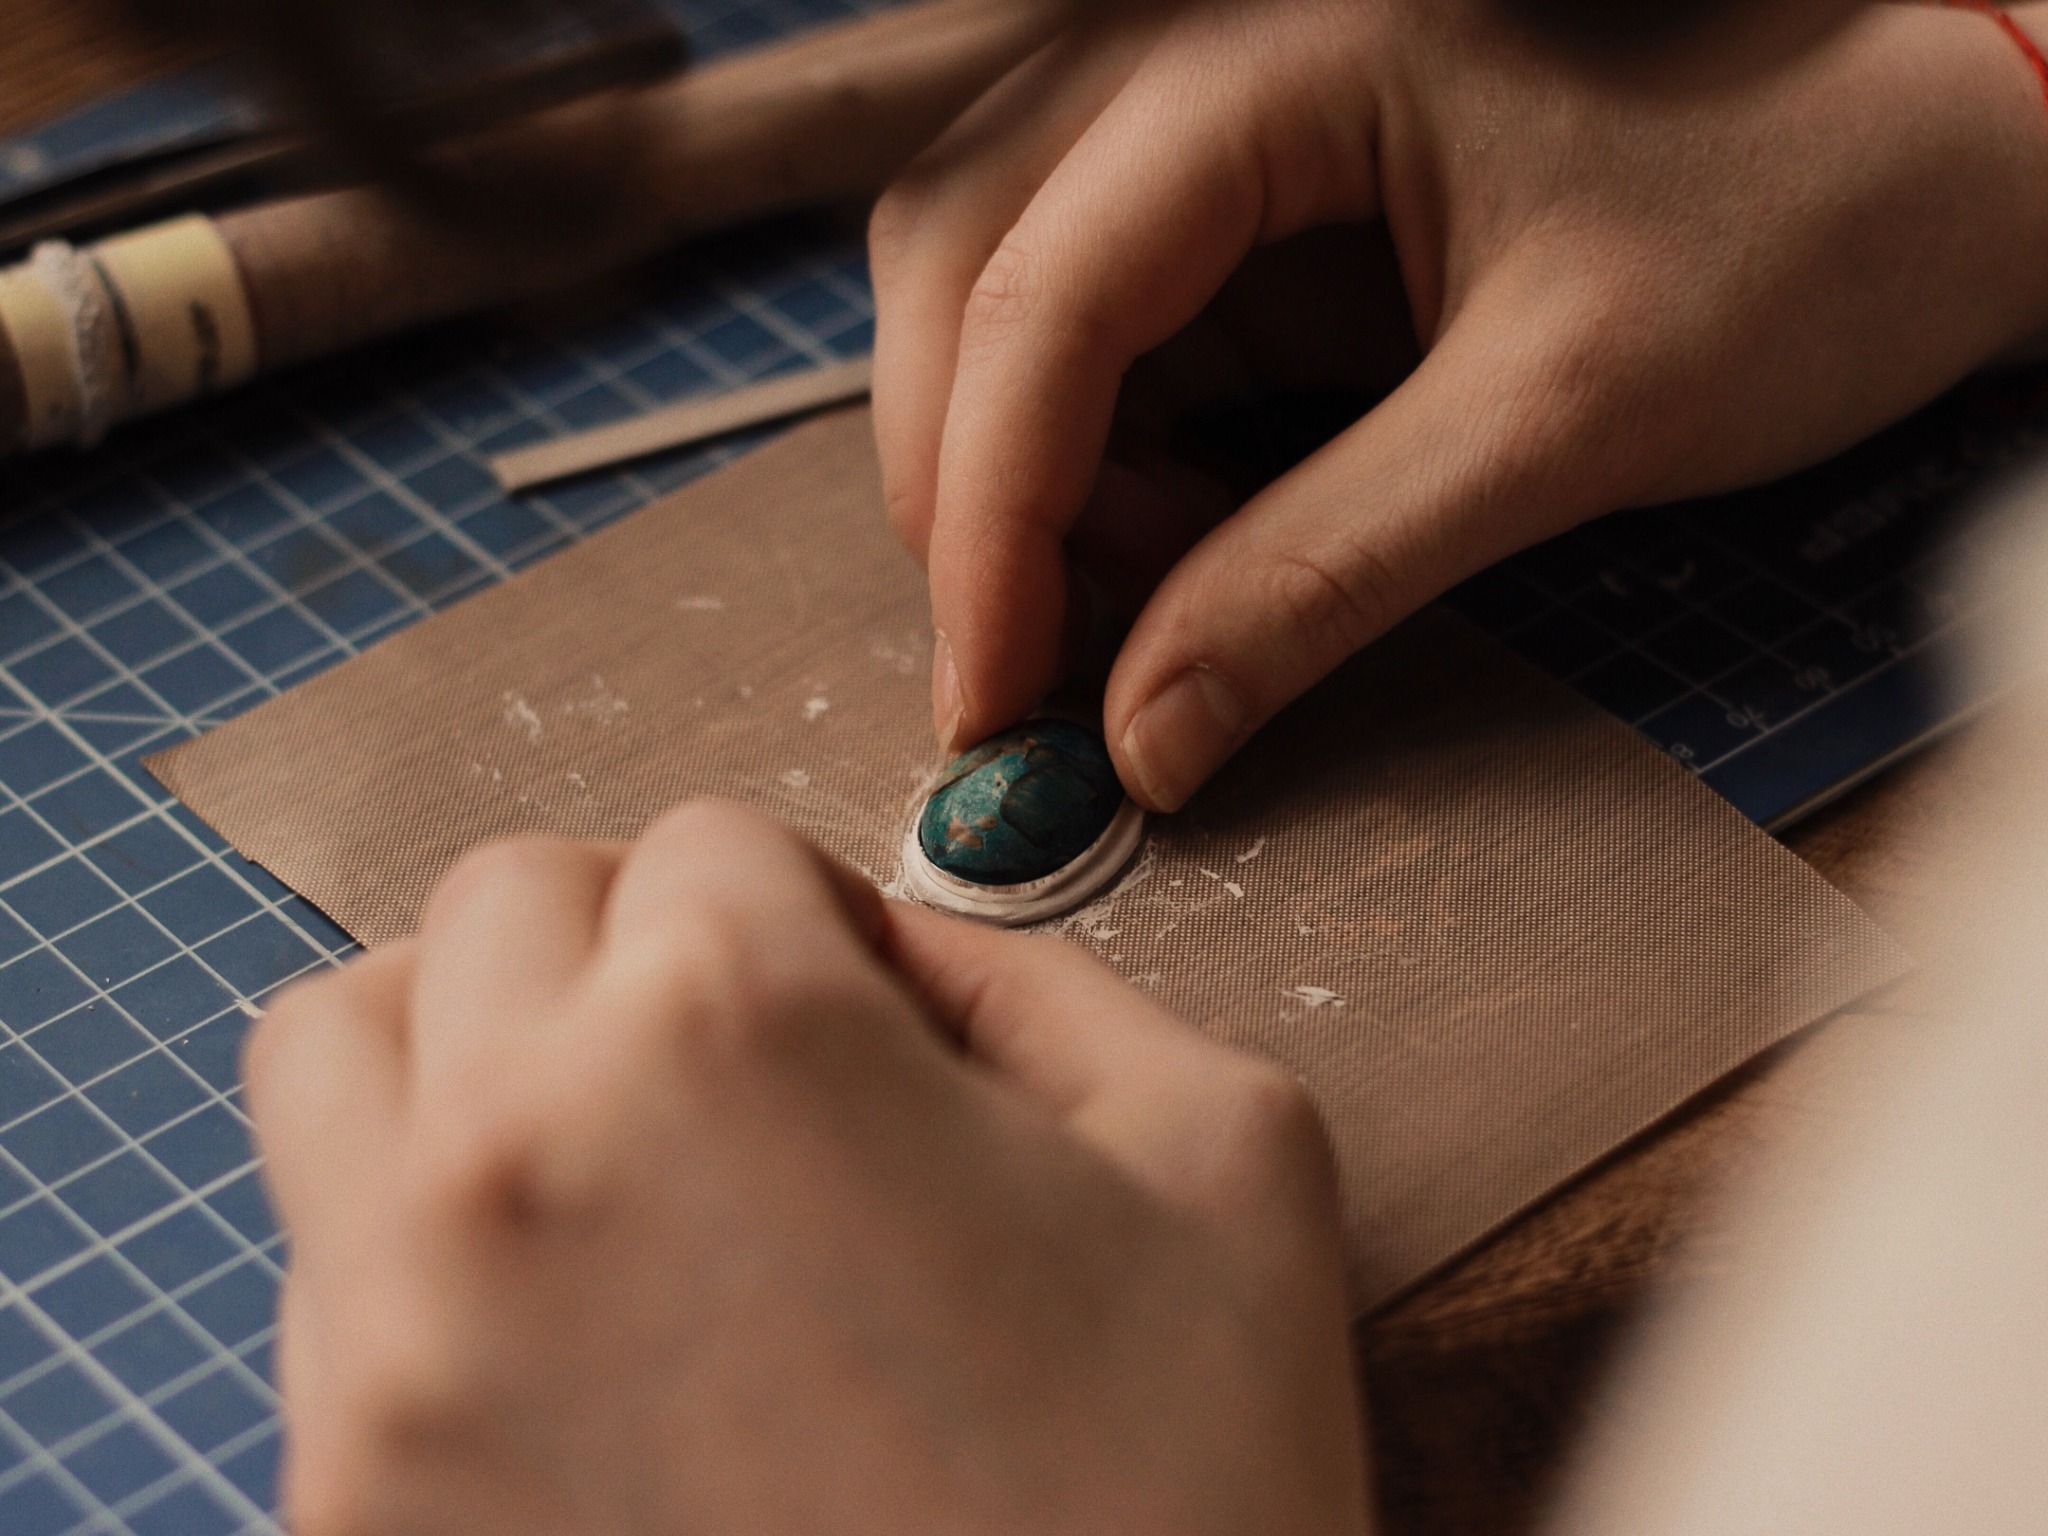
Use Lighter Pressure On Delicate Stones
Soft stones such as opal, turquoise, amber and malachite need slower pressure and cleaner tool control. A slipping burnisher can scratch the stone or gouge the bezel in one movement.
Work gradually, keep the tool polished and check the stone often. If the stone shifts during setting, correct the seat before continuing.
Common Burnishing Problems
If the bezel does not burnish cleanly, check the tool, the seat, the wall height and the pressure sequence before continuing. Most visible problems come from one of those areas.
Final Burnishing Checklist
Before calling the bezel finished, inspect the setting under directional light and rotate the piece from several angles.
Burnish Slowly, Evenly And With A Polished Tool
Clean bezel burnishing depends more on preparation and pressure control than raw force. A stable seat, smooth tool and gradual compression usually produce the cleanest stone settings.
Keep Building The Bezel Workflow
Burnishing connects directly with seat preparation, wrinkle control, soft stone handling and filing accuracy.