SOLDERING GUIDE

How To Sweat Solder Silver Jewelry

Sweat soldering is one of the most useful fabrication techniques in jewelry making. It helps join large surfaces, bezels and layered silver components with thin controlled solder seams and minimal visible buildup.

Jewelry soldering workbench setup prepared for sweat soldering silver components
Layered Silver Technique

What Is Sweat Soldering?

Sweat soldering is a technique where solder is first melted onto one metal surface, then reheated later to join a second component.

Instead of placing solder directly into the final joint, you prepare a thin solder layer first. When the parts are assembled and reheated, that solder layer flows between the surfaces and bonds them together.

Large silver backplates Useful when a wide contact surface needs even bonding.
Bezel assemblies Helpful when solder needs to stay hidden beneath or behind a component.
Layered sheet designs Ideal for overlay work where a visible edge must remain clean.
Complex solder positioning Useful when direct solder placement would be awkward after assembly.
Silver solder sheet used for preparing small solder pieces in jewelry fabrication
Sweat soldering starts with controlled solder placement before the final assembly is heated together.
Why Use It

Why Jewelers Use Sweat Soldering

Jewelers use sweat soldering because it gives better control over solder quantity and placement. This is especially helpful when solder would be difficult to place neatly after the parts are assembled.

The technique is useful when the finished piece needs clean edges, flat contact and minimal solder cleanup after polishing.

Best for broad contact Backplates, overlays and layered silver pieces benefit from pre-flowed solder.
Cleaner solder placement Pre-soldering one surface keeps the final seam more controlled.
Less visible cleanup The cleanest sweat solder joints use just enough solder to bond the surfaces.
Main risk Too much solder can squeeze out and become visible after polishing.
Overhead jewelry soldering tools arranged for silver fabrication work
Sweat soldering depends on preparation: clean contact surfaces, flat fit and controlled solder coverage before final heating.
Surface Preparation

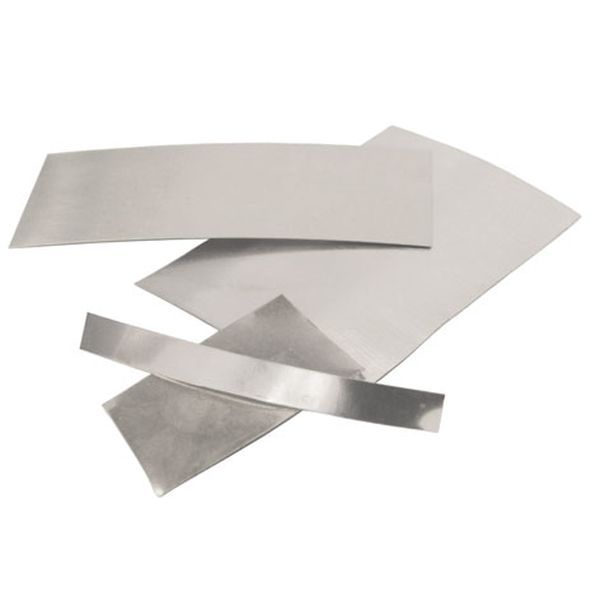
Prepare The Metal Surfaces Carefully

Clean metal surfaces are critical for successful sweat soldering. The two components need good contact, clean surfaces and enough preparation for solder to flow evenly between them.

Dirt, oxide, polishing residue or uneven metal contact can create weak areas where solder does not bond fully.

Clean both surfaces Remove oxide, grease and residue before fluxing or heating.
Check flat contact The parts should sit together without rocking or obvious gaps.
Avoid trapped gaps Large hidden spaces can prevent full solder bonding.
Confirm alignment first Once the solder flows, the parts should already be where they belong.
Solder Layer

Apply Solder Evenly

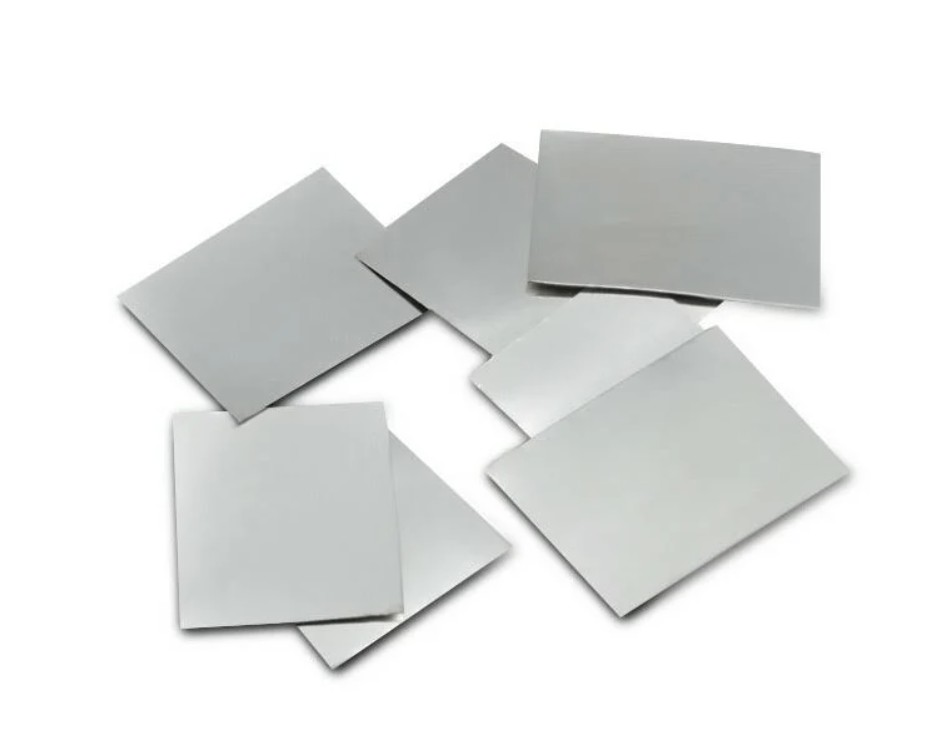
Small solder pallions are usually melted onto one surface first before assembly. The goal is to create a thin, even solder layer instead of heavy solder buildup.

Too much solder can squeeze out from between the layers and become visible along the edge. Too little solder may leave weak or unbonded areas.

Use minimal solder Start with less solder than you would use for a visible seam.
Spread solder evenly The prepared surface should have controlled coverage, not blobs.
Inspect before assembly Look for high spots, dry areas or excessive solder buildup.
Avoid edge flooding Excess solder near the edge is more likely to squeeze out visibly.
Heat Balance

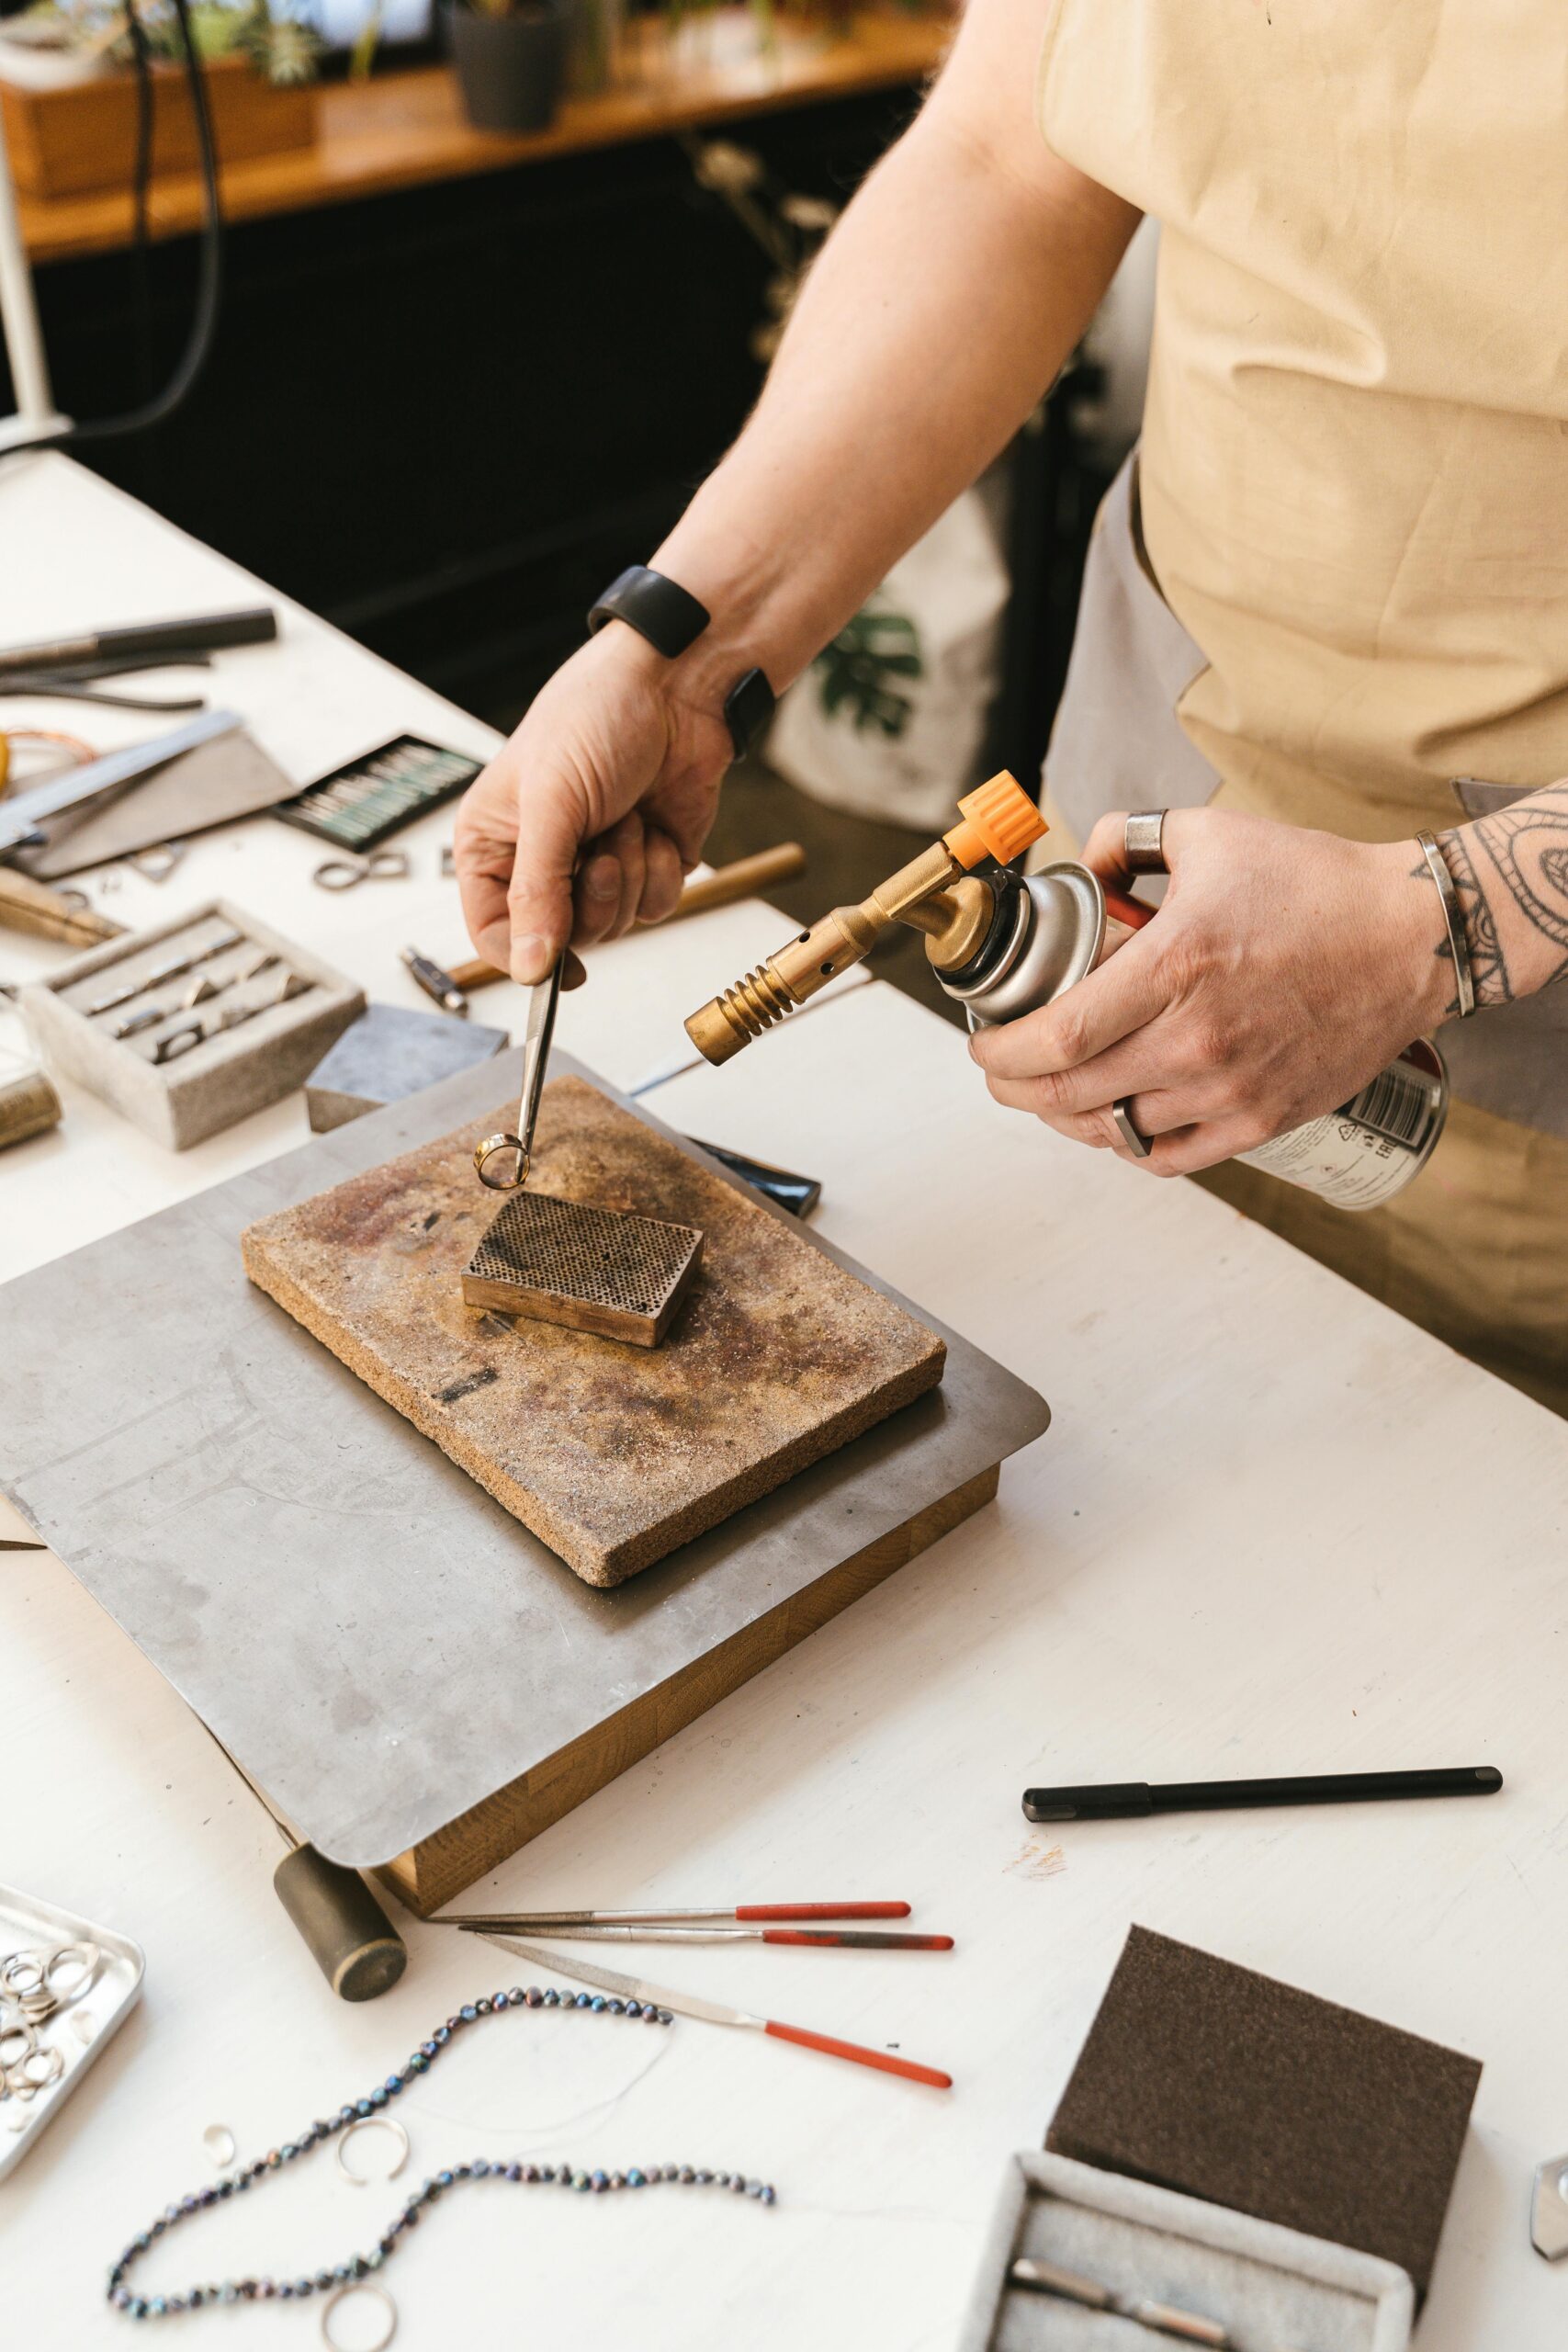
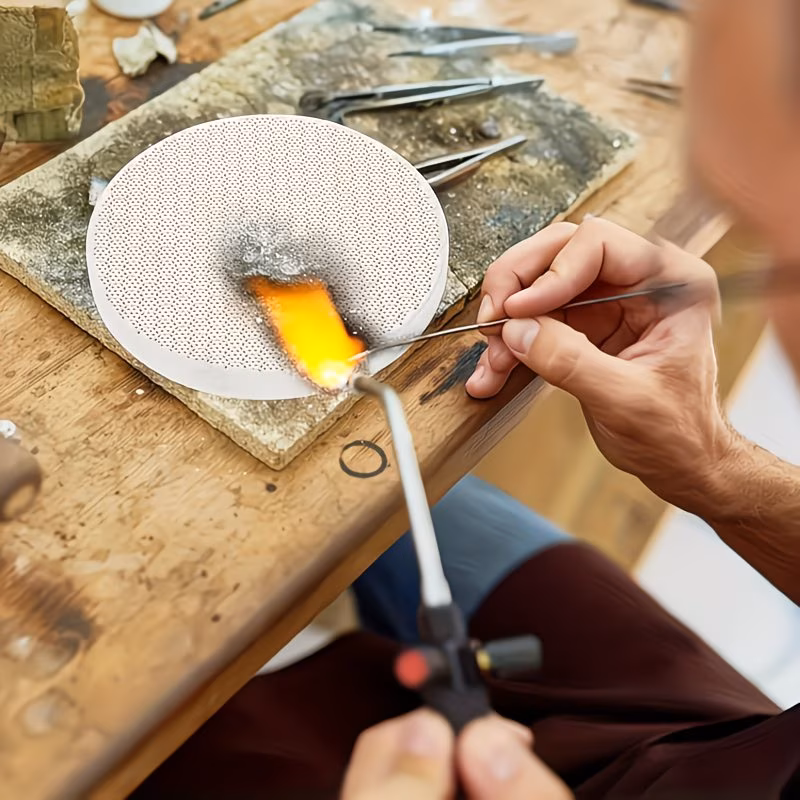
Heat Distribution Matters

Sweat soldering depends heavily on balanced heating across both components. If one piece gets hot while the other remains too cool, solder may not bond evenly across the full joint.

Large silver surfaces usually require gradual heating instead of direct concentrated flame.

Warm larger surfaces gradually Broad silver areas often need steady, even heat before solder flows fully.
Avoid overheating one edge Localized heat can cause squeeze-out, warping or partial bonding.
Watch the hidden joint Look for signs that solder has bonded the full contact area.
Stop after bonding Extra heat after flow can create oxidation, distortion and cleanup work.
Jewelry soldering workbench setup with heat-safe surface for layered silver work
Large silver surfaces need patient heat distribution. Sweat soldering fails when one layer reaches temperature while the other stays too cool.
Flat Contact

Watch For Trapped Air And Gaps

Flat silver surfaces can trap air pockets during assembly. Even a small gap can prevent solder from bonding across the full contact area.

Warped sheet, uneven preparation or unstable positioning can create areas where the two parts do not fully touch.

Press surfaces evenly Flat contact helps the solder layer bond the full area.
Avoid warped sheet metal Warped parts can leave hidden gaps under the solder layer.
Check alignment before soldering Do not try to correct the layout after the solder begins to flow.
Use stable positioning Movement during heating can open gaps or smear the solder layer.
Small silver solder sheet used for controlled sweat soldering preparation
Sweat soldering does not mean flooding the full surface. It means preparing a thin solder layer that can bond cleanly during final heating.
Solder Quantity

Too Much Solder Creates Problems

Excess solder often spreads unpredictably and becomes visible after polishing. In sweat soldering, too much solder can squeeze out from between the layers or create uneven reflections where the solder layer is too thick.

Heavy solder buildup may create visible seam shadows, surface distortion, cleanup difficulties and uneven reflections.

Use less solder When the surfaces already fit tightly.
Protect visible edges Edges show squeeze-out quickly after polishing.
Avoid texture damage Cleanup near texture can remove detail or create bright spots.
Check the layer The solder layer should be thin, even and controlled.
Diagnosis

Quick Sweat Soldering Diagnosis

Sweat soldering problems usually come from preparation, solder quantity, heat balance or surface contact. The symptoms often show up as weak areas, visible lines or distorted silver after cooling.

Partial bonding One area reached flow temperature while another stayed too cool.
Visible solder line Too much solder squeezed out or built up near the edge.
Warped sheet metal The heat was too aggressive, uneven or poorly supported.
Weak seam areas The two parts did not sit tightly together during soldering.
Dry patches The solder layer may have been too thin or uneven in that area.
Heavy cleanup The solder layer was probably too thick or placed too close to the visible edge.
Professional Workflow

How Professionals Sweat Solder Cleanly

Professional sweat soldering usually focuses on preparation and control rather than aggressive heating. The surface fit, solder layer and heat balance do most of the work.

The cleaner the setup is before the second heating, the less cleanup is needed after the pieces are joined.

Clean, flat contact surfaces Both sides need to sit together without oxide, grease or rocking.
Thin solder layer The first heating should create controlled solder coverage, not blobs.
Tight metal contact The assembled parts should touch evenly before final heating.
Controlled flame movement Heat both components as one assembly instead of blasting one edge.
Careful refinement afterward Inspect after cooling before filing, sanding or polishing.
Jewelry soldering plate used to support silver during torch work
A controlled support surface helps keep the assembly stable while the hidden solder layer reaches flow temperature.
Quick Sequence

A Cleaner Sweat Soldering Workflow

Sweat soldering works best when each step is deliberate: prepare both surfaces, pre-flow a controlled solder layer, assemble tightly and heat the full joint evenly.

1. Prepare both surfaces Clean, flatten and inspect contact areas.
2. Pre-flow solder Create a thin solder layer on one surface.
3. Assemble tightly Make sure the parts sit flat with no trapped gaps.
4. Heat evenly Bring both components to flow temperature together.
5. Inspect after cooling Look for visible seams, gaps and excess solder.

Sweat Soldering Is About Preparation, Not Force

Sweat soldering is one of the most valuable techniques for creating clean layered silver assemblies with controlled hidden seams. Careful preparation, balanced heat and minimal solder usage usually produce the cleanest results.