Why Jump Rings Are Difficult To Solder
Jump rings are small and heat extremely quickly during soldering. A soldering mistake that might be hidden on a larger construction can become obvious on a jump ring because the joint is exposed from many angles.
Tiny alignment problems, too much solder or uneven heat can leave visible seams, solder blobs, flat spots and distorted ring shapes after polishing.
Perfect Seam Alignment Matters
The two ends of the jump ring should meet tightly before soldering begins. If the seam is open, uneven or twisted, solder may bridge the gap poorly instead of flowing cleanly through the joint.
Poor seam contact often creates weak joints, visible solder lines, uneven ring shape and more cleanup work.
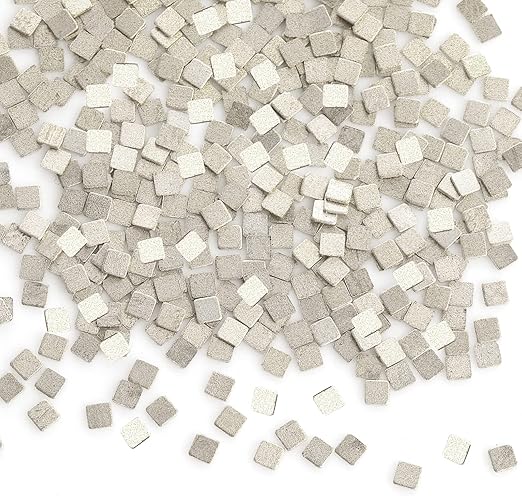
Use Minimal Solder
Jump rings require surprisingly little solder for strong bonding. Because the joint is small, excess solder can overwhelm the seam and create a visible lump after polishing.
The goal is enough solder to close the joint, not enough solder to coat the surrounding wire.
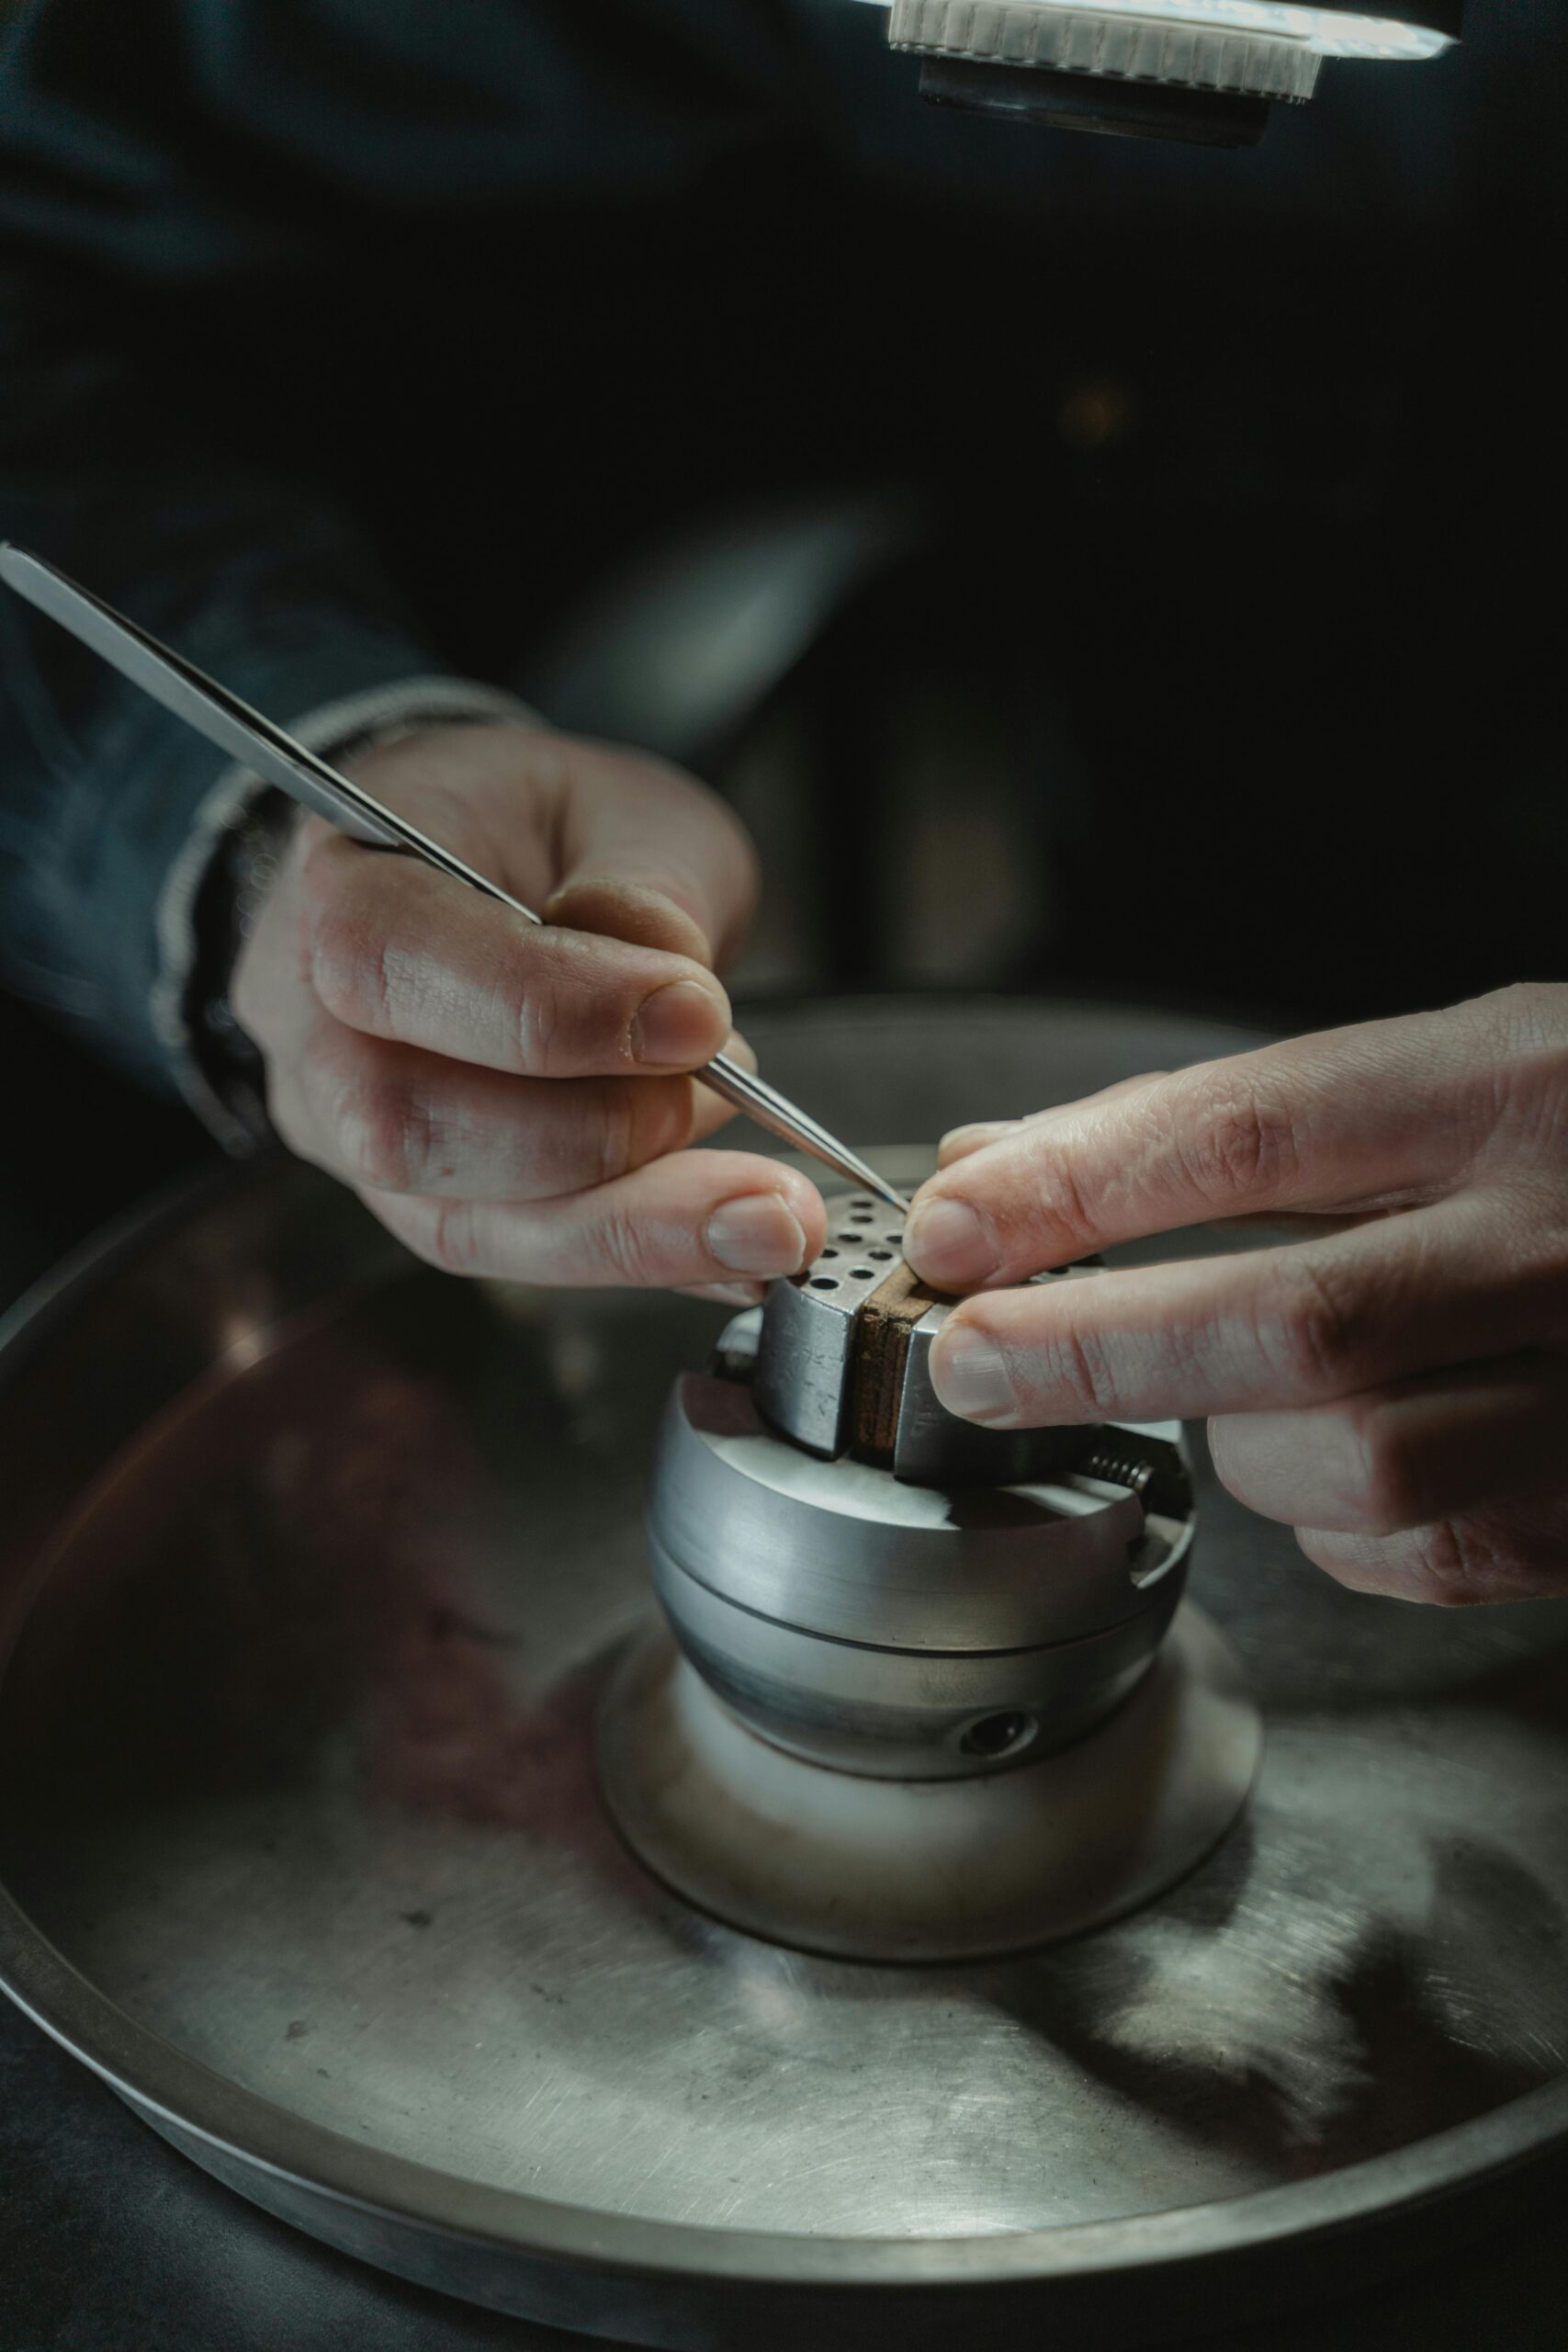
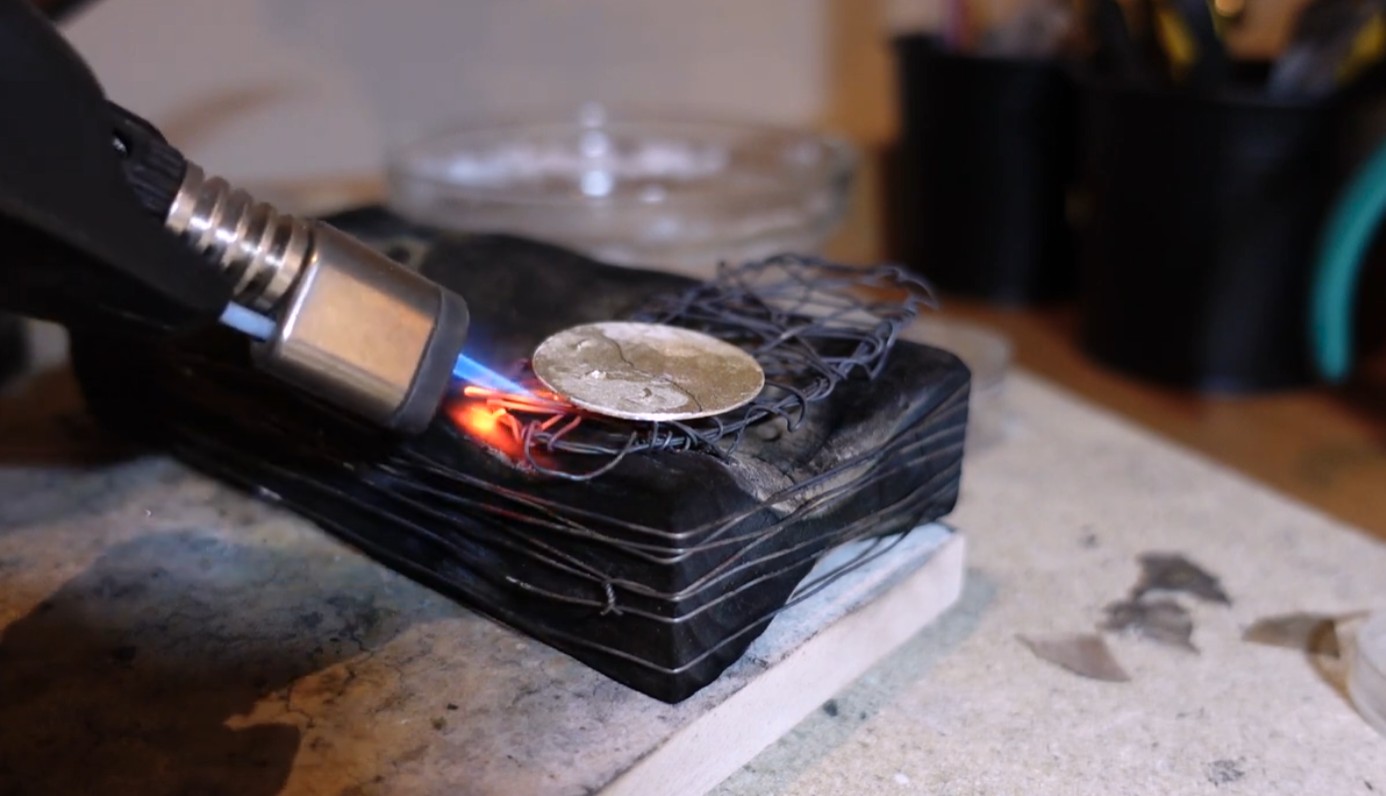
Heat The Ring Evenly
Jump rings heat rapidly and unevenly if the torch stays fixed in one position. A small ring can overheat quickly, especially if the flame is concentrated directly on the seam.
Solder should flow because the ring reaches soldering temperature evenly, not because the solder itself is being blasted with flame.
Do Not Heat The Solder Directly
Heating the solder directly often causes it to ball up or jump away from the seam. This is especially common on tiny jump ring joints because the solder piece is small and exposed.
Professional soldering usually heats the ring itself rather than the solder. When the ring is hot enough, the solder will flow into the seam.
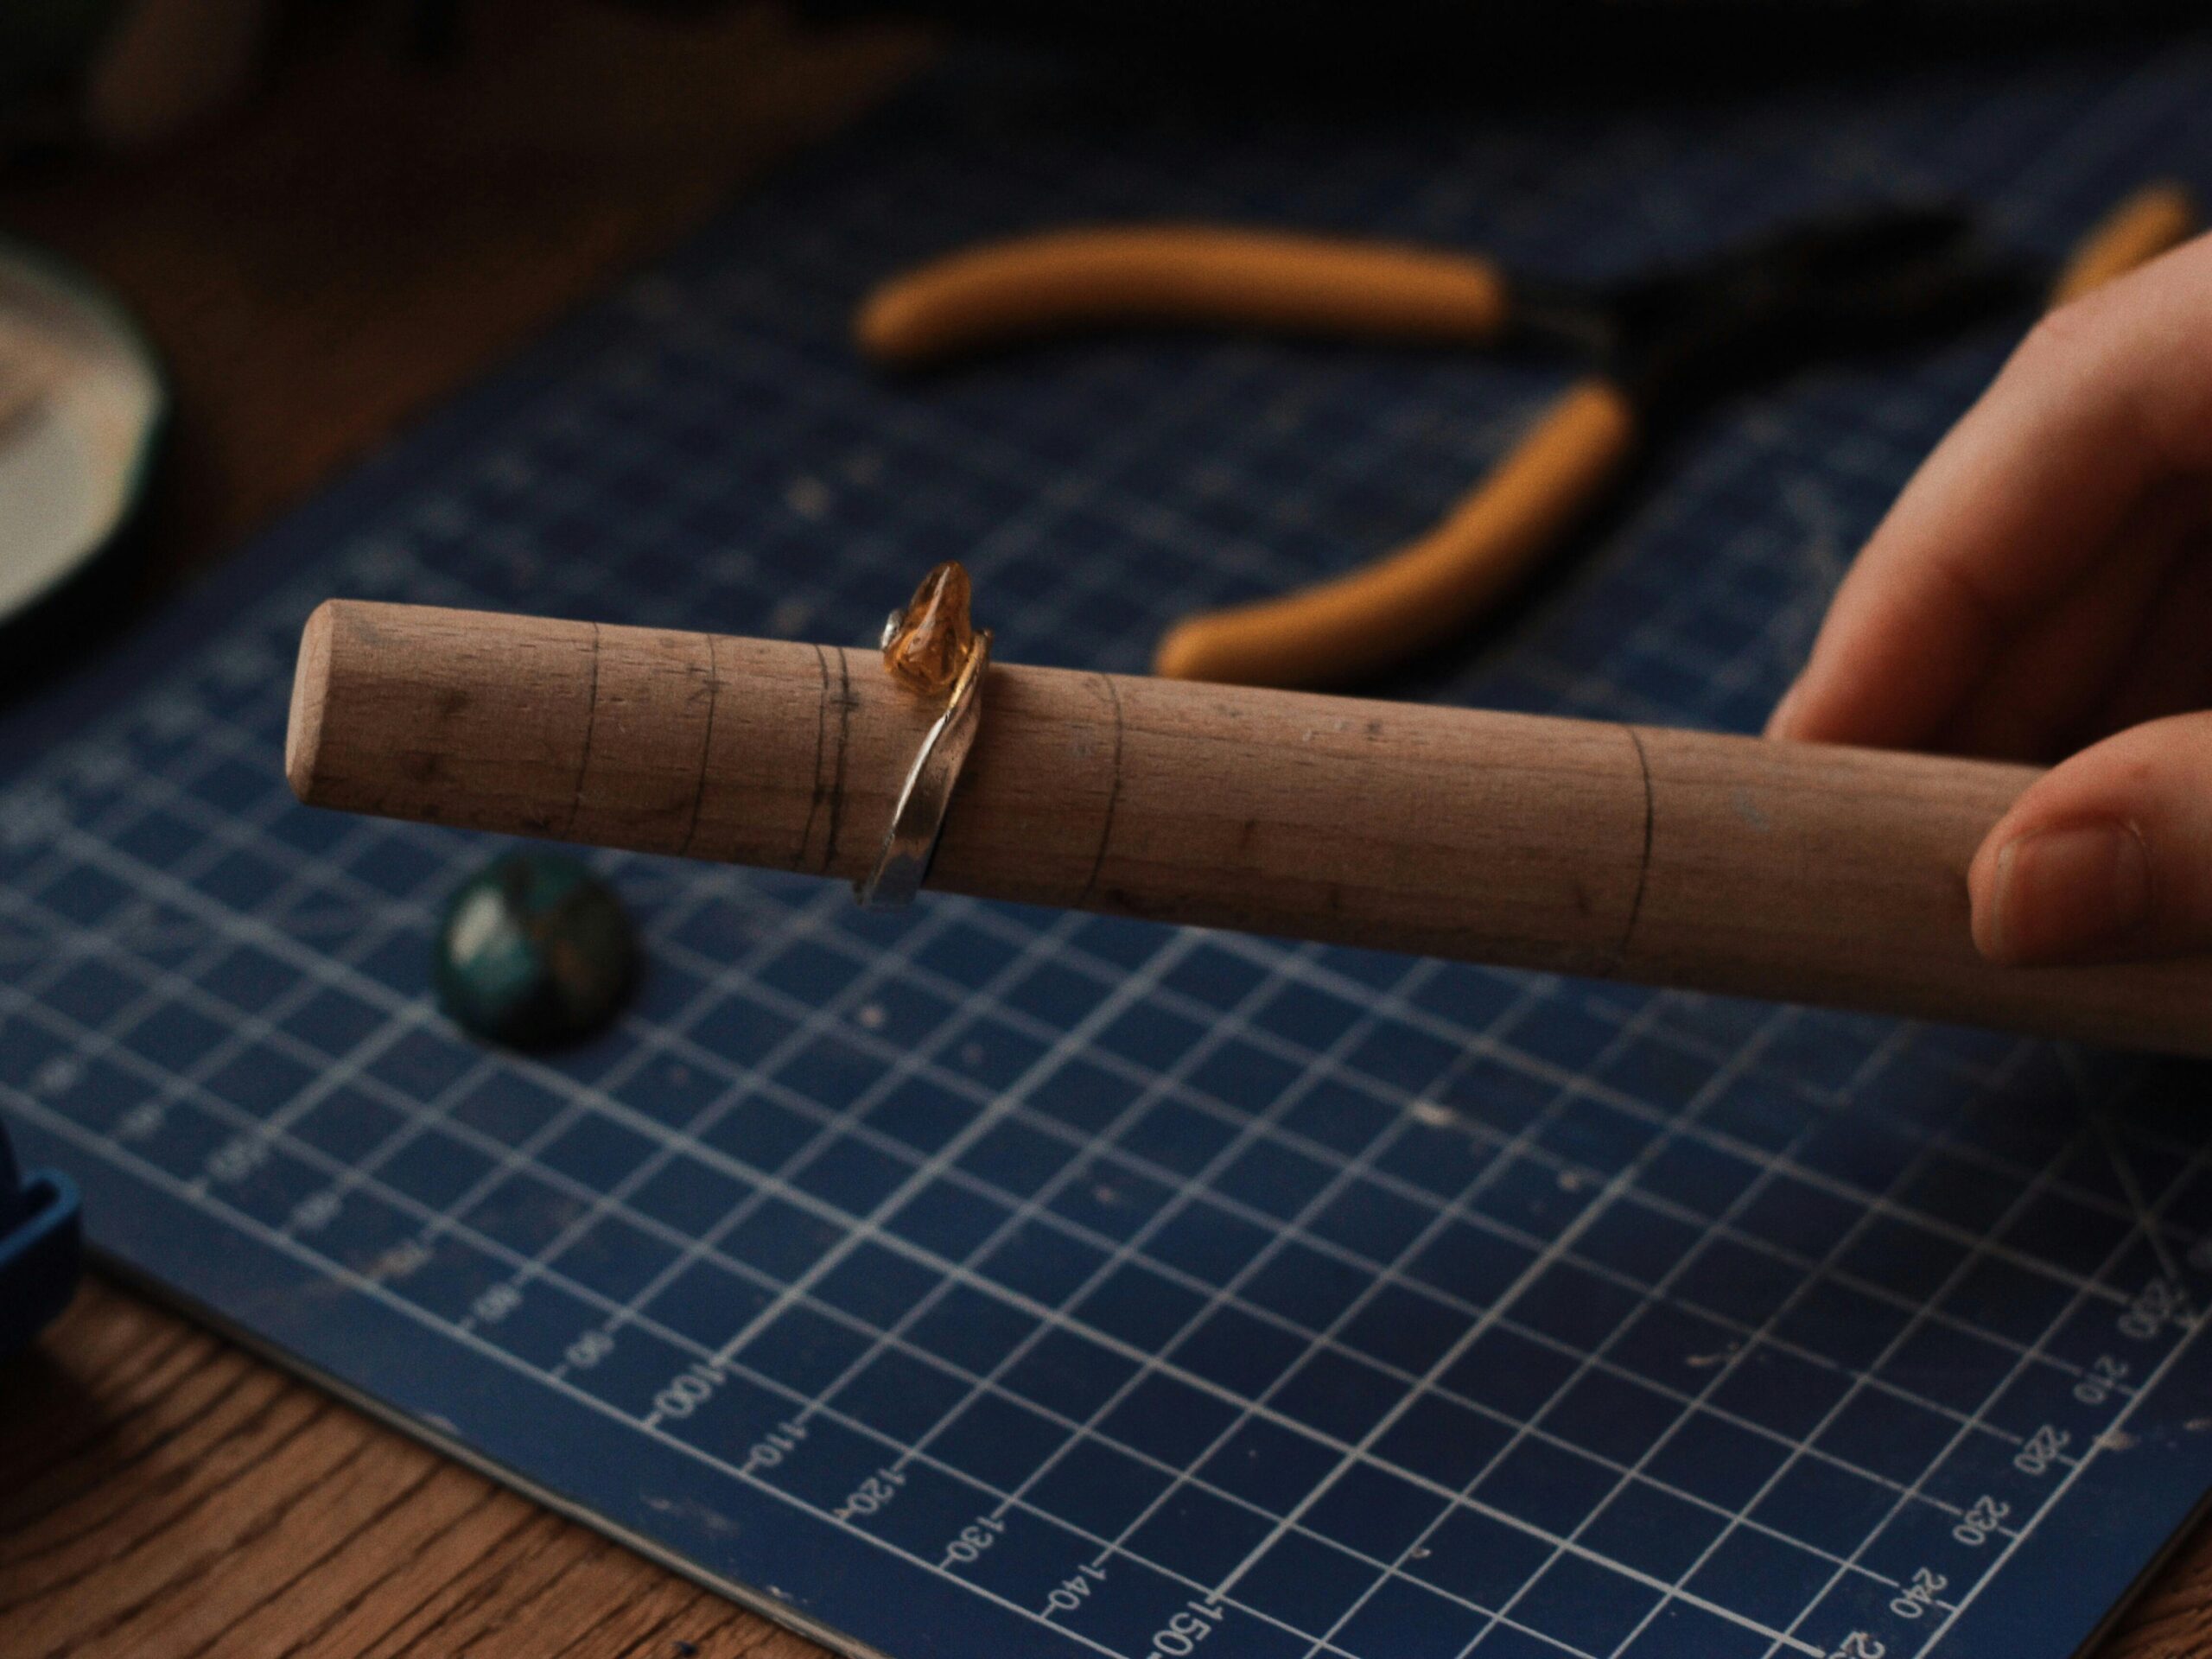
Keep The Ring Shape Round
Excessive force or uneven heating may distort jump rings during soldering. A jump ring that starts round can become oval, twisted or flattened if it is held under tension or heated unevenly.
Distorted rings become harder to connect cleanly, close properly, polish evenly and integrate into chain work.
Pickle And Inspect The Seam
After soldering, pickle removes surface oxidation and flux residue so the jump ring seam can be inspected clearly. This matters because tiny seam defects become obvious after polishing.
Do not polish before you inspect the cleaned joint. A clean surface shows whether the solder flowed, whether excess solder remains and whether the ring shape stayed round.
Clean Finishing Makes A Huge Difference
Filing and polishing determine whether the seam disappears visually after soldering. On a jump ring, even a tiny flat spot can catch light and make the seam easier to see.
Work carefully and remove only the solder buildup that needs to be removed. Over-filing can change the wire profile and make the ring look uneven.
Quick Jump Ring Diagnosis
Most jump ring soldering problems come from seam fit, solder amount, heat direction or finishing. Because jump rings are small, even minor mistakes show up quickly.
How Professionals Solder Jump Rings
Professional jewelers usually prioritize seam preparation and controlled heat rather than aggressive torch intensity. The goal is a tiny, strong joint that disappears after careful finishing.
Clean jump ring soldering is a precision exercise: close the seam, use minimal solder, heat the ring evenly, stop after flow and finish without flattening the wire profile.
Use Less Solder And Better Seam Preparation
Clean jump ring soldering depends mostly on precision, seam preparation and careful heat balance. Tight seams, minimal solder and controlled finishing usually create the cleanest professional jump ring results.
Keep Building The Clean Seam Workflow
These guides connect jump ring soldering to solder movement, visible seams, sweat soldering and heat control.