Why Clean Soldering Starts Before The Torch
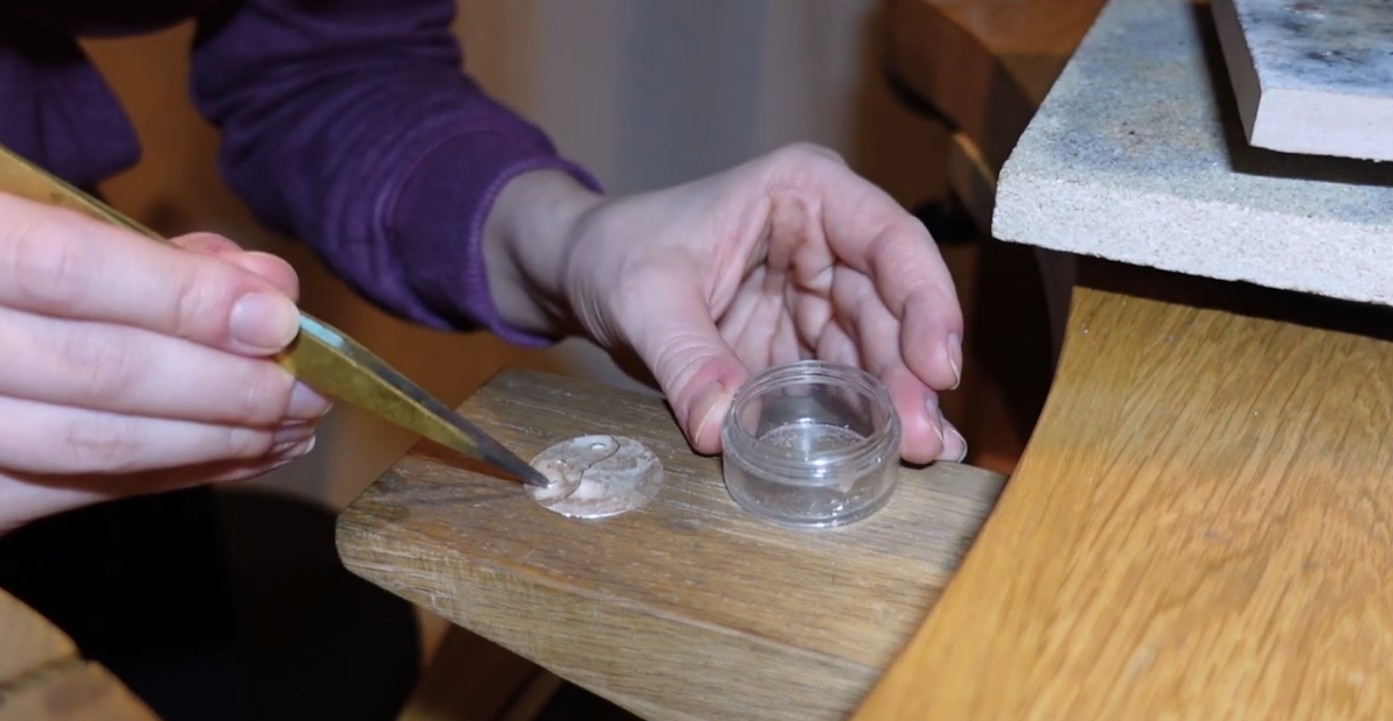
Most soldering problems begin before the metal reaches temperature. Dirty surfaces, loose seams, oversized solder chips and uneven heat all make solder harder to control.
Use this soldering hub to move from basic seam preparation to torch control, solder flow, overheating prevention, pickling and post-solder cleanup.
Choose The Problem You Are Trying To Fix
Soldering is easier to improve when each problem is separated: seam fit, solder flow, torch movement, overheating, cleanup and support.
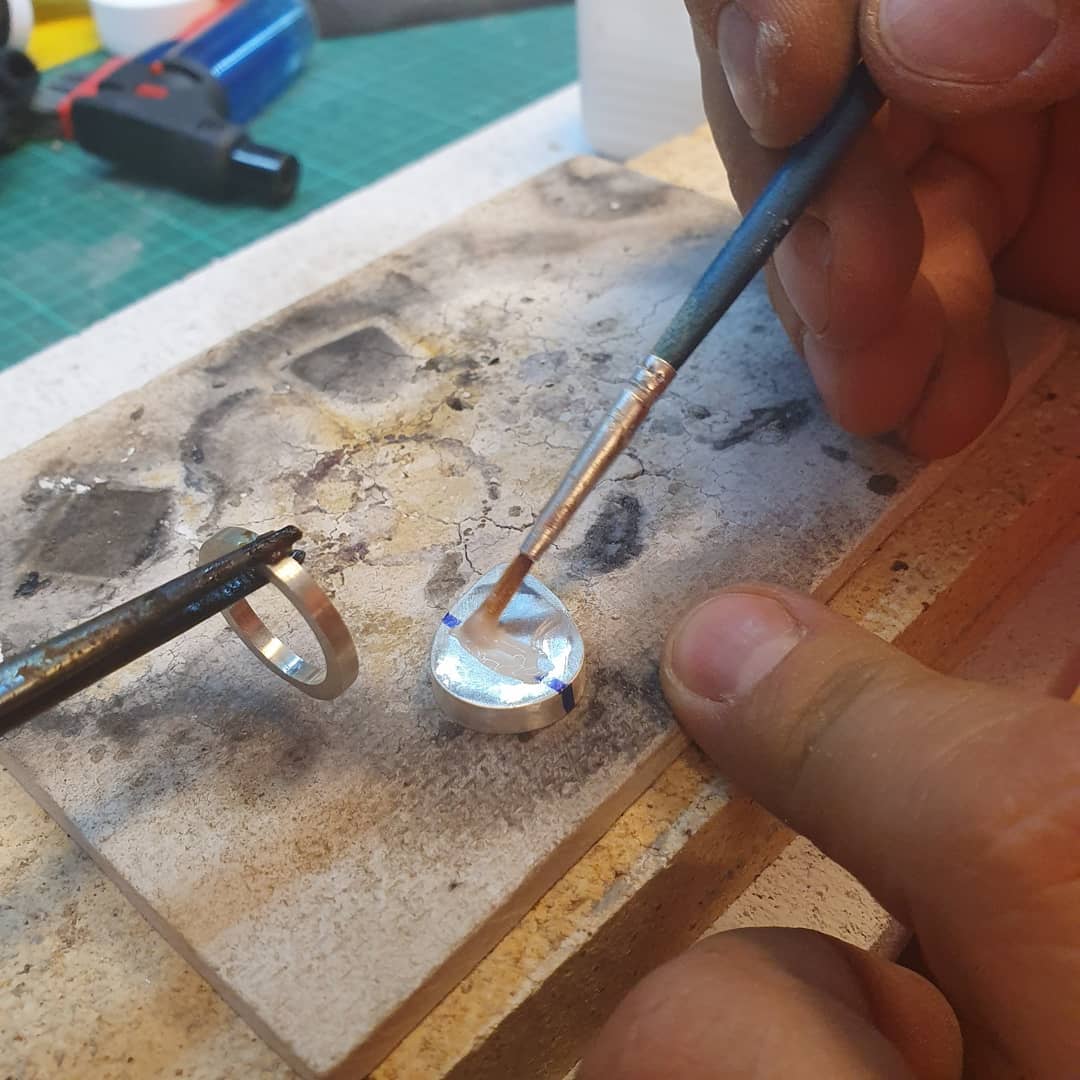
Solder Flow & Seam Problems
Use these guides when solder spreads too far, refuses to flow, jumps away from the seam or leaves visible solder lines after finishing.
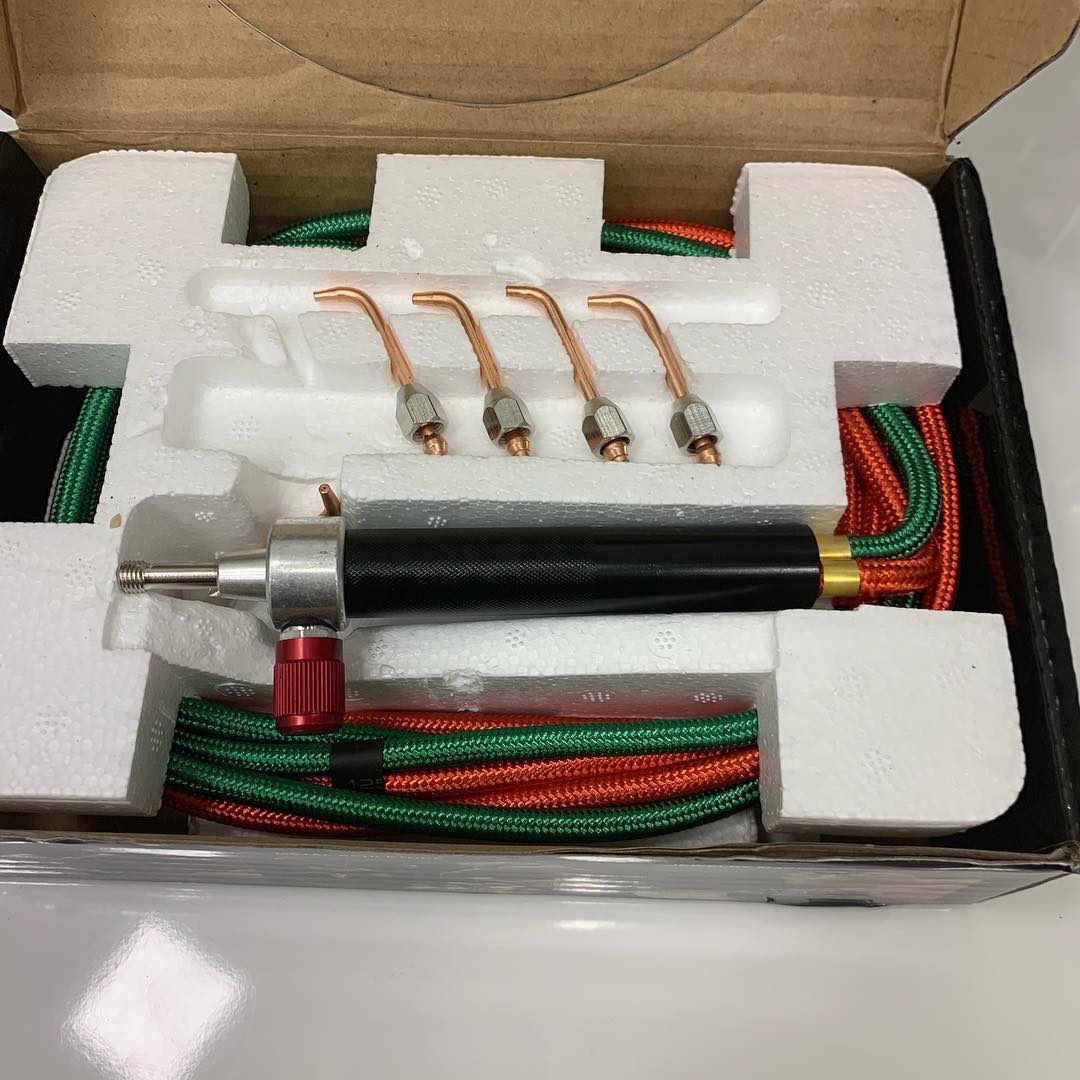
Heat Control & Torch Technique
These guides focus on flame placement, overheating, warping, annealing and how heat affects sterling silver during soldering.
Specific Soldering Jobs
Step into practical jewelry soldering jobs such as ring seams, jump rings and sweat soldering where setup and timing matter.
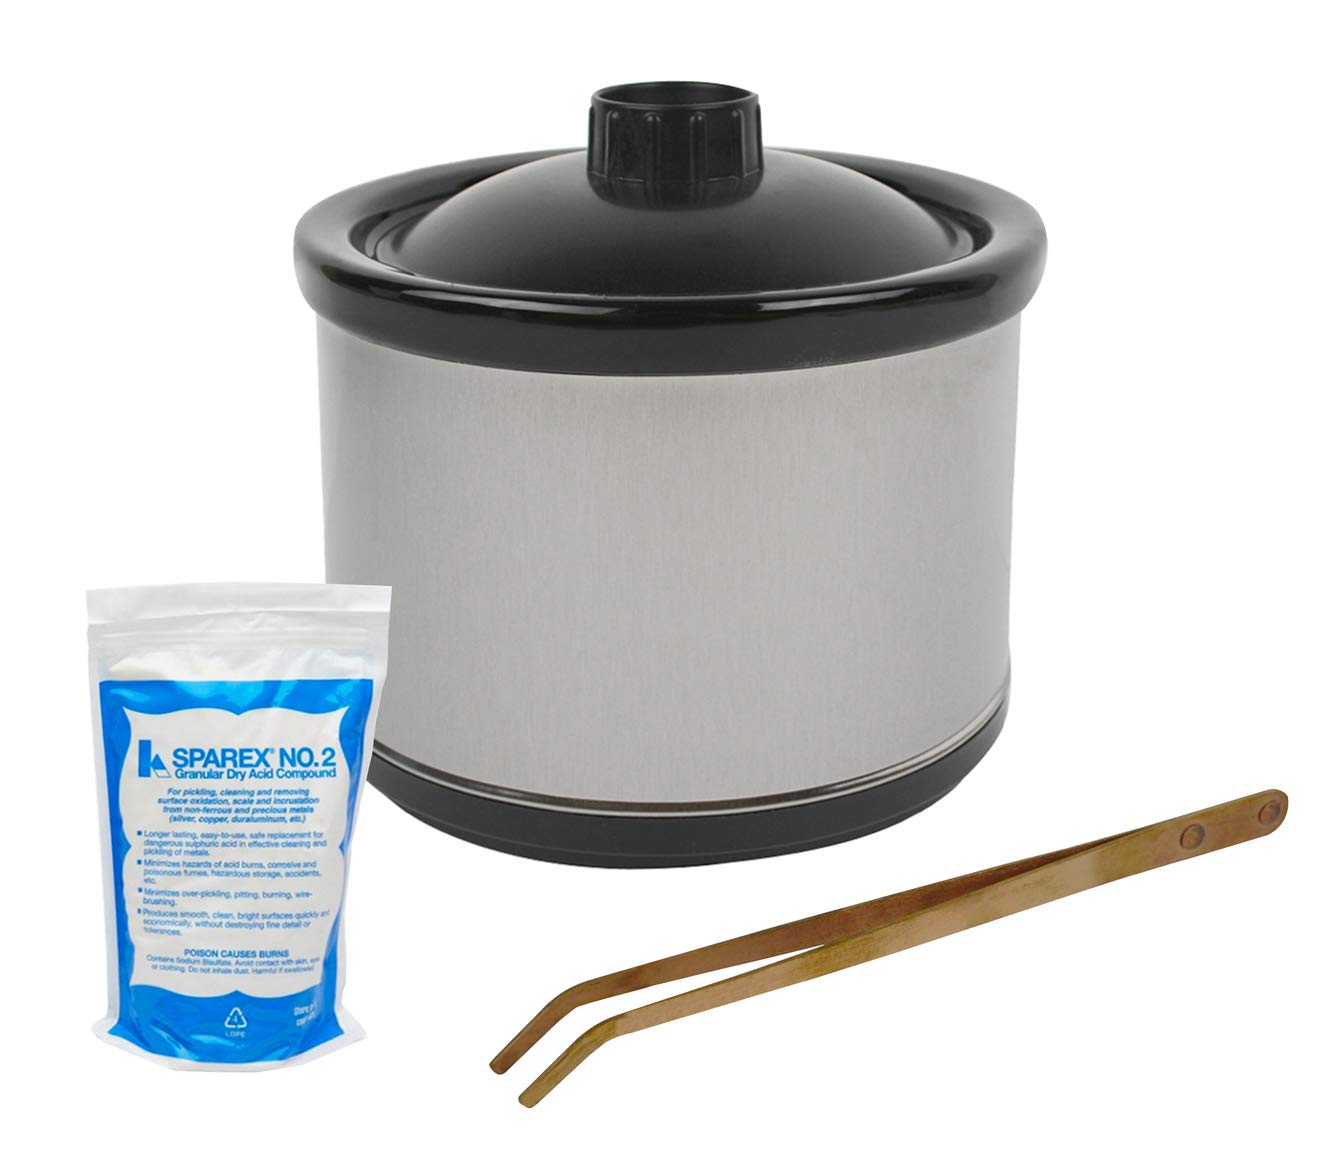
Fire Scale, Porosity & Cleanup
After soldering, surface quality depends on oxidation control, pickling, careful cleanup and avoiding heat damage during the operation.
A Better Way To Learn Jewelry Soldering
Do not start by adding more solder. Start by checking fit, cleanliness, support and heat path. Most soldering problems become easier to solve when the sequence is clear.
All Jewelry Soldering Guides
Use this section as the central index for soldering-related guides on JewelryCalculator.online.
Use The Calculator Before Cutting Or Soldering Metal
JewelryCalculator.online helps you plan ring blanks, bezel lengths, templates and fabrication measurements before sawing, forming or soldering.